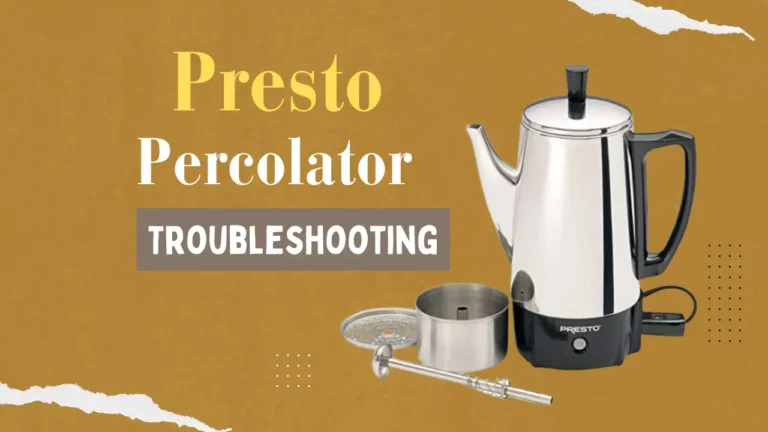
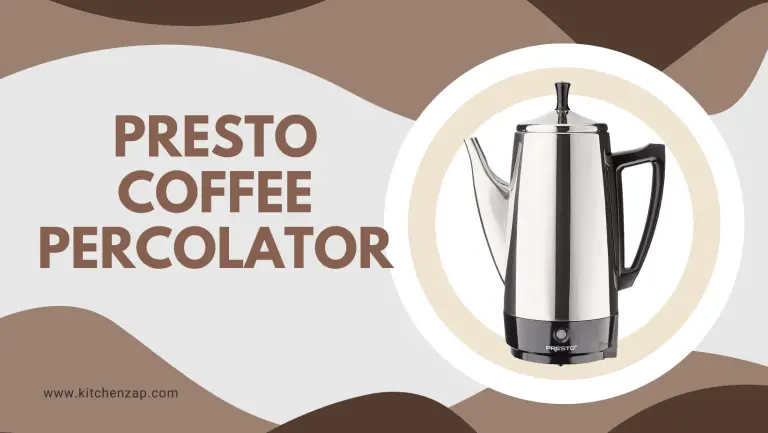
How long Do You Perk Coffee in a Percolator?
As coffee enthusiasts, not only do we love drinking coffee, but we also enjoy preparing it by ourselves. There are many brewing methods out there, and you may have already tried the simplest ones, such as the percolator. How long do you perk coffee in a percolator?
But have you tried using a coffee percolator? It is essentially a kettle-like machine that allows you to brew your coffee innovatively. But before using a percolator, a question must be answered to make the brewing process a success: how long do you perk coffee in a percolator?
Sometimes, we visit our favorite coffee shop early in the morning just to have a good cup of coffee to start our day. But what if you can easily brew your own at your own home? If you are a coffee fanatic who wants to have the perfect cup of coffee every morning, you came to the right place.
In this article, we will discuss all the processes of preparing percolated coffee and how long do you percolate coffee.
What Does It Mean To Percolate?
Compared to other varieties of brews, preparing percolated coffee is a more hands-on procedure. Nevertheless, since this type of brew has been around for a long time, the end product is bold, strong, and tastes good.
Time is an essential part of percolated coffee. So, how long do you perk coffee in a percolator? Well, the answer to this question depends on your personal preference, as it is usually determined by how strong you want your coffee to be.
The recommended percolation time is five to eight minutes. However, this can vary based on your preferred percolation method. Furthermore, never percolate your coffee for longer than 10 minutes since this may burn the brew and cause it to taste harsh and dry.
However, how carefully you carry out the entire process is more important than how long you take to percolate your coffee. This brewing method is typically quite hands-on and requires constant attention during the entire process.
As you make your coffee, keep an eye on the percolator to make sure that the kettle isn’t producing any steam. It’s because this would indicate that the water is boiling and oversaturating the coffee grounds. Instead, before the boiling begins, gradually raise the temperature and then, drop the heat.
Right now, you’re probably thinking that percolating coffee is a difficult task. However, the entire procedure is pretty simple. With enough practice, you’ll soon be able to make perked coffee in under 10 minutes. This is the ideal time of how long should coffee perk for best results.
How Do You Make Coffee Using a Percolator?
It’s easy to make coffee using this old-fashioned approach. At first, getting the right amount of water could be the most difficult component. Once you’ve mastered it, using the percolator to heat water will never be a problem again. All you have to do is listen to your instincts and trust your gut.

Some of the items you need to brew your coffee using this method include:
- Coffee grinder
- Water
- An electric percolator or stovetop
- Your mug
- Whole beans of your choice
- A spoon to measure coffee
With all these items in place, you can now start to brew your coffee. As mentioned, there are two ways of making it percolated. The first is the traditional way of using a stovetop. The following steps are how to prepare percolated coffee and how long to perk coffee on stovetop.
Step 1: Measure your coffee
The size of your stovetop percolator defines whether you get a well-balanced and enjoyable brew. As a result, you must exactly measure both the water and the coffee in order to achieve the correct flavor and avoid overboiling.
Before you get used to the stovetop percolator, start with 30 grams of whole beans for every 500 grams of water. However, once you’ve realized how to use it, you can experiment with different water or coffee ratios to achieve the desired flavor.
If you don’t like bitter or strong coffee, add more water while reducing the amount of coffee to achieve a gentler flavor.
Step 2: Grind the Coffee Beans
This is usually the easiest task, and you should invest in a coffee grinder to obtain more uniform, medium-coarse grounds suitable for a stovetop percolator. Furthermore, you should be aware that beans that are too large will not supply you with the desired coffee flavor.
Too little, on the other hand, tends to make your brew bitter and may dissolve and end up in your coffee. As a result, you must select your beans carefully before grinding.
Step 3: Fill the percolator
Fill the reservoir of your percolator with cold water, the amount of which is determined by the amount of coffee you have ground. The goal here is to allow the water’s gradual heating, which is made easier by starting with cold water.
Step 4: Assemble the percolator
If this is your first time using the percolator, read the manufacturer’s handbook to get an idea of how to put it together properly. If you lose your manual, don’t panic; you can discover all the information you need by conducting a quick online search on the model of your percolator.
In addition, if the coffee basket and stem separate, you must first secure the stem in the water-filled pot before attaching the coffee basket to the top of the stem. As a result, if your percolator has one, set aside the lit basket.
Step 5: Mix in the ground coffee beans.
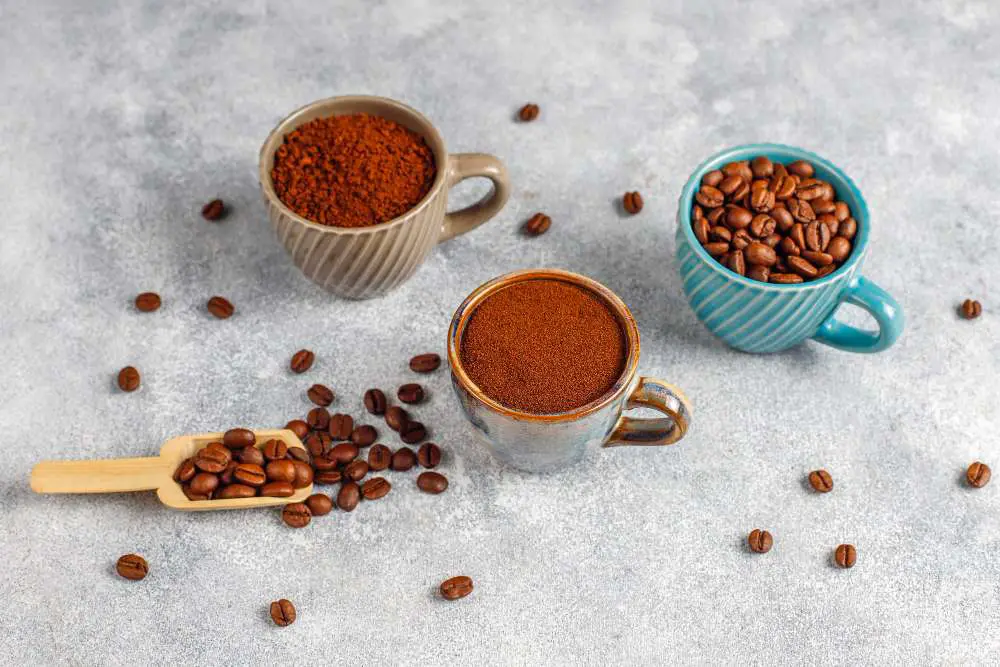
Fill the percolator coffee basket halfway and double-check the measurement to avoid overfilling it on the stovetop. This is vital, not just when brewing coffee using this approach, but it also guarantees that no coffee spills over, ensuring that nothing goes to waste.
You should also avoid using too many coffee beans in a percolator because it produces strong coffee. After that, before closing your percolator, you should replace the basket lid if it has one.
Step 6: Start to brew
Set the burner to medium or low heat, and place the percolator on top of it. The answer to enjoying a cup of perfectly percolated coffee is to maintain a slow heating process while avoiding any boiling.
You must keep a constant eye on your stovetop percolator to ensure that it does not boil. Fortunately, the structure of stovetop percolators, which include a visible plastic or glass knob at the top of the kettle, makes this easy to spot.
As a result, when the water heats up enough, it will begin to bubble up into the knob, indicating that the water is hot enough to steam the coffee. It also means that the water is nearing its boiling point, and you must maintain the heat by spacing the bubbles a couple of seconds apart.
Furthermore, because the water is boiling, you must adjust the heat level if the bubbles are a continual stream rather than the odd burst. Exceedingly hot water, on the other hand, can make your coffee extremely bitter. However, if bubbles aren’t appearing as frequently as they should, the water is too cold, and you’ll need to increase the heat to get bubbles to appear.
As the brewing process progresses, the color of the water changes from clear to coffee-colored. If you see this, you’re about to enjoy a cup of delicious, freshly brewed coffee.
Step 7: Set a timer
Once the water begins to boil at regular intervals, set your timer for intervals no longer than ten minutes. Furthermore, you can set an interval of six to eight minutes, which is ultimately up to your personal preference.
Coffee usually gets stronger the longer it sits, so keep this in mind when determining the best interval to set.
However, we recommend that you set your timer interval to ten minutes the first time you use your stovetop percolator. You will be able to enjoy a taste of vintage and genuine coffee as a result of doing so. If this flavor does not satisfy you, experiment with future brews until you find the perfect cup of coffee.
Step 8: Remove the stovetop percolator from the heat source.
When the timer interval is over, turn off the heat and carefully remove the stovetop percolator from the heat. But since this pot will be hot, you must always use a trivet as well as a kitchen towel or an oven mitt to protect your hands from burning.
Step 9: Remove the coffee grounds
You’re probably looking forward to your cup of freshly brewed coffee by this point. However, because most stovetop percolators lack efficient seals that separate the reservoir and basket, you must first remove the coffee grounds present in the coffee. As a result, the first cup of coffee may contain more grounds than coffee.
As a result, you must remove the basket and throw away the used grounds. When you still notice a few coffee grounds in your coffee mug, that’s fine because they add a bit of bitterness. However, if you still don’t like it, simply strain your coffee through a fine-mesh strainer.
Step 10: Sip your freshly brewed coffee and relax
Put the cap on the stovetop percolator and enjoy a freshly filtered cup of coffee. This is the final step, and you should savor it because you have unquestionably earned it. Enjoy!
Read More:
How Much Coffee To Use In A Percolator
How Long Should You Perk or Percolate Coffee?
To give a direct answer as to how long to perk coffee on the stove, it should not surpass 10 minutes. As mentioned, if you are not aware of how long do you let coffee percolate, and it surpasses 10 minutes, the coffee will produce a bitter and dry taste. That is why less than 10 minutes is the ideal time. You can adjust it from five to eight minutes depending on your taste.

On the other hand, using an electric percolator to make percolated coffee is significantly easier. This is what technology provides us with: a simpler and more convenient way of doing things. The procedure of utilizing an electric percolator is nearly identical to that of a stovetop percolator. The only difference is that this time you’ll start at Step 6, which is all about brewing.
When utilizing an electric percolator, all you have to do is plug it in and turn it on. They are meant to stop brewing automatically after it is completed.
Unlike using an old-fashioned stovetop percolator, the process is simple, and you don’t have to keep a careful eye on the pot or the heat source, whether it’s a stove or a campfire.
With an electric percolator, all you have to do is to wait. Now, let us answer the question of how long does it take to percolate coffee using an electric percolator. Depending on the brand and kind, an electric percolator may usually do the operation in three to six minutes.
All, however, include a signal light that indicates when your percolated coffee is ready. After that, all you have to do is disconnect the electric percolator, grab your mug, and enjoy your percolated coffee.
How Do You Make Amazingly Tasty Percolator Coffee?
Now that you know how to use both the stovetop percolator and the electric percolator and how long does coffee need to percolate for the two methods, here are some tips to ensure that you are doing the steps provided the right way.
In order to create a fresh cup of tasty percolated coffee, here are some of the basic steps that you may want to observe:
Ensure proper grind consistency
If you want a nice brew of coffee, make sure to grind your coffee well, but only in a medium-coarse consistency. This is because it is difficult to extract aromatic oils from coffee beans when the consistency of the grind is coarse. As a result, a weaker brew of coffee is produced.

Furthermore, a finer grind consistency increases the chance of the grinds getting into the brewed coffee and imparting an undesirable flavor.
Use high-quality coffee beans
You must use good quality coffee beans, as with all other coffee-brewing methods, to prepare a cup of great coffee. As a result, you should never use low-cost, low-quality beans because they will ruin your cup of coffee and waste your time and effort.
Correct water temperature
In order to extract coffee using your percolator, you should use water that is close to the boiling point, which is normally approximately 198 to 204.8 degrees Fahrenheit. However, if your water is boiled too hot, you may end up having a bitter and burnt-tasting coffee.
Furthermore, keeping track of the water temperature is generally the most difficult element of the brewing process. Fortunately, rather than using a stovetop percolator, you may fix this problem by utilizing an electric percolator, which switches off the heat source at a proper temperature, providing a gentler brew.
Appropriate water to coffee grounds ratio
When producing freshly percolated coffee, keep a close eye on the amount of water in the percolator versus the amount of coffee in the basket. A weak filter or washed-off coffee grounds result from packing a little amount of ground coffee.
You should also note that when you pack the coffee grounds too densely, your coffee essence’s steam extraction may not be as effective. Also, you would want to use 8 ounces of water for a tablespoon of ground coffee. This is the optimal ratio for water and coffee grounds.
Correct coffee percolation duration
When producing percolated coffee, you must carefully monitor the entire process to avoid perked coffee over-circulating inside the percolator, which results in a bitter and unpleasant cup of coffee.
This is especially crucial when using a stovetop percolator, which, unlike an electric percolator, does not have a mechanism that allows you to control the duration of steam percolation through the coffee grounds, ensuring a consistently excellent cup of coffee.
FAQs
How do you know when percolator coffee is done?
When percolator coffee is done, the water in the pot has boiled off and the coffee grounds have been saturated with water. This means that the coffee has been brewed to the fullest possible potential and will taste the best when served.
How long does it take to make coffee in a percolator?
The ideal time to percolate coffee no matter what method you use should be under 10 minutes. Brewing coffee for over 10 minutes will make it bitter. Hence, in order to achieve the perfect taste of your everyday coffee, you should brew it in less than 10 minutes.
Moreover, a distinct difference between a stovetop percolator and an electric percolator is how long to boil coffee in percolator. For the stovetop percolator, it is recommended to percolate coffee between five to eight minutes, depending on your taste. Remember that the longer the brew, the more bitter the taste will be.
On the other hand, an electric percolator can percolate coffee as fast as three minutes, depending on the model and type. You don’t need to do anything, but wait for the signal that your coffee is done.
How do you perk coffee with a percolator?
To summarize the steps on how to percolate coffee, all you need to do is measure the ratio of coffee and water, grind the coffee beans and ensure proper consistency. After that, you will need to set up your percolator and add the water and ground coffee beans.
Put it on the stovetop or turn on your electric percolator, and wait while it brews. However, you should keep in mind that it should not exceed 10 minutes, or else your coffee will taste bad. After doing all these, then you can finally enjoy your coffee.
How long do you leave coffee in a percolator?
There really is no set answer to this question as it depends on a number of factors, including the type of coffee percolator, how often the coffee is used, and other preferences. However, generally speaking, it is recommended that coffee be left in a percolator for no more than 3 hours.
Conclusion
Coffee percolation is relatively easy to do, especially now that you have an idea on how to do it. Moreover, through this article, you were also able to know how long does a percolator takes to brew your coffee using either an electric or stovetop percolator. With these steps and procedures, you will be able to make your own percolated coffee in no time!
However, even though percolating coffee is a simple process, it is still quite difficult to master it on your first try. Nevertheless, this shouldn’t be a reason to make you disheartened.
Even if your first attempt didn’t work out as you planned, you should keep on trying. Continue to hone your skills. And eventually, with enough patience, practice, and determination, you can create the perfect coffee for you to enjoy every morning.

