Mastering Coffee Percolator Troubleshooting: 10 Powerful Solutions for Your Brewing Woes
For coffee lovers, the existence of coffee percolators has been a blessing for decades, allowing for a convenient and straightforward way to brew a cup of joy. Unfortunately, even the best of appliances may experience some performance issues at times.
If you’re feeling frustrated, don’t worry – there are some simple troubleshooting steps you can take to help diagnose and fix common problems with your percolator.
Whether your percolator fails to heat up, produces weak coffee, or not percolating at all, don’t worry! There are several ways to get your percolator running like new again.
With these 11 easy tips, you’ll be able to determine the issue and get your percolator brewing a delicious cup of coffee in no time.
My percolator is not working, what should I do?
- Premium Quality Coffee Percolator: Classic electric percolator brews from 2 to 10 cups of great-tasting coffee, hot,…
Basic Coffee Percolator Troubleshooting Tips
If your coffee percolator is malfunctioning, there are some simple troubleshooting steps you can take to get it running smoothly again. Following these guidelines can save you money on repairs or replacements.
- Check the Power Source
To ensure that your coffee percolator is functioning correctly, begin by verifying that it is receiving power. Test the outlet that it is plugged into to make sure that it is in working condition.
If the outlet is working properly, try plugging the percolator into a different outlet to see if that resolves the issue.
2. Ensure Proper Assembly
Read the instructions to verify if all parts are properly positioned and secured. If you are not certain, take apart the percolator and reassemble it following the instructions.

3. Percolator Cleanup
- To keep your coffee percolator in good working order, first, unplug it and let it cool down. Remove its lid, filter basket, and stem.
- Clean these parts using soap and water.
- Use a toothbrush or small brush to clean the percolator’s interior, paying attention to any buildup of mineral deposits or coffee grounds.
- To remove the deposits, fill the percolator with a solution of equal parts water and vinegar and let it sit for an hour.
- Rinse it with water and allow it to dry completely before using it again. For more detailed cleaning tips, check out our post on 11 Ways How To Clean Your Coffee Percolator
Coffee Percolator Problems (Water Flow)
If your coffee percolator isn’t producing coffee, it may be because of its water flow. Here are some coffee percolator troubleshooting suggestions:
- Please refer to user guide or user manual or user guide (provided below in PDF) before first use
1. Water Level Checkup
Verify the water level in the reservoir to check for possible flow issues. Add water if it is below the minimum level. Note that some percolators have a maximum water level.
2. Brew Basket Cleanup
Clean the brew basket of any coffee grounds or other debris that could be blocking the water flow. Take out the basket and wash it with warm, soapy water.
Rinse off the suds and dry the basket before putting it back into the percolator. See to it that no coffee grounds or other obstructions are present in the holder.
3. Percolation Tube Check
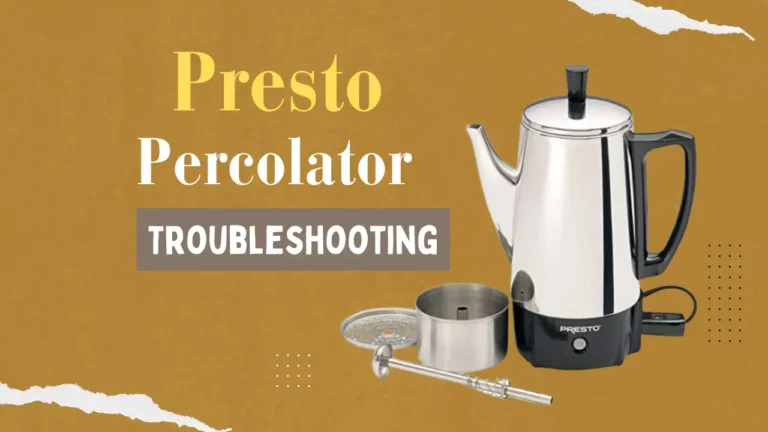
The percolation tube is a thin pipe that connects the base of the percolator to its upper part. It circulates water through the coffee grounds. If the tube is clogged or dirty, it can impede water flow. To fix this, take out the tube, wash it with lukewarm, soapy water, rinse it, and dry it before putting it back into the percolator. Ensure the tube is correctly inserted.
Percolator Problems (Temperature)
If your coffee from the percolator is not hot, there can be a problem with the temperature. Here are some ideas for fixing temperature-related percolator problems:
- Thermostat Check
If the thermostat of your coffee percolator is not working correctly, it may be necessary to replace it. To check if this is the case, examine the thermostat to make sure it is functioning properly. Otherwise, it will not be able to regulate the temperature of the coffee correctly.
2. Heating System Cleanup
Clean the heating element regularly to make sure your percolator is working properly. If it is dirty or covered in mineral buildup, it may fail to heat the water to the right temperature.
3. Circuit Board Check
Inspect the circuit board of your percolator to make sure it is functioning properly, so your coffee is hot and delicious every time. If it is not, it may be necessary to replace it to address any temperature issues.
Other Common Percolator Problems
Issues other than those previously mentioned that can lead to complications with coffee percolators include:
- Timer Check
If your coffee maker isn’t producing coffee, first make sure that the timer is set correctly. If it is, try resetting or disconnecting it. Reconnect the power cord to see if that fixes the issue. Some coffee makers have timers that can be set to brew at a specific time.
So, if you aren’t around when the timer has been set, it may seem like the coffee maker isn’t working when it’s just waiting for the programmed time to begin brewing.

Use of the Right Coffee Ground Amount
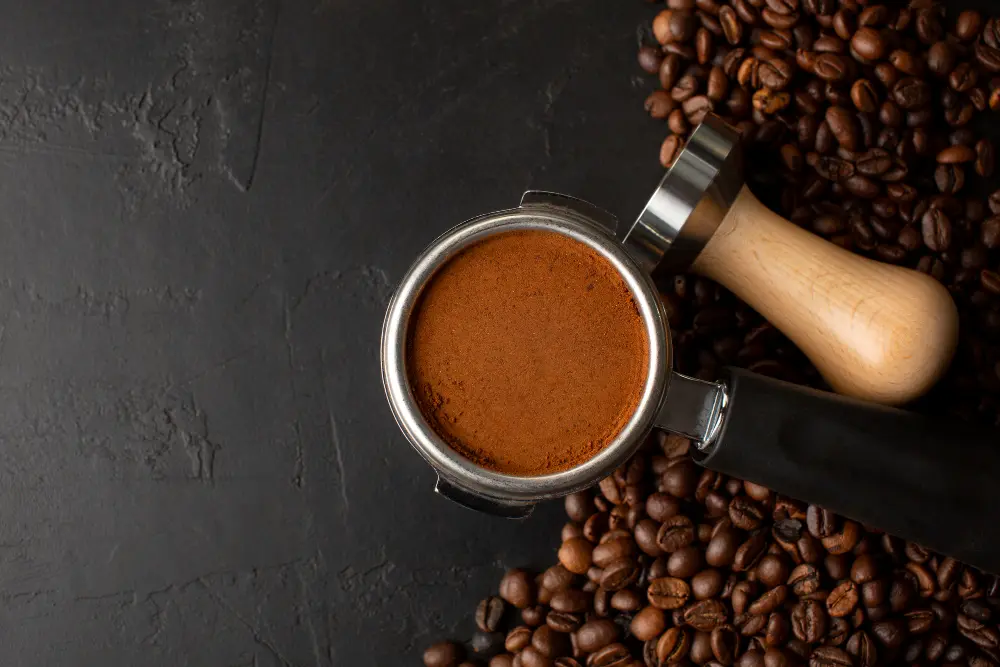
To make a great cup of coffee with a percolator, it is essential to use the correct amount of coffee grounds. Too little will give a weak and tasteless drink, while too much will lead to a bitter cup.
Generally, you should use one tablespoon of coffee per cup of water. For instance, 12 tablespoons of coffee will be needed to make a 12-cup pot.
However, measuring by volume (tablespoons) may not be as precise as weighing in grams, so a digital kitchen scale can be used to ensure that the coffee-to-water ratio is accurate.
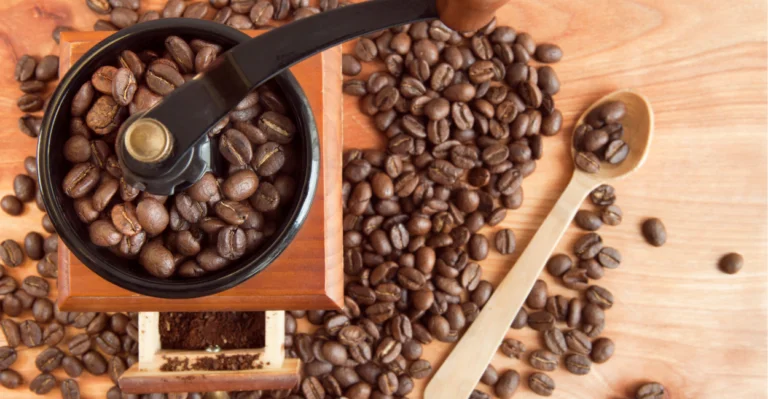
The grind size of the beans can also affect the amount of coffee grounds needed; finer grounds will require less than coarser grounds.
- Note: 1)Too coarse a grind, too little coffee, or insufficiently tamping the grounds before brewing can all lead to…
Percolator Fuse Replacement
If the coffee percolator is not turning on or not heating up, the fuse could be the issue. The fuse is a safety device that guards against electrical surges and overheating.
To fix the percolator, the fuse must be replaced. Follow these steps:
- Disconnect the percolator from the power source and allow it to cool completely.
- Take the percolator’s base off by unscrewing the screws or breaking the clips.
- Find the fuse, which is typically a small, cylindrical, or rectangular-shaped item with metal ends and a glass or ceramic body.
- Check the continuity of the fuse using a multimeter or continuity tester. If the tester shows no continuity, the fuse has blown and needs to be replaced.
- Take out the blown fuse by delicately tugging it from its outlet or snipping its wires, depending on what kind it is.
- Insert or solder the new fuse into its socket, ensuring the rating and type are the same as the original.
- Put the base of the percolator back together and plug it into the wall socket.
- Activate the percolator and evaluate its functioning. If this fails, there could be other issues you have to deal with.
Replacing the percolator fuse is an easy and inexpensive repair without professional help. It is necessary to adhere to the manufacturer’s directions and safety procedures when dealing with electrical items and parts.
The same is true for your electric coffee percolator troubleshooting. If you lack the confidence or expertise to fix electrical appliances, better seek professional aid or get a new percolator.
Get Professional Help
If your coffee percolator is not working properly, you may need to call in a professional repair technician. Make sure to do your research and find a reputable one with experience in percolator repairs. Ask for some references along with reading reviews from previous customers.
Consider the cost of repairs versus purchasing a new percolator; if the repairs are expensive, getting a new one may be more cost-effective in the long run. If your percolator is high-end or has sentimental value, however, it may be worth investing in repairs to keep it functioning for years to come.
Refer to the User Manual
When attempting to troubleshoot your coffee percolator, consulting the user manual would be wise. It can provide you with the needed information on how to use and maintain the device, as well as any useful troubleshooting tips for potential issues.
Common issues that can be solved by referring to the user manual include:
- Percolator not functioning
- Coffee not being produced
- Coffee has an unpleasant taste
- Percolator overflowing excessively
To keep the percolator functioning optimally and extend its lifespan, it is important to follow the manufacturer’s instructions when cleaning and descaling it.
If the user manual does not offer a solution, it may be necessary to reach out to the manufacturer or professional repair service for help. When doing so, make sure to provide as much detail as possible about the issue and any troubleshooting steps taken.
FAQs
1. How can I tell if my percolator needs to be cleaned?
If you notice a bitter taste in your coffee, your percolator may require cleaning. Fix percolator coffee taste by examining the inside of the percolator for any signs of accumulation or residue.
2. Is it possible to use vinegar to clean my percolator?
Yes, it is possible to use a mixture of vinegar and water to clean your percolator. This ratio must be one part vinegar, then two parts waters. After running the mixture through the percolator, be sure to rinse it thoroughly with water.
3. How many times should I clean my percolator?
It is advised to clean your percolator after each use, but if it is not being used frequently, it can be cleaned every couple of weeks.
4. Why is my coffee percolator not working?
It’s possible that your percolator isn’t brewing coffee due to a few factors. Make sure the water reservoir is filled, the appliance is powered on and plugged in, and the coffee grounds aren’t too fine or overly packed in the filter basket.
5. Why is my percolator coffee system weak and how can I make a stronger coffee?
You could start by trying to change the amount of coffee grounds or the grind size. Additionally, make sure the water is heated to the proper temperature and that the percolator is left to brew for the recommended time. If these solutions don’t work, you may need to buy a better-quality percolator.
With the coffee percolator troubleshooting tips discussed above, rest assured that your brewing spree will be as smooth as it should be.


