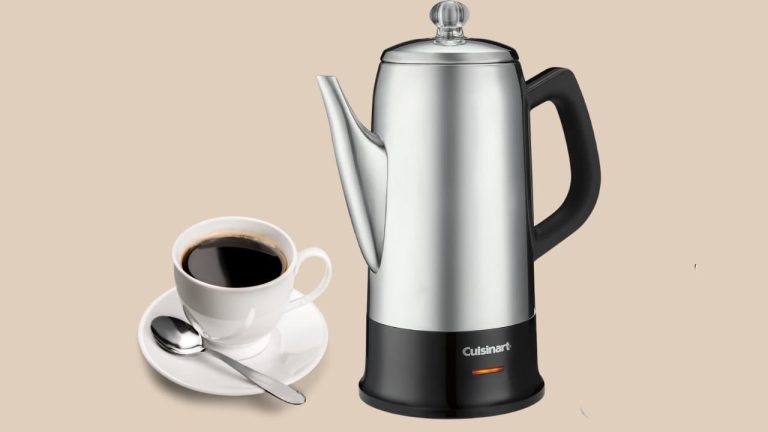
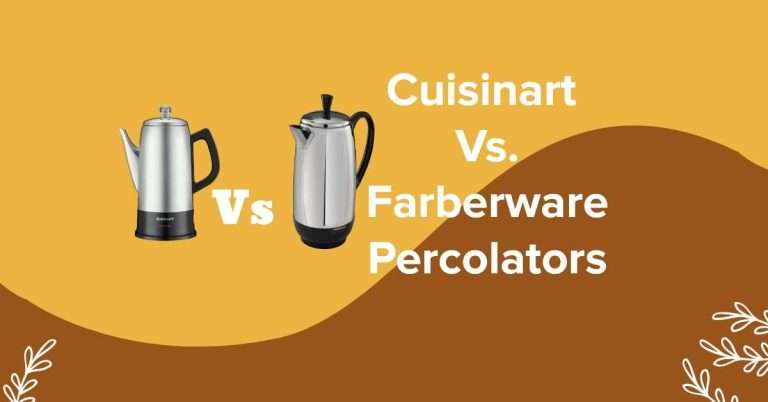
Master the Art of Using a Camping Coffee Percolator – 13 Essential Tips
Sipping a hot cup of coffee while taking in the crisp morning air on a camping trip is one of life’s simple pleasures. But brewing delicious coffee in the wilderness requires a specific tool – the camping coffee percolator.
This handy device allows you to easily make flavorful java at your campsite, providing a warm and energizing beverage to start your day outdoors.
In this article, we’ll walk through the ins and outs of using a camping coffee percolator. We’ll cover the basics of how these special pots work as well as tips and tricks for brewing the perfect cup of camping coffee every time.
With the right percolator and some simple techniques, you’ll be enjoying piping hot cups of joe next to the campfire in no time.
So read on to learn everything you need to know about getting the most out of your camping coffee percolator.
Why Coffee is a Camping Essential
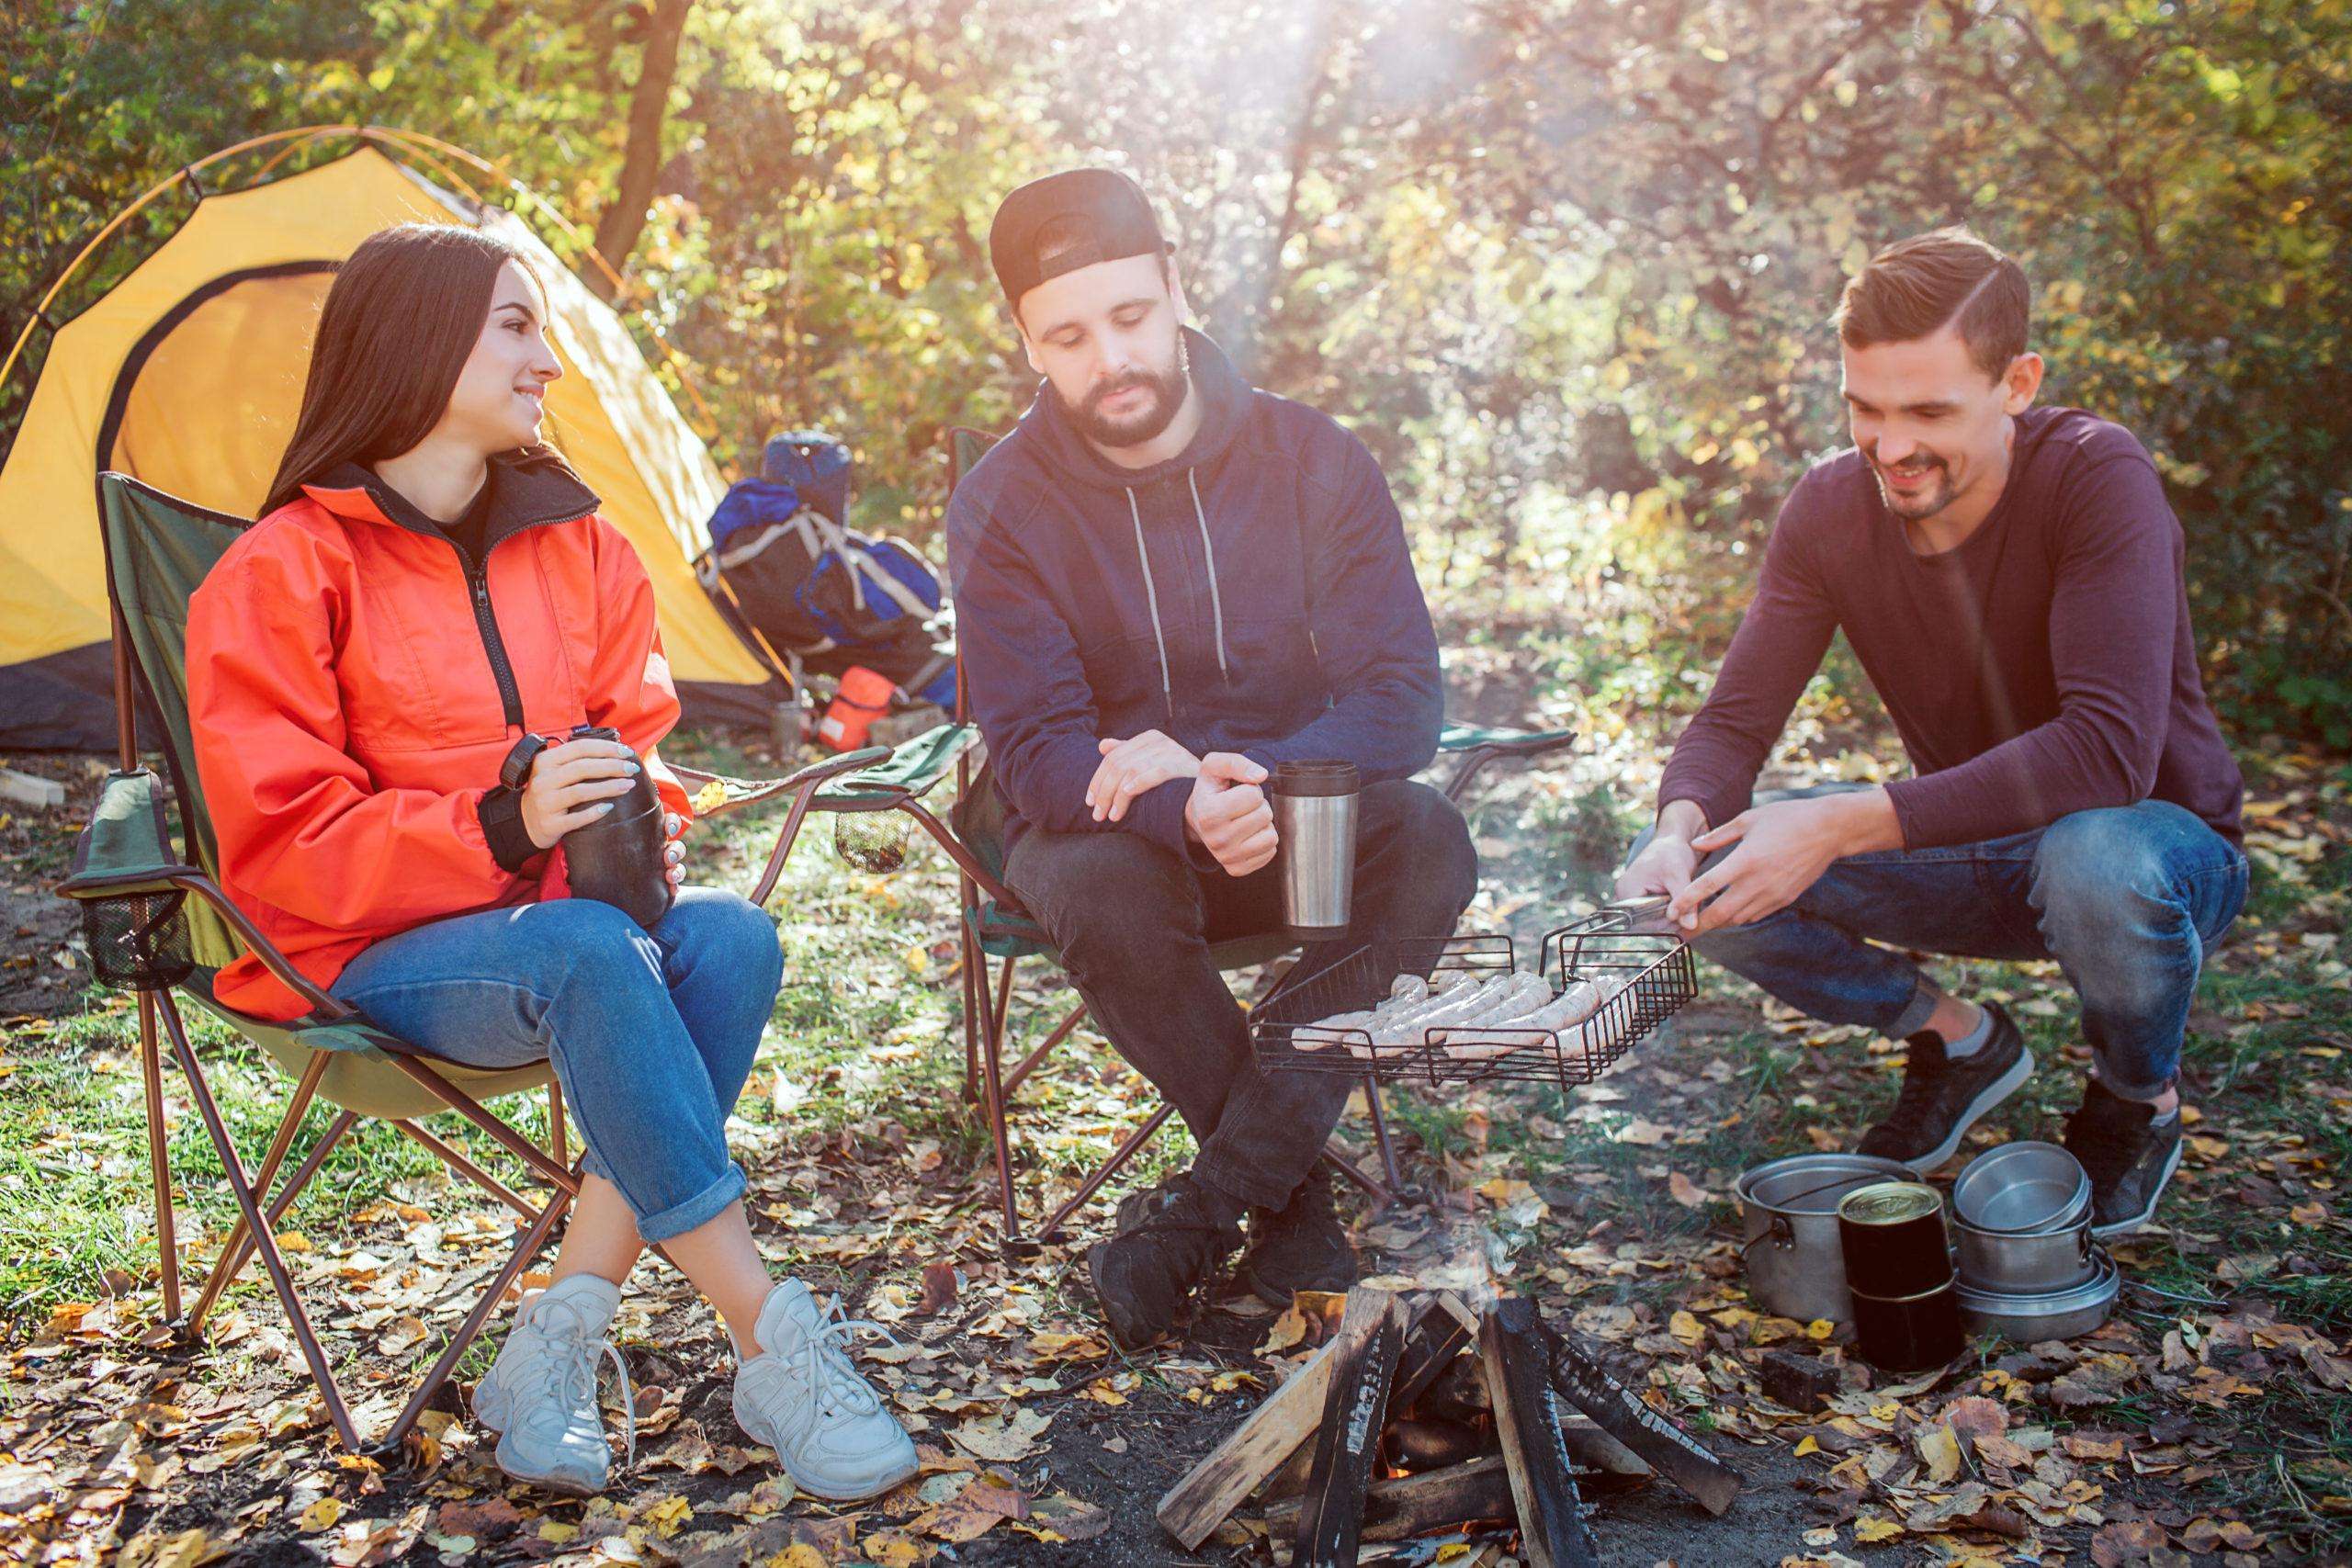
Coffee is more than just a beverage when you’re out camping – it’s a ritual and a comfort. The significance of a warm brew truly comes alive when you’re immersed in nature.
Sipping a hot cup first thing in the morning helps shake off the chill from sleeping outdoors overnight. The rich aroma and flavor warm you from the inside out and provide fuel to get you going for the day’s adventures.
Coffee also promotes social bonding, bringing people together around the campfire or picnic table to share stories while stimulating their minds and bodies.
Don’t underestimate the restorative power of a properly brewed cup. Drinking coffee in the great outdoors is a special experience that can make your camping trip complete.
Understanding Your Tool: The Camping Coffee Percolator
What is a Camping Coffee Pot Percolator?
The camping coffee percolator has been used for over 200 years. The first modern one was designed in the 1860s.
This basic but sturdy tool is perfect for making coffee outside. It uses gravity and boiling water to brew the coffee over and over. This makes a strong, robust flavor loaded with caffeine – great for cold mornings while camping.
Percolators work well for camping because you can use them with a campfire or stove. They don’t need electricity to make good coffee.
Their tough metal build holds up to outdoor use. Taking a percolator camping is key if you want tasty coffee off the grid.
Choosing the best coffee percolator for camping
- Coletti Bozeman Camping Coffee Percolator
Pros:
- Generous 9-cup capacity perfect for small groups
- Classic vintage aesthetic made of polished stainless steel
- Percolates well over both open campfire and camping stove
- Produces robust, full-bodied coffee flavor
- NO ALUMINUM OR PLASTIC: Our stainless steel camping coffee makers are toxin free. Essential camp kitchen equipment with…
Cons:
- Heavy compared to other options when backpacking
- No measurement markings inside pot
- No insulation to keep coffee hot
- GSI Outdoors Glacier Stainless Steel Percolator
Pros:
- Available in 3 convenient sizes: 3, 6, and 9 cups
- Crafted from durable food-grade stainless steel
- Lightweight and compact for packing efficiency
- Percolates evenly on various heat sources
- STAY CAFFEINATED: Coffee? Always! The Glacier Stainless Percolator coffee maker helps you attain your caffeine needs and…
Cons:
- Plain design lacks vintage appeal
- No insulation to retain heat
- Basket can clog with fine coffee grounds
- Stanley Adventure Camp Percolator
Pros:
- Ideal 6-cup capacity for 1-3 people
- Made of heavy-duty stainless steel to withstand outdoor use
- Insulated handle stays cool for safe pouring
- Great for camping trips and tailgating parties
- GREAT COFFEE: Our stainless-steel percolator coffee pot delivers six cups of hot, fresh coffee at your home or campsite…
Cons:
- Bulky size not ideal for backpacking
- No measurement markings inside
- Enamel exterior prone to chipping
- Farberware Classic Yosemite Percolator
Pros:
- Budget-friendly price point
- Available in 8 and 12 cup sizes for larger groups
- Durable stainless steel construction
- Easy to operate and clean
- Classic coffee maker: Make delicious coffee morning or evening with The Original 8-Cup Farberware Stovetop Percolator
Cons:
- Plain design lacking aesthetic appeal
- Prone to interior corrosion over time
- No insulation to retain heat well
- GSI Outdoors Enamelware Percolator
Pros:
- Offered in 8 and 12 cup sizes
- Colorful enamel exterior resists stains
- Distributes heat evenly while percolating
- Affordable price for most budgets
- STAY CAFFEINATED: Coffee? Always! The enamelware percolator makes your caffeine needs attainable for any campsite,…
Cons:
- Enamel exterior prone to chipping
- Heavy and bulky for backpacking
- No insulation or stay-cool handle
Read More:
How to Use Percolator Coffee Pot for Camping
13 Essential Tips for Using a Camping Coffee Percolator
Tip 1: Prepping the Percolator
Camping Percolator How to Use
Proper prep is key to great coffee from your camping percolator. Make sure all equipment is clean before using. Rinse the percolator basket and pot with hot water. This removes any stale flavors.
Always use fresh coffee grounds. Old, stale grounds make weak and bitter coffee. Buy grounds shortly before your trip. Store in an airtight container until use.
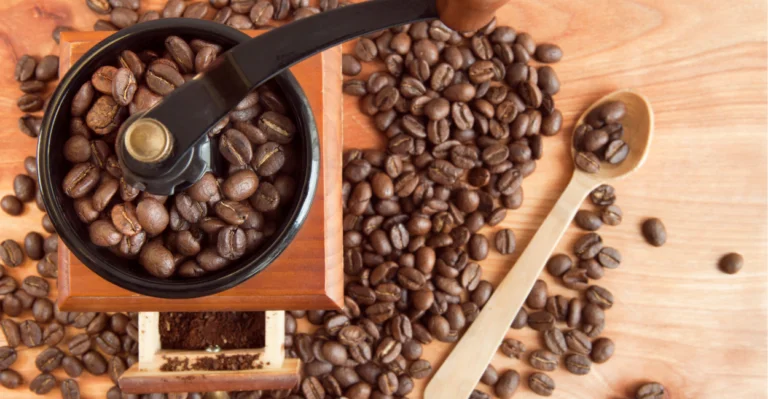
Grind beans to a medium coarseness. Finer grinds over-extract and get sludgy. Coarser grinds under-extract for weak coffee.
Following a few simple prep steps allows your percolator to extract the best flavors.
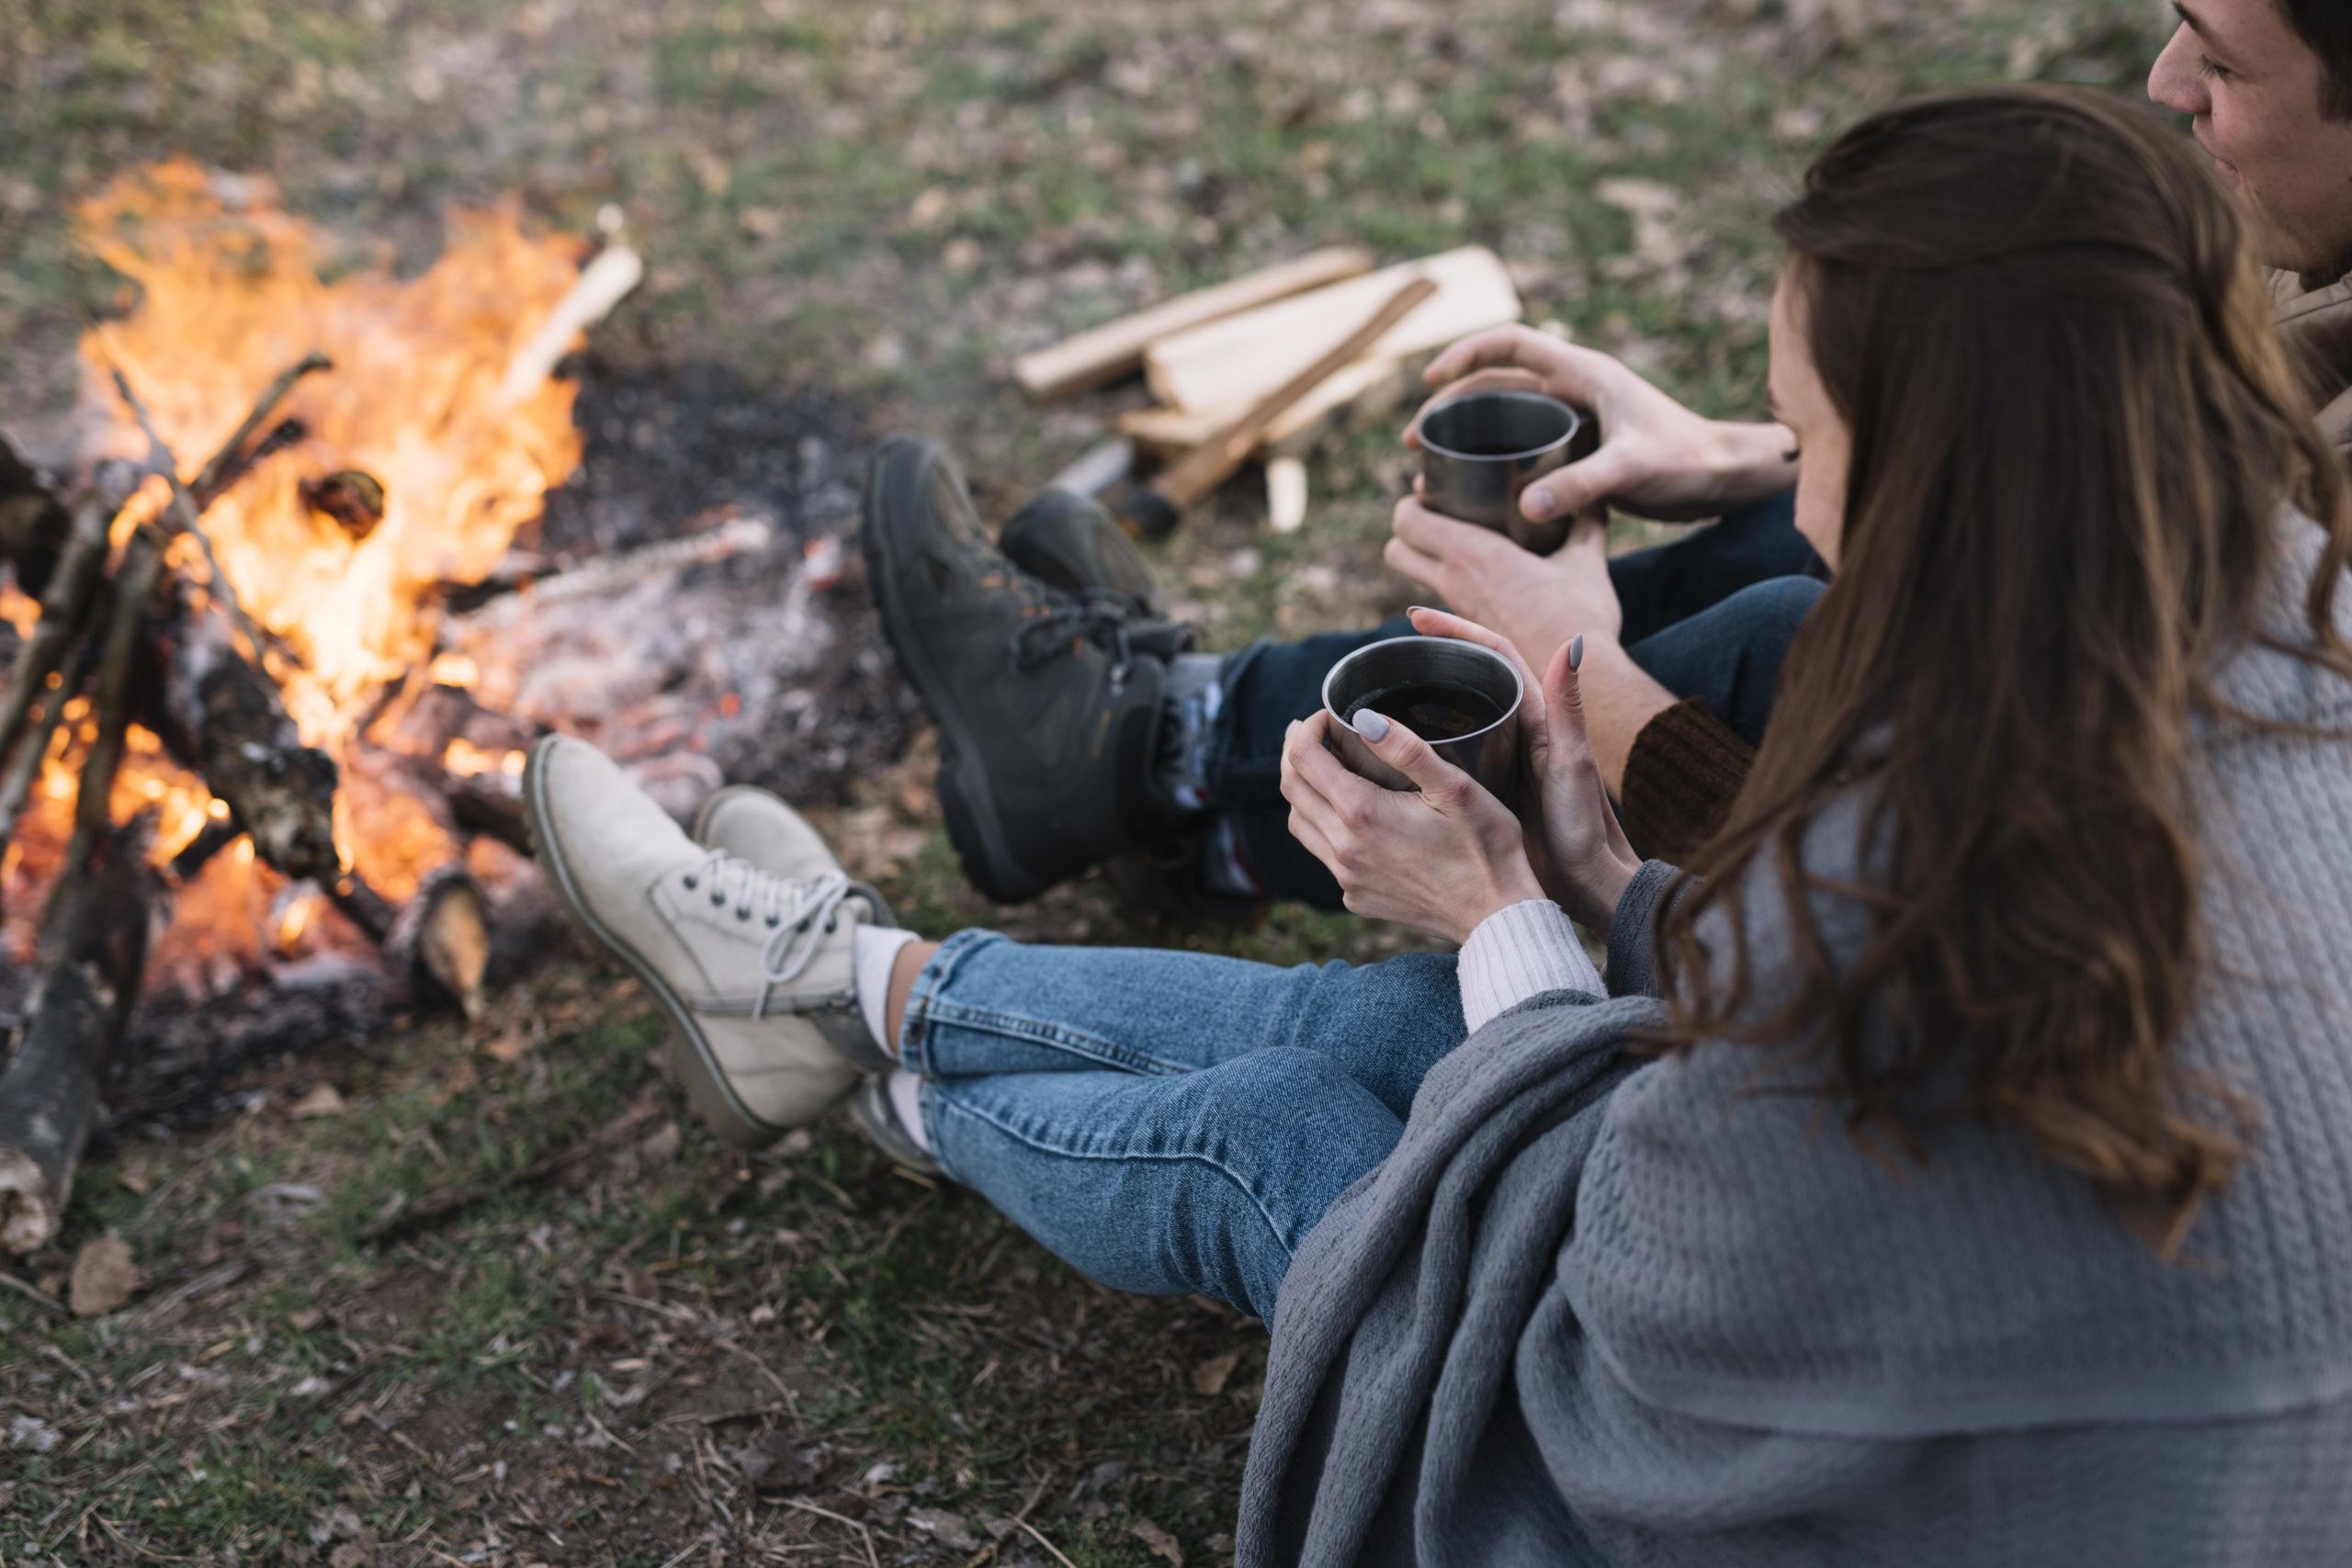
Tip 2: Choosing the Right Heat Source
The heat source you use to brew with your camping percolator makes a big difference.
Campfires take effort to set up but give that authentic experience. Portable stoves are convenient and adjustable.
With a campfire, use hardwoods like oak or maple for even, consistent heat. Softwoods burn fast and produce resin that can taint coffee.
Position the percolator to the side of direct flames. Sudden high heat damages coffee’s flavor.
For portable stoves, propane gives precise temperature control. Butane stoves also work well for percolating.
Whichever heating method you use, avoid boiling or scorching. Lower, steady heat makes the best coffee.
Tip 3: Mastering Ideal Brew Time
Brew time is key for great taste from your camping percolator. Proper timing infuses flavor without over-extracting bitterness.
For most 12-cup percolators, aim for 8-12 minutes total brew time. Larger units need a bit longer, around 15 minutes.
Keep an eye on the percolator toward the end. Remove from heat once the coffee color darkens and the streaming bubbles become lighter.
Altitude impacts boil temperature and brew speed. You may need to adjust time up at higher elevations.
When in doubt, taste test! Sample the coffee periodically so you learn your percolator’s ideal timing.
Mastering optimal brew time takes trial and error. But proper timing delivers rich, smooth coffee every time.
Tip 4: Troubleshooting Common Problems of Camping Percolator
Camp Percolator Not Working – Solutions
Percolators are simple but still prone to issues. Here are some common problems and fixes:
Clogged basket – Remove basket and rinse to unclog. Clean with a brush if needed.
No perking – Check the heat source and make sure the perk tube is clear.
Weak coffee – Try shorter brew time or more grounds. Clean mineral buildup.
Bitter or burnt flavor – Brew at lower temperature or for less time.
Grounds in coffee – Use a finer grind size or add a second filter.
Leaking – Make sure the lid is tightened properly. Replace rubber seals if worn.
Corroded/rusted – Remove rust spots with vinegar and scrub. Avoid soakings.
With some troubleshooting and maintenance, your percolator will make coffee outdoors for years.
Tip 5: Fine-Tuning for Taste
How to Use a Camping Percolator for Best Results
It takes some trial and error to fine-tune a camping percolator to your taste. But dialing it in is worth it for a personalized brew.
If coffee is too weak, try using more grounds or brewing for longer. For stronger coffee, do the opposite.
Letting coffee sit after perking finishes helps mellow acidity. Pour into a thermos to hold heat.
The order of grounds and water impacts taste too. Wet the grounds first for fuller extraction.
Adjust the grind size – finer for bolder coffee, coarser for smoother flavor.
Play with different coffee brands to find your favorites. Darker roasts hold up well to perking.
Everyone’s preferences differ – experiment until your percolator makes coffee just how you like it.
Tip 6: The Role of Water Quality
The taste of your coffee is hugely impacted by the water used. Always brew with the freshest, cleanest water possible.
Tap water from home is fine. But fill your percolator at the campsite from fresh source water.
Avoid brackish or mineral-rich water. The salts and metals negatively impact flavor.
If water smells or tastes funky, don’t use it. Boiling won’t remove those off tastes.
When car-camping, bring water from home. Or fill your percolator from clear mountain springs.
Quality water equals quality coffee. Your percolator can only produce great results with good H2O.
Tip 7: Regular Cleaning & Maintenance
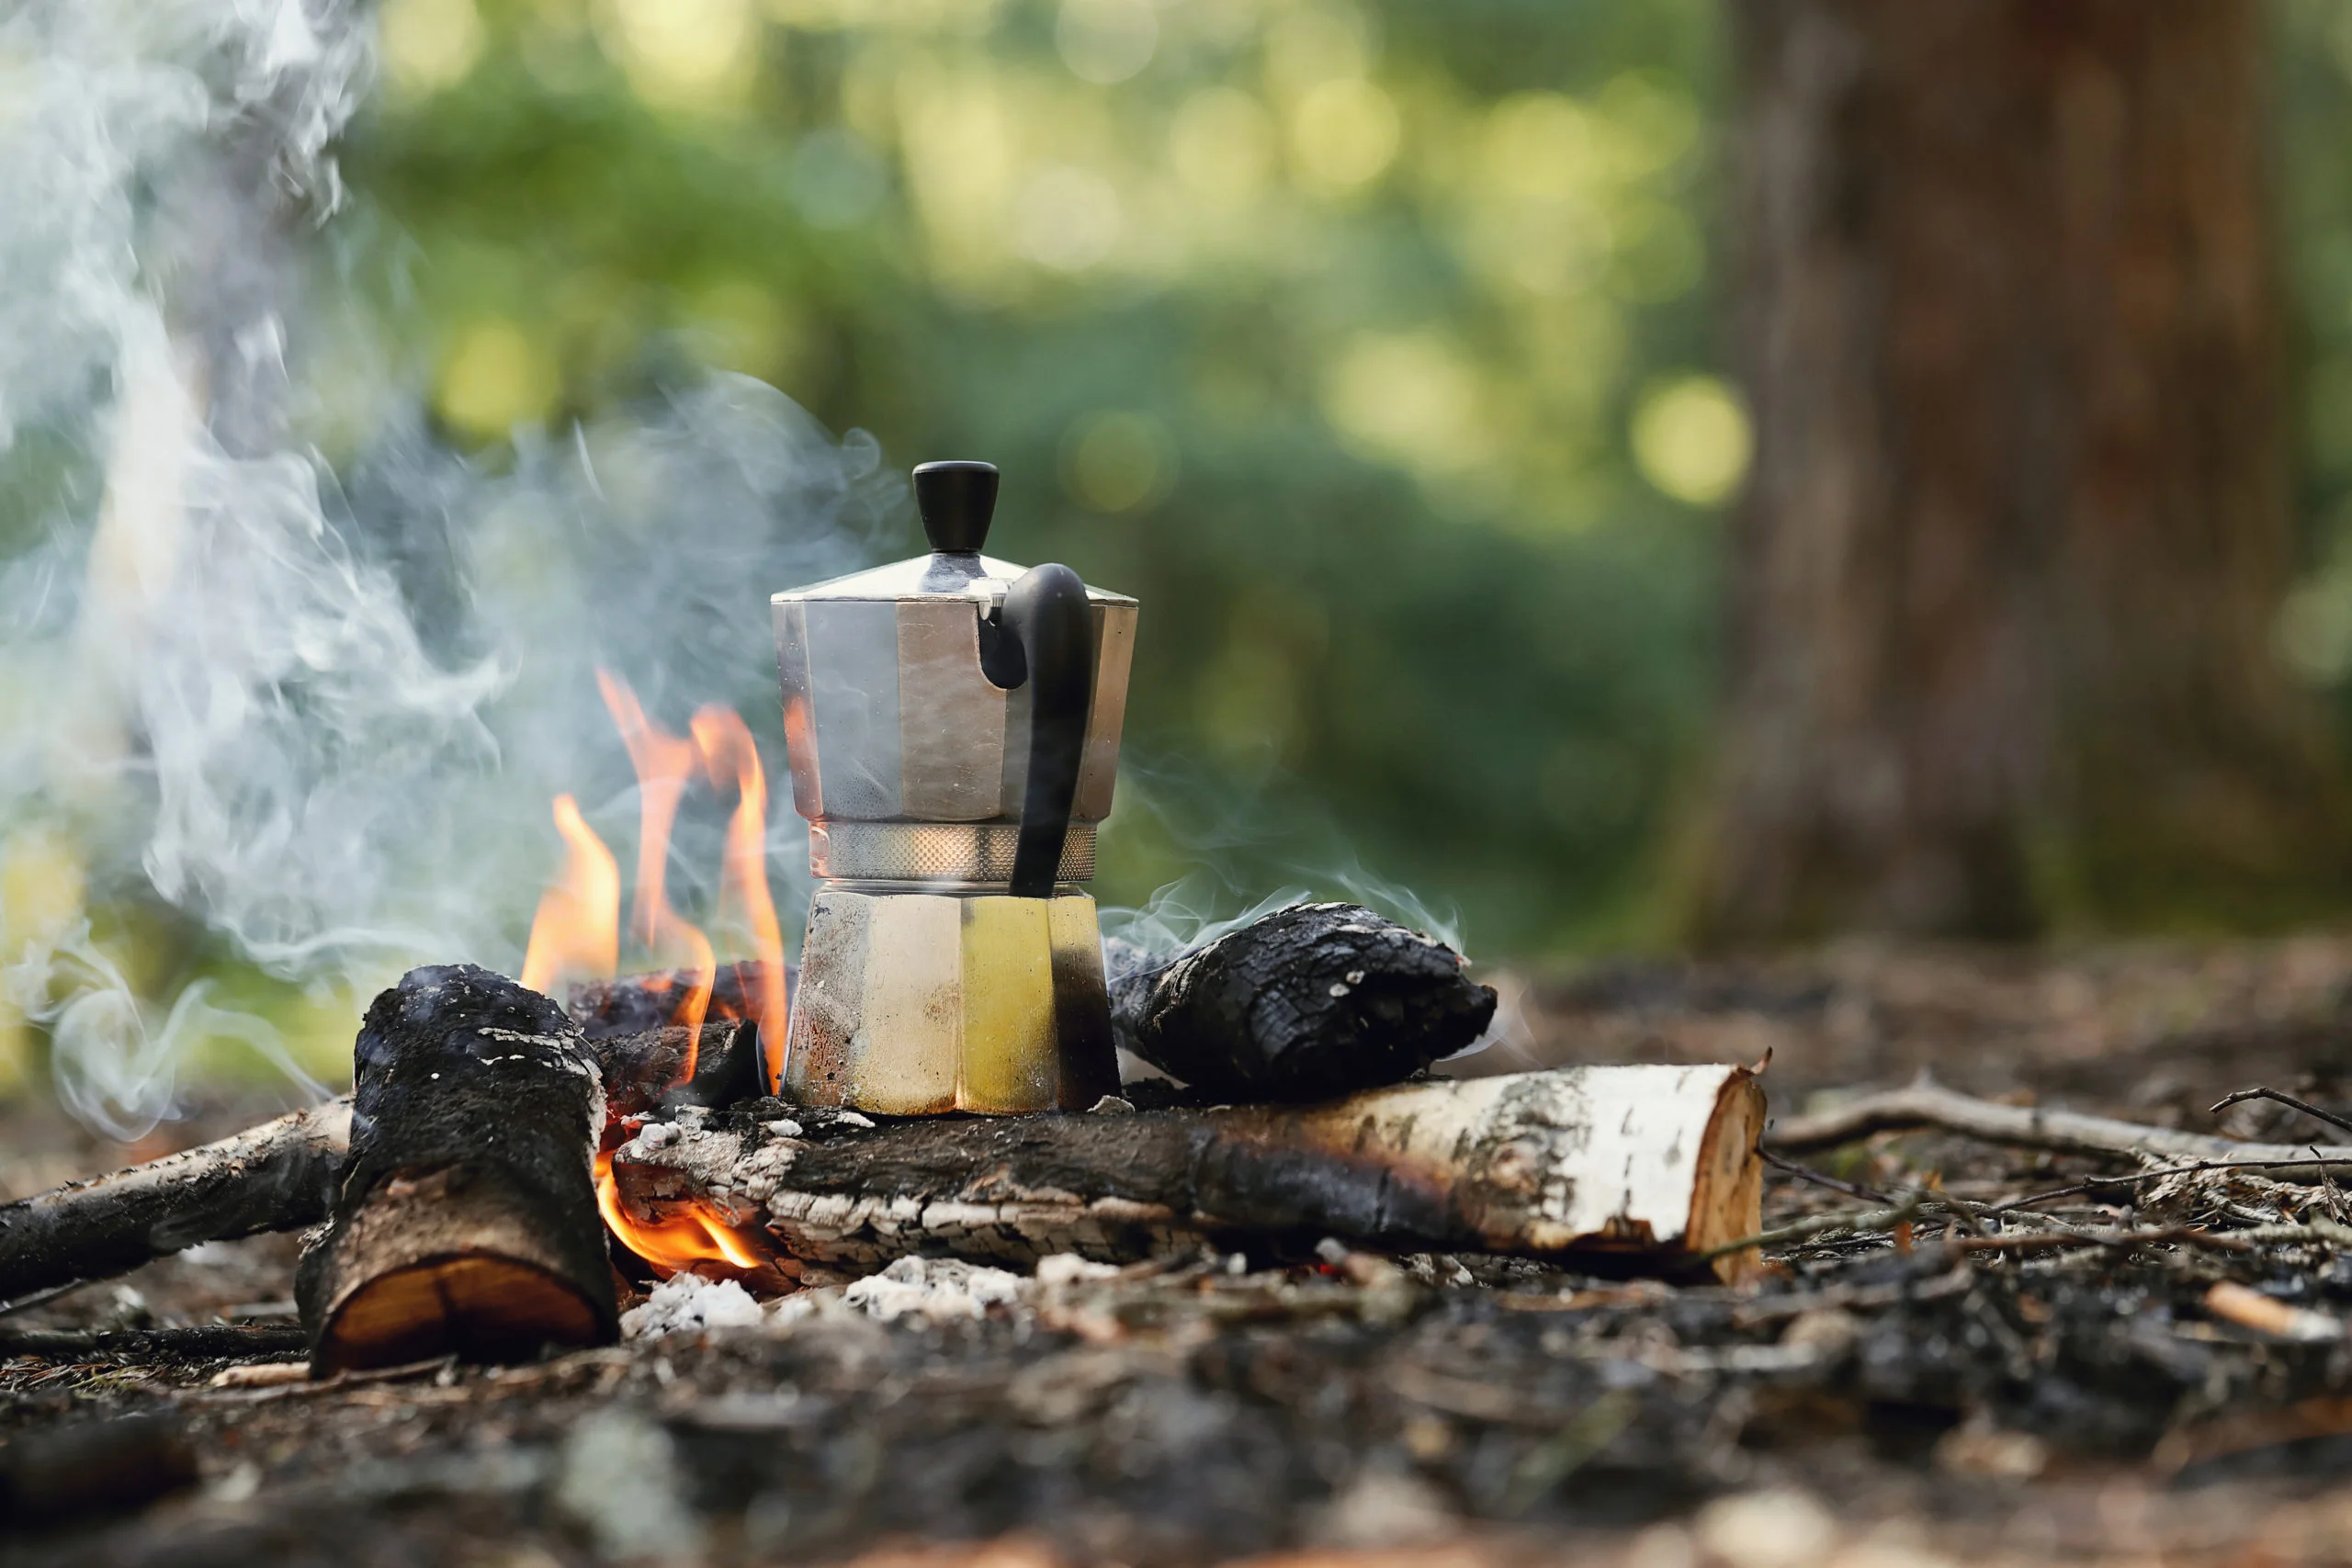
Don’t neglect cleaning and maintenance for your camping percolator. Proper care ensures great coffee and long device life.
Rinse and hand wash your percolator after each use. Don’t let coffee residue dry on.
Periodically descale by filling with equal vinegar/water. Simmer, then rinse thoroughly.
Lubricate the basket stem and perk tube yearly with food-grade silicone.
Check the lid seal and replace if worn. A tight seal prevents leaks.
Store open and dry between uses – don’t pack away dirty or wet.
With occasional cleaning and lubrication, your percolator will function like new for years.
Tip 8: Coffee Ground Size Matters
The coarseness or fineness of your coffee grounds makes a big difference in your percolated coffee.
Finer grinds over-extract and makes bitter, sludgy coffee. They also clog the percolator basket.
Coarser grinds under-extract and produce weak, watery coffee. Flavor isn’t fully infused.
A medium grind is best. The grounds should feel gritty but cling together when pinched.
Buy pre-ground coffee labeled “percolator grind” or use #3 drip grind size. Or grind your own to the right coarseness.
Take care not to pack the basket tight, which restricts water flow. Level off lightly with your finger.
Experiment to find your ideal grind size for robust flavor without over-extraction.
Tip 9: Keeping Your Brew Warm
Enjoying hot coffee is key while camping. Here are tips to keep your percolated brew at ideal drinking temperature:
- Insulate your percolator by wrapping it in a towel or cozy while brewing. This retains more heat.
- Transfer coffee to pre-warmed mugs or a stainless steel thermos immediately after perking.
- Position your percolator out of direct wind. Breezes quicken cooling.
- For big groups, brew smaller batches more frequently to serve hot.
- If camping in cold weather, pour into an insulated jug and keep close by the fire.
- Electric percolators can plug into a portable power station to stay heated.
With some simple strategies, you can keep freshly brewed camping coffee hot – making those chilly mornings more bearable.
Tip 10: Optimal Brew Ratios
The ratio of coffee grounds to water is crucial for flavor and strength. Follow general guidelines:
- For mild coffee, use 1 tablespoon of grounds per cup of water.
- For medium coffee, use 1.5 to 2 tablespoons of grounds per cup.
- For bold coffee, use 2.5 tablespoons of grounds per cup.
The “cup” measure refers to the typical 6-8 oz camping mug size.
For example, for 4 mugs of bold coffee, use 10-12 tablespoons of grounds with 4 cups of water.
When dialing in your perfect ratio, it’s easier to adjust the grounds than the water.
Aim for the ratio that suits your tastes – not too weak or overpoweringly strong.
Tip 11: Brewing Safely
When cooking outdoors, safety should always be top of mind. Here are some tips for safe coffee brewing with your camping percolator:
- Set up your percolator over a fire or stove on a flat, stable surface away from foot traffic.
- Position it securely so it cannot tip over and spill boiling water or hot coffee.
- Take care when reaching over the percolator so sleeves don’t catch fire or hands get burned.
- Use oven mitts or potholders when removing the percolator from heat sources. The metal gets extremely hot.
- Pour coffee slowly and keep the percolator pot handle turned away from you and others.
- Keep children and pets well away from the brewing area to prevent accidental spills.
- Allow the percolator to fully cool before packing it away after use.
Focusing on safety will let you relax and enjoy your amazing camp coffee every time.
Tip 12: Experimenting with Beans
One of the joys of percolator coffee is experimenting with different beans and flavors.
Try various coffee bean origins like Colombian, Ethiopian, Sumatran. The terroir impacts flavor.
Play with different roasts too. Light roasts are tangy and tea-like. Dark roasts are bolder with smoke notes.
Flavor your grounds with a pinch of spice like cinnamon, nutmeg or cardamom before brewing.
If you use pre-ground coffee, explore blends marketed for percolators. Many brands offer these.
See what whole bean coffees your local roaster recommends for percolator brewing.
Part of the fun is tasting how different beans and flavors infuse into your camp coffee.
Tip 13: Perfecting Your Technique
Like any new skill, learning to brew expertly with your camping percolator takes practice.
Don’t get discouraged if your first few pots don’t come out perfectly.
Making mistakes and learning from them is integral to mastering the process.
Experiment with different grind sizes, brew times, heat levels, and coffee amounts until you find your groove.
Take notes on your methods and flavors so you can replicate successes.
Pay attention to subtle details as you gain experience and finesse.
Making delicious percolator coffee outdoors is very rewarding. Enjoy the journey of honing your technique trip after trip.
FAQs
1. How do you make coffee in a campfire percolator?
Set up a campfire ring and build a fire using hardwoods like oak or maple. Let the flames die down to glowing coals.
Position the percolator near but not directly in the coals. The ideal temperature is just below boiling.
Add coarse ground coffee to the basket, about 1-2 tablespoons per cup of water.
Pour cold water into the bottom section. Use about 1 cup of water per 1 tablespoon of grounds.
Place the basket section into the pot, attach the stem and top. Bring the water to a boil then reduce heat to low.
Let percolate for 8-12 minutes. Keep an eye on it and remove once the coffee is dark and reaches desired strength.
2. How to perk coffee on a camp stove?
Choose a protected area away from wind. Propane or butane stoves work best.
Follow the same steps for filling the percolator and ratios of grounds to water.
Keep the stove on low heat. Medium at highest – you don’t want the flames licking high around the percolator.
Let the water come just to a boil, then reduce to the lowest flame.
Percolate for around 10 minutes. Adjust off direct heat if boiling gets too vigorous.
3. What kind of coffee should I use in a camping percolator?
Specially ground “percolator grind” is ideal. It’s a medium coarseness between drip and French press.
If you don’t have percolator grind, use a medium (#3) drip coffee grind. Make sure it’s fresh, not stale.
Darker roasts like French, Italian, and espresso work well. Lighter roasts can taste grassy and acidic.
Flavored coffee like vanilla or hazelnut can be nice by the campfire. The percolating intensifies the flavors.
Pre-ground coffee labeled “percolator coffee” from the store is perfectly suitable.
4. How much coffee should I use in a camping percolator?
1-2 tablespoons per 6-8 ounce cup is standard.
For mild coffee, use 1 tablespoon per cup of water.
For medium coffee, use 1.5 to 2 tablespoons per cup.
For bold coffee, use 2.5 tablespoons per cup.
Adjust to taste, using more grounds per cup for bolder coffee or less for milder.
5. Can I use a camping coffee percolator on any heat source?
Percolators are flexible and can be used over campfires, grills, portable stoves, induction burners, electric coils, etc.
The key is low, consistent heat. Direct flames or sudden high heat can scorch the coffee.
Portable propane or butane stoves offer the best temperature control for percolating.
Avoid placing directly on hot coals. Position adjacent to the fire for indirect ambient heat.
Conclusion
There’s nothing quite like enjoying a hot cup of rich, flavorful coffee while taking in the peaceful wilderness on a camping trip. And with the right percolator, skills, and know-how, you can brew excellent java anytime, anywhere in nature.
Don’t view making camp coffee as a chore – embrace it as part of the whole experience! Savor learning the nuances of your percolator as you become a master outdoor barista.
We hope these tips give you confidence using your camping coffee percolator and set you up for success creating coffeehouse-worthy brews amidst inspiring scenery.
The joys of camping are so much sweeter with a perfect cup of coffee in hand.


