How to Use Percolator Coffee Pot for Camping? 10 Creative Ways
For coffee lovers, camping without coffee can be very boring. A hot cup of coffee in the morning is one of the most essential things when camping.
While many campers are willing to forego many things when going out in the bush, coffee is usually not one of them.
There is nothing that will make a coffee enthusiast happier than being able to make a strong cup of coffee in the morning.
However, it’s not always easy to prepare coffee when camping due to a lack of enough supplies or a convenient coffee maker.
There are probably numerous ways to make coffee while outdoors, but not all of them are convenient and reliable. For instance:
You can easily prepare a cup of coffee with just hot water and instant coffee without extra effort, but the results can’t be compared with freshly brewed coffee.
A camping coffee percolator is one of the easiest and fast ways to prepare coffee while in the bush. It allows you to brew a strong cup of coffee within a few minutes.
In this article, you will learn how to use a camping coffee pot to make your delicious cup of coffee.
But first, let’s find out what is a camping percolator coffee pot.
- ☕ ENJOY IRRESISTIBLE TASTE & AROMA – You deserve the best so ditch the rest – our Percolator has been designed to…
- Note: 1)Too coarse a grind, too little coffee, or insufficiently tamping the grounds before brewing can all lead to…
Percolator Coffee Pot for Camping
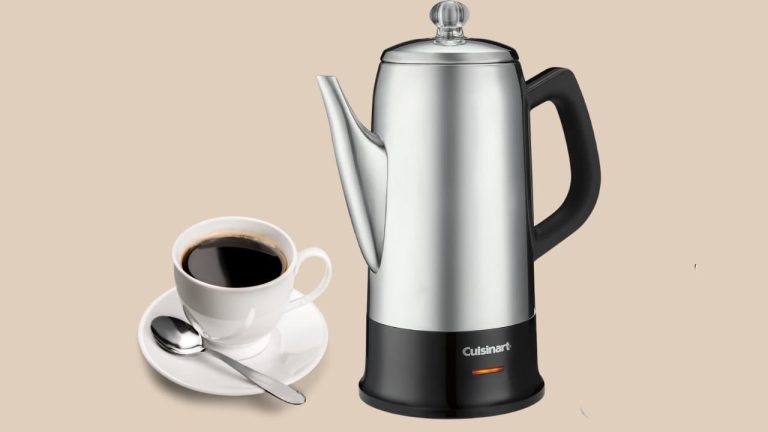
A percolator coffee pot for camping is a simple decent coffee maker that uses a campfire or other heat sources to brew coffee.
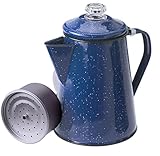
It comes with a metal tube that allows hot water to pass into a metal basket filled with ground coffee beans.
The percolator coffee pot camping is an ideal way to make strong coffee with a campfire or camp stove. It’s suitable for both large and small groups.
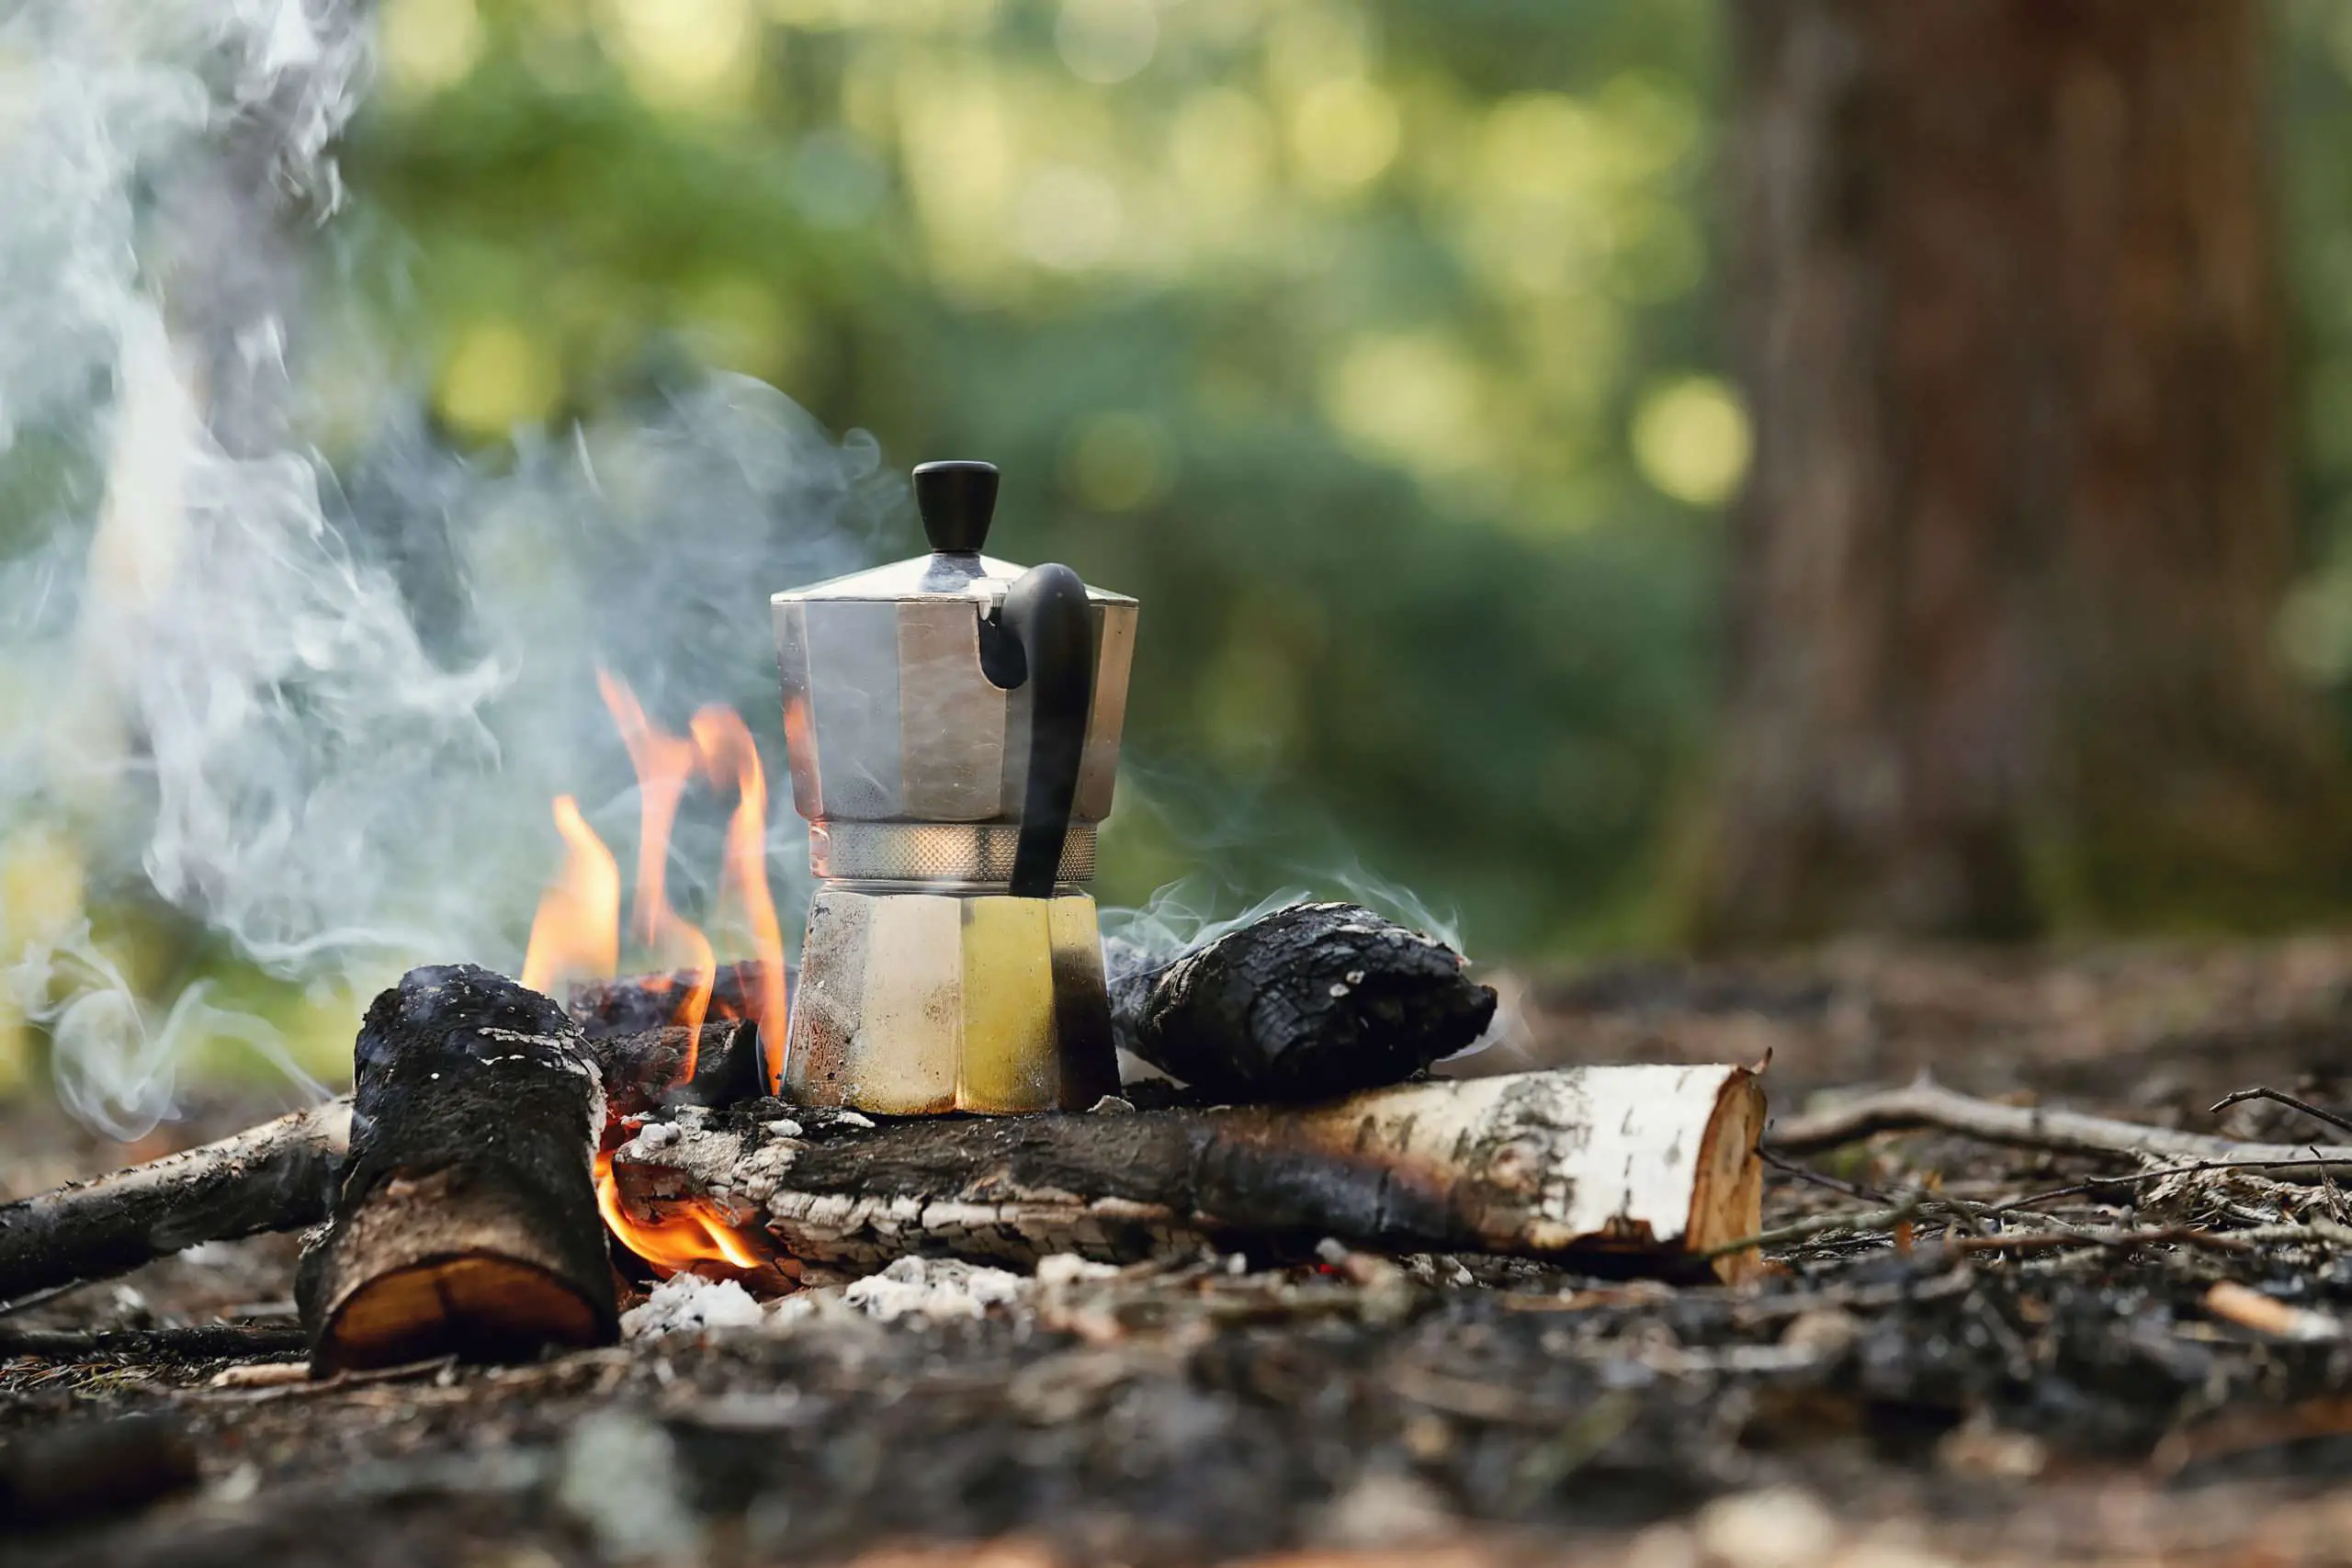
These coffee makers for camping are usually made with strong materials like stainless steel and aluminum. They can last for many years as they are designed for extreme durability.
Some of the best coffee percolator for camping include the Farberware Yosemite Percolator, GSI Outdoors percolator coffee pot, and more.
Camping Percolator Coffee Pot Parts
The percolator camping coffee pot consists of four main parts, including the pot, a vertical tube, a basket sitting on the tube, and a lid.
The Pot: This is a chamber where water is poured in for boiling. The inside of the pot is usually made of stainless steel to ensure that no chemicals can get into your coffee. Stainless steel is also clean as it doesn’t accumulate much coffee residue.
Basket: This is usually a perforated chamber that sits on the tube and it has a lid. It’s where the ground coffee beans are placed for brewing. The chamber is designed with small holes that allow water or brewed coffee to pass while filtering coffee beans to prevent residue in the coffee brew.
Lid: The lid is the top part of the coffee pot and it allows you to cover the percolator as the coffee brews. Some modern percolators come with a clear lid that allows you to see when the brewing process starts. When aligning your percolator, it’s essential to check if everything is well line-up before covering it with the lid.
How to Use Percolator Coffee Pot for Camping
To use a percolator coffee pot for camping, you will need a fire source, coarsely ground coffee beans, and water.
Once you’ve gathered all the supplies required, you can follow these step-by-step instructions to brew strong coffee in a percolator coffee pot for camping:
- Please refer to user guide or user manual or user guide (provided below in PDF) before first use
- STAY CAFFEINATED: Coffee? Always! The enamelware percolator makes your caffeine needs attainable for any campsite,…
1. Start the Fire
To make coffee in a percolator camping pot, you need to light a fire and let the flames go out to form bright red coals.
This because coffee preparation with a camping pot is easier when the pot is held directly over the bright red-hot coals.
If you don’t want to wait for the red coals to form, you can hang the pot over the high flames.
2. Dissemble the Percolator and Fill the Pot
The next thing is to put the removable parts of a percolator down and fill the pot with fresh water.
This may be a couple of cups depending on the size of your percolator and the amount of coffee you want to make. But you shouldn’t overfill as it will lead to a hot mess or even turn off the fire.
If your percolator has a fill line, don’t fill the water beyond that mark. If it doesn’t, you need to be careful not to pour excess water in it.
3. Add the Ground Coffee Beans
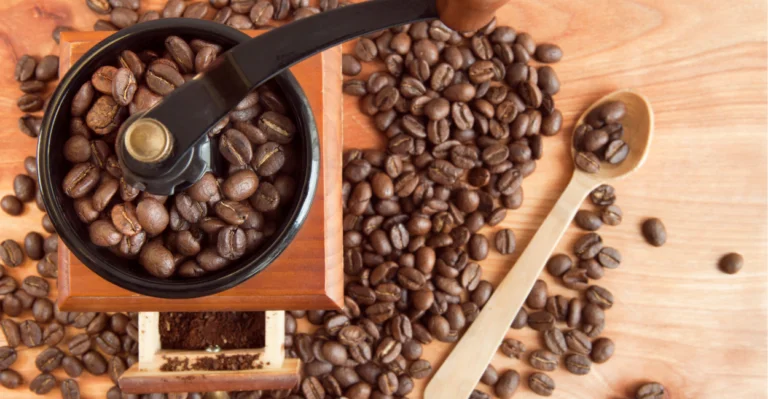
Add your ground coffee beans into the coffee basket. If you are brewing coffee with regular coffee grounds, you may want to use a coffee filter that fit in the basket to avoid residue in your coffee.
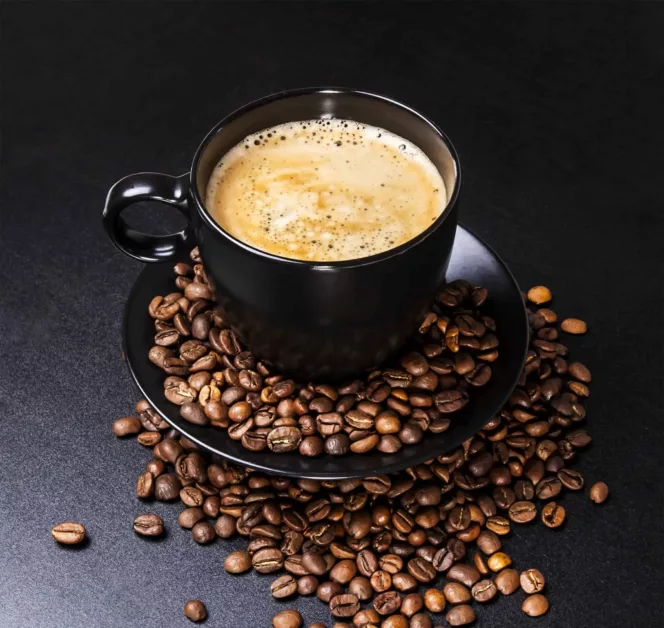
However, if you have fresh coarsely ground coffee beans, there is no need for a filter. The percolator basket is designed to filter large coffee grains and give you a clean cup of coffee.
The amount of coffee grounds to use will depend on how much coffee you want to make. If you want to make four cups of strong coffee, you can use about four tablespoons of coarsely ground coffee beans.
Ideally, use one tablespoon of coffee beans for every cup of water to obtain a strong cup of coffee. If you want a weaker cup of coffee, you can use a teaspoon of coffee for each cup.
Then put the basket lid on and place the tube and the basket into the percolator before covering with the top lid.
4. Put the Percolator on a Fire Source
Once you load your percolator with cold freshwater, place it on the fire source to brew your coffee.
Ensure that everything is secured before placing the percolator in a fire source to prevent a mess.
When using a campfire, the water may take a while to boil, but you should watch it to know when it boils. Keep in mind that brewing starts immediately after the water boils.
Once the water in the pot boils, adjust the flame to reduce much heat or remove the pot from the center of the fire to prevent over-extraction.
Let the coffee percolate for about five to ten minutes. As the brewing continues, you will notice that the water color changes to brown or dark brown.
5. Serve the Coffee and Enjoy
After your coffee has percolated for about ten minutes, remove it from the fire source and pour it into your coffee mugs.
Then enjoy sipping a hot cup of delicious coffee while viewing the beauty of nature on a chilly morning.
It’s also important to discard the used coffee grounds and rinse the coffee pot with clean water.
Cleaning your percolator immediately after brewing will keep it fresh and ready for next time use.
10 Creative Ways to Use a Percolator Coffee Pot for Camping
1. Filtered Coffee
If you like your coffee smooth and well-filtered, you can use paper filters in your percolator camping coffee pot.
All you have to do is place a coffee filter in the percolator basket before adding your ground coffee beans. Then percolate your coffee in the normal brewing method.
However, you will want to ensure that you have the best coffee filters for a percolator to filter your coffee efficiently while still preventing a bitter brew.
Some of the best coffee filters to use in a percolator includes the Melitta coffee filters. They fit in most coffee pots.
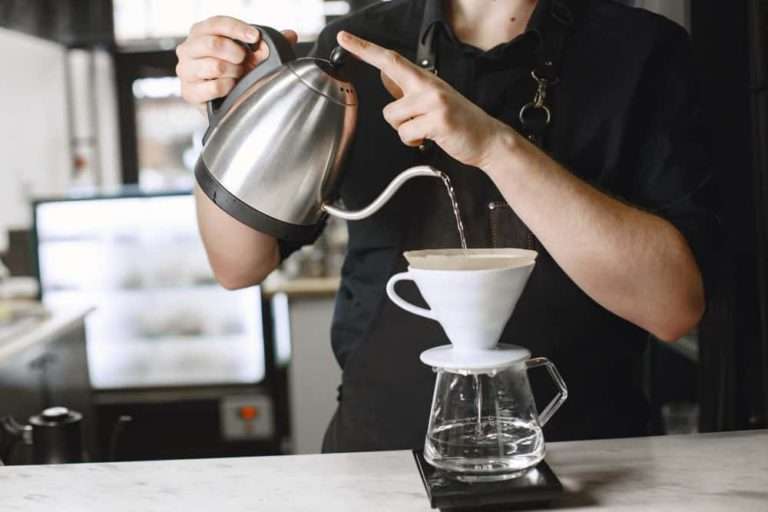
You can also pour over hot coffee after brewing it in a camping percolator coffee pot then allow it to drip your filtered coffee.
2. Brew Strong Coffee in a Percolator Coffee Pot
Have you ever wondered if you can brew a very strong cup of coffee in a percolator? The answer is yes.
You can easily brew strong coffee in a percolator coffee pot for camping by using more coffee than you normally use when brewing regular coffee. For instance:
If you usually use one tablespoon of coffee in your percolator for each cup, you can use one and a half or two tablespoons of coffee to obtain a strong brew.
Nonetheless, you will want to be very careful when brewing strong coffee in a percolator as you can easily end up with a bitter cup of coffee.
When the water boils during the brewing process, you can remove the pot from the center of the campfire and place it on the sideway.
Moreover, you shouldn’t brew your strong coffee for more than seven minutes to avoid over-extraction.
3. Use Coffee Bags
Coffee bags are an easy and convenient way to brew coffee when outdoors. You only need hot water and the cup from where you will drink your coffee from.
You can use a percolator camping coffee pot to boil water for brewing coffee. Then place the coffee bag in a cup and pour the hot water to obtain a great coffee drink.
If you want a stronger cup of coffee and all you have is a percolator and the coffee bags, you can put the coffee bags in a coffee pot with boiling water.
Then let it brew for a few minutes before removing the percolator from the fire source. This will give a strong, smooth cup of coffee, especially if the coffee bags have your favorite type of coffee.
4. Use Instant Coffee
Instant coffee is always a way to go for many campers. It allows you to enjoy a hot cup of coffee within a few minutes after waking up while outdoors.
To prepare a coffee drink with instant coffee, you will need hot water. This is where a camping coffee pot comes in. You can use it to boil filtered water before pouring it into your coffee mug.
The best thing about a coffee pot while camping is that it can boil water faster, provided there is a source of heat. This will save you a lot of time.
- Note: 1)Too coarse a grind, too little coffee, or insufficiently tamping the grounds before brewing can all lead to…
- Premium Coffee Percolator: Classic percolator brews from 2 to 8 cups of hot, rich, and flavorful coffe, to enjoy your…
5. Pour Hot Coffee Grounds
If your coffee grounds have lasted for a few days and you don’t want to brew bitter-tasting coffee, you can use a single-serving pour-over or a paper filter and a cup.
In this case, you need to boil clean water in your coffee pot and place a filter on a cup before adding your coffee grounds.
Then pour the hot water gently over the coffee grounds. This will help reduce the water-coffee contact, which would otherwise lead to over-extraction.
If you don’t have a paper filter, you can also use a clean piece of clothing when brewing coffee.
6. Percolated Coffee for a Large Group
A coffee pot is the best way to brew coffee for large groups as it allows you to make more coffee at once.
You can brew up to ten cups of coffee in a percolator, depending on the size of your percolator. All you have to do is use one tablespoon of coarsely ground coffee beans for each cup of coffee.
When brewing large amounts of coffee in a percolator, it’s also wise to ensure that you reduce the heat when the water boils to prevent over-extraction.
7. Make Cold Brew Concentrate
If you are camping as a large group or want to drink coffee throughout the day, you may want to make a cold brew coffee concentrate then dilute it with cold or hot water.
So, how do you make a cold brew coffee concentrate in a coffee pot? It may seem impossible but the truth is that it’s very easy.
You only need to take out the removable components of your coffee pot, including the tube and the coffee basket, then follow these guidelines:
- Add coffee grounds into the pot and pour some cold water. Leave it to steep overnight or for about 12 hours.
- After 12 hours, place a filter or a clean cloth on a jug or a mug and pour your cold brew concentrate.
- Rinse the coffee pot with clean water and start a fire to boil some fresh water in the coffee pot.
- Pour some cold brew concentrate in a mug and dilute it with hot water to enjoy warm delicious coffee in a chilly morning in the mountains.
8. Brew Coffee the Columbian Way Using a Percolator Camping Coffee Pot
Brewing coffee the Columbian way produces a strong and flavorful cup of coffee. Some campers prefer to use this method with their coffee pot to obtain bold rich-tasting coffee.
To brew coffee in the Columbian way, you will need coarse or medium ground coffee, a coffee pot, and a source of fire.
Then add clean, freshwater into the pot and place it on the fire to boil. When the water boils, add some scoops of coffee grounds into the water and let it brew.
Your coffee will be ready after brewing for about three minutes. Then serve into your mug and enjoy. It tastes great, especially if you use quality coffee.
Read More:
How To Use A Camping Coffee Percolator
9. Brew Cowboy in a Percolator
For many years, Cowboy coffee has been a popular way to enjoy coffee when camping.
Outdoor enthusiasts who love coffee drinks brew the Cowboy coffee as it’s usually rich, bold, and great-tasting with lovely coffee flavors.
You can use a percolator camping coffee pot to make authentic Cowboy coffee while outdoors. Here is how to do it:
- Start a steady campfire with firewood.
- Grab your percolator coffee pot and add your ground coffee beans to it. Use one scoop or tablespoon for every cup of water.
- Add clean water into the pot close to the top, but don’t fill it too much. Instead, leave some room for boiling over.
- Set the coffee pot into the fire and let it boil. After the coffee boils, use a wooden spoon to stir the coffee or add a crushed eggshell to prevent the coffee grounds from escaping.
- You can also add some cold water to let the coffee grounds settle on the bottom of the pot. Then let your Cowboy cool a few minutes before serving it into your mug or share with friends.
10. Make Cupping Coffee
To make sweet coffee within a few minutes while in the bush, the cupping method can be your best bet.
You can use your camping coffee pot to boil water for brewing coffee. Then add the hot water in a cup with ground coffee beans.
Then let the coffee brew for about five to ten minutes to obtain subtle flavors.
FAQs
Final Thoughts
A percolator coffee pot is one of the easiest ways to brew coffee when camping. But you don’t have to wait until you go out to brew coffee in a percolator coffee pot.
Your percolator coffee pot can be used at home to make coffee on any source of heat. You only have to keep in mind that coffee brewed in a percolator coffee pot is usually hotter than that made in a regular coffee maker.
Whether you are in the bush or are using the coffee pot at home, you will want to be careful to remove it from the fire source in time to avoid bitter coffee. It’s easy to brew bitter coffee when using a percolator coffee pot.

