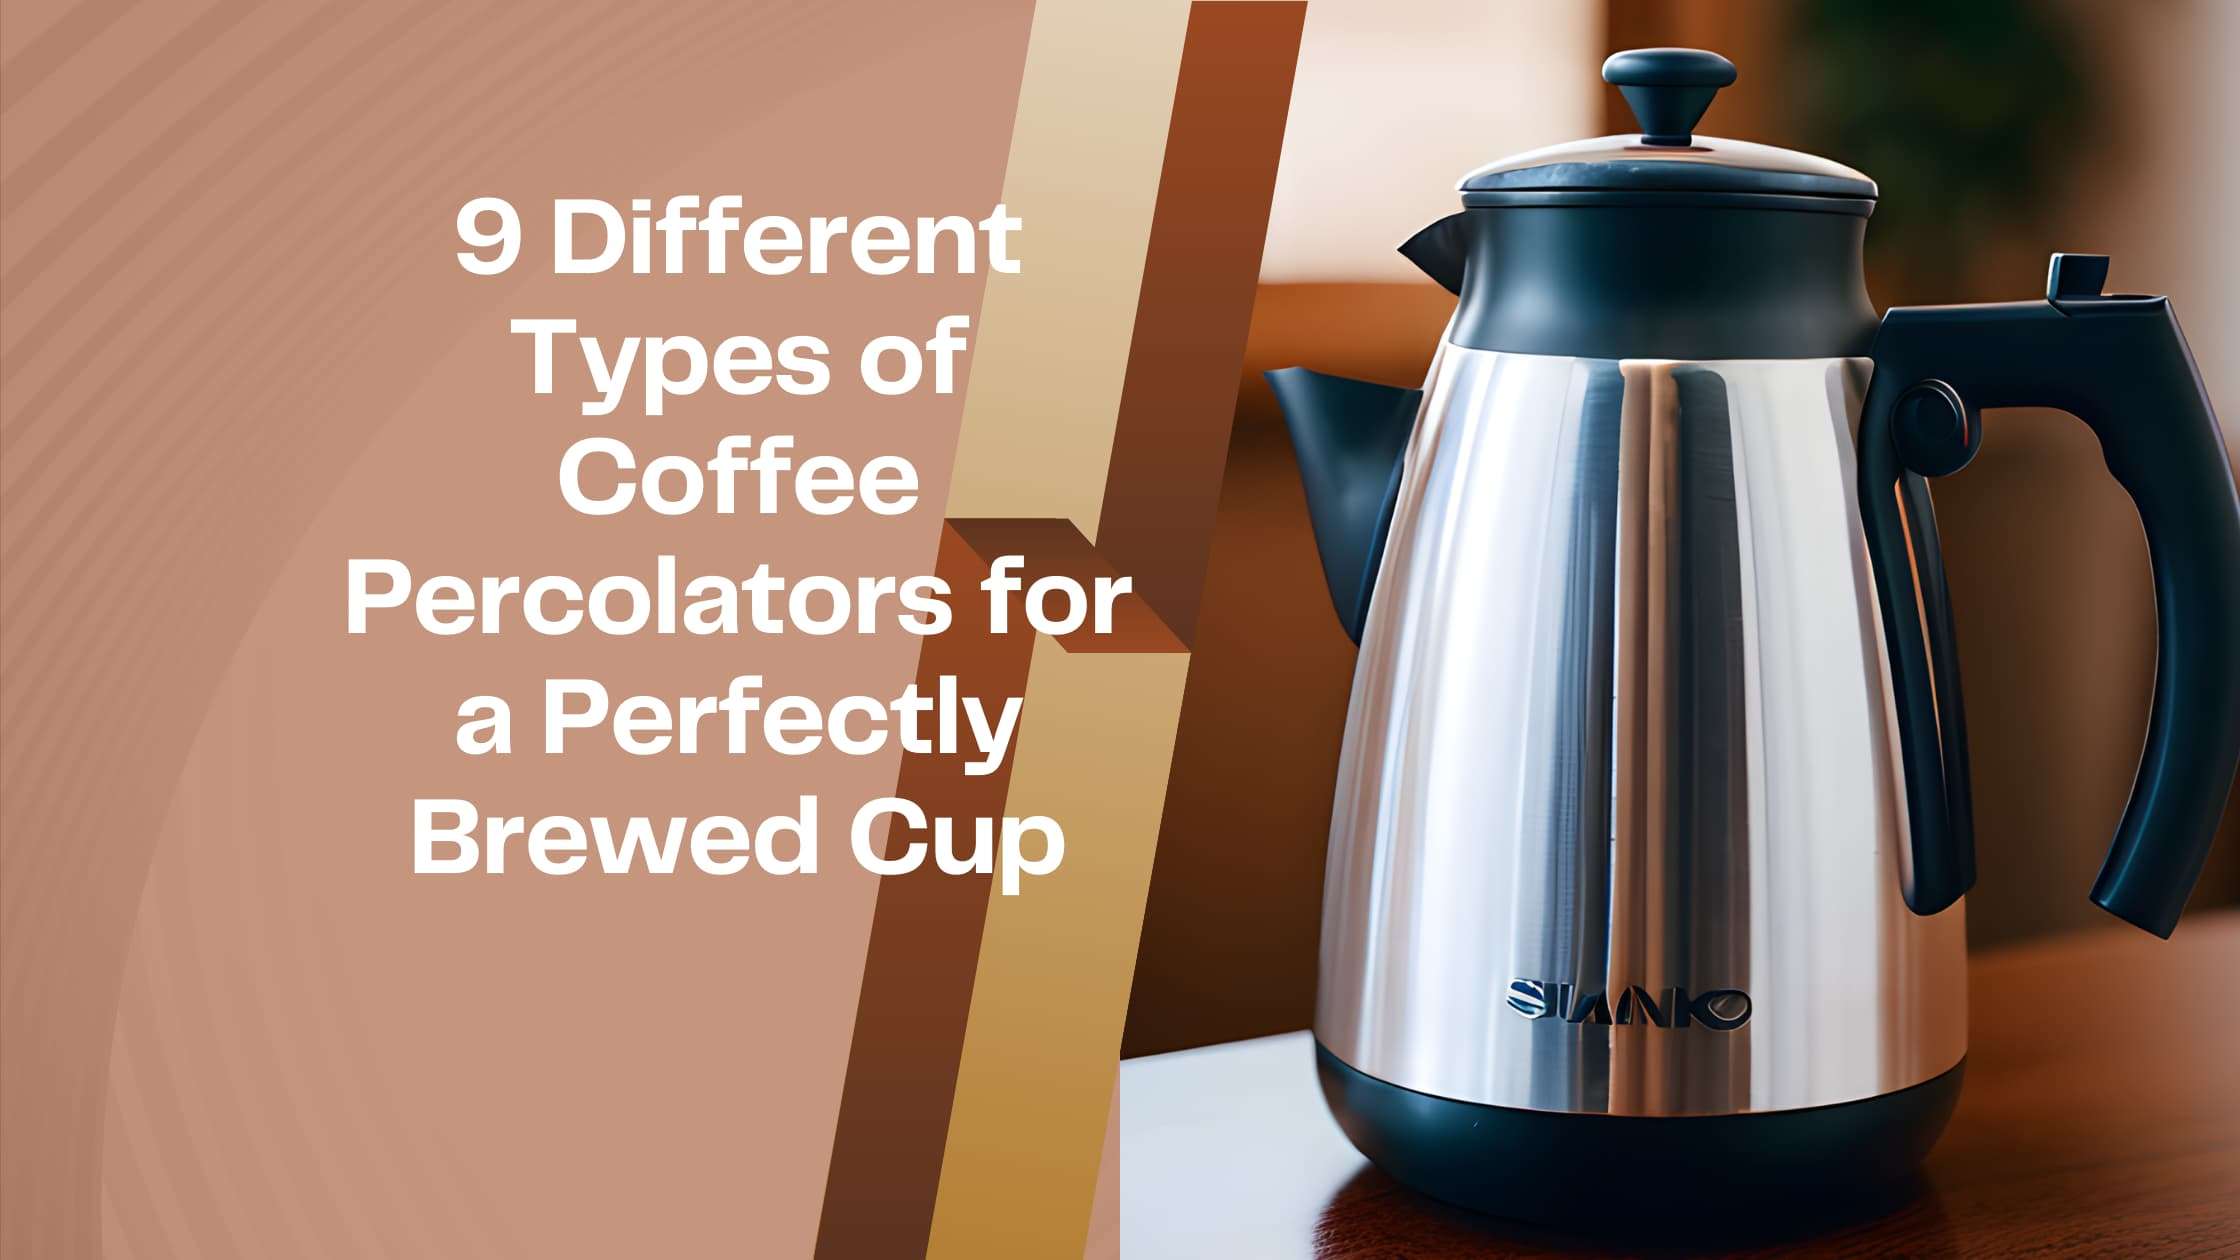
Discover the 9 different types of coffee percolators for a perfectly brewed cup
Are you on a quest to brew the perfect cup of coffee? Understanding the different types of coffee percolators is your first step. Let’s dive straight into the various percolators that can elevate your coffee game.
Recap of the Different Coffee Percolators Discussed:
- Drip Coffee Percolators: For those who seek convenience and consistency.
- Stovetop Coffee Percolators: A classic method that produces a rich, full-bodied brew.
- Electric Coffee Percolators: Combining traditional percolating with modern convenience.
- French Press Coffee Percolators: For a full-bodied and eco-friendly brew.
- Vacuum Coffee Percolators: A theatrical and flavorful brewing experience.
- Moka Pot Coffee Percolators: Bringing a taste of Italy to your kitchen.
- Cold Brew Coffee Percolators: For a smooth and refreshing cold coffee.
- Espresso Coffee Percolators: For a rich and intense shot of coffee.
- AeroPress Coffee Percolators: Perfect for adventurers seeking a quick and tasty brew.
Ready to explore each of these in detail? Let’s get brewing!
1, Drip Coffee Percolators: A Popular Choice Among Coffee Lovers
Overview of Drip Coffee Percolators
So, what’s the deal with drip coffee percolators? These kinds of coffee percolators are probably what you picture when you think of a coffee maker. They’re incredibly popular and can be found in countless kitchens around the world.
How Do Drip Coffee Percolators Function?
Curious about how these types of percolators work? It’s quite simple! Drip coffee percolators heat water in a reservoir, and then this hot water is dripped over coffee grounds placed in a filter.
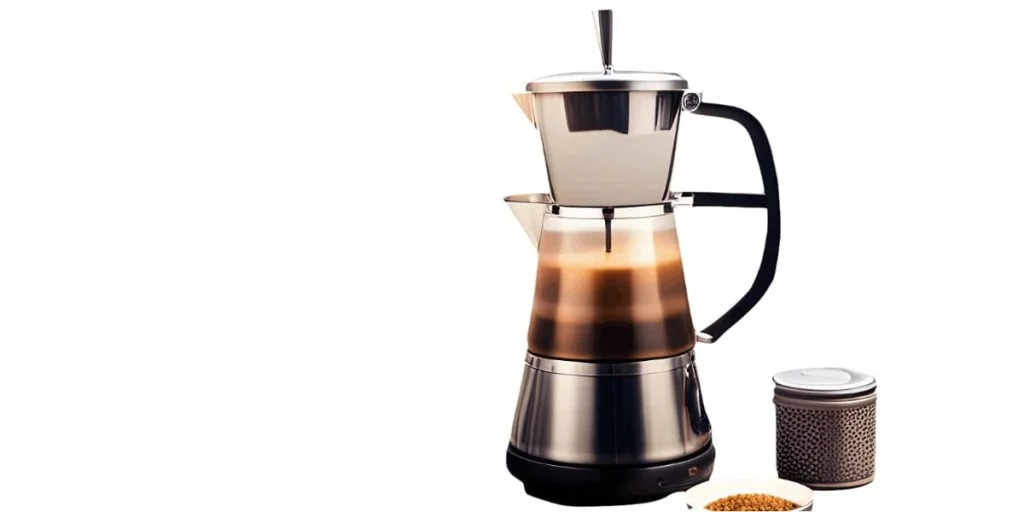
The water passes through the grounds, absorbing the flavors, and then drips into a carafe below. Voila! Your coffee is ready.
Pros and Cons of Using a Drip Coffee Percolator
Like everything, drip coffee percolators have their ups and downs. Let’s weigh them:
Pros:
– Easy to use: Just add water and coffee grounds, and you’re good to go!
– Consistent: They brew coffee at a consistent temperature, which is key for a good flavor.
– Programmable: Many models allow you to set a timer so you can wake up to freshly brewed coffee.
Cons:
– Limited control: You don’t have much control over the brewing process.
– Not the freshest: Since the coffee sits in a carafe, it can lose freshness over time.
Best Practices for Brewing Coffee with a Drip Coffee Percolator
Want to make sure your coffee tastes amazing? Follow these best practices:
1. Use Fresh Beans: Always use fresh coffee beans and grind them just before brewing.
2. Right Ratios: Stick to the golden ratio of 1 to 2 tablespoons of coffee grounds for every six ounces of water.
3. Clean Regularly: Clean your drip coffee percolator regularly to avoid buildup that can affect the taste.
4. Pre-infuse: If your percolator has a pre-infusion mode, use it. This wets the grounds before brewing and helps to enhance the flavor.
Now that you’re well-versed in drip coffee percolators, are you ready to explore other types of percolators with pictures and tips? Let’s keep going!
Discover The Simplicity Of Making Coffee Using Different Kinds Of Percolators
2, Stovetop Coffee Percolators: Old-School Brewing with a Twist
Stovetop coffee percolators are like the cool, old-fashioned way to make coffee. People who really love coffee often think these kinds of coffee percolators are awesome because they’re easy to use and make super tasty, strong coffee.
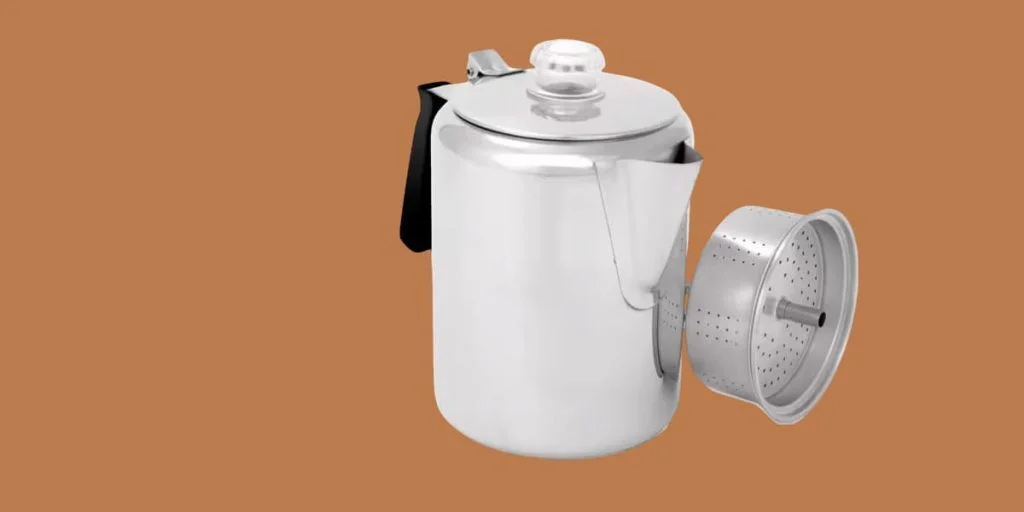
Imagine a pot that has three parts: the bottom part holds water, the middle part has a basket for the coffee grounds, and the top part is where your yummy coffee collects.
It’s like a coffee treasure chest! Plus, stovetop percolators are just one of the all types of percolators you can try.
Step-by-Step Guide on Using a Stovetop Coffee Percolator
Ready to give it a whirl? Here’s how to use a stovetop coffee percolator:
1. Fill the Bottom Chamber Add water to the bottom chamber, but don’t go above the safety valve.
2. Add Coffee Grounds: Place coarsely ground coffee in the filter basket. Don’t pack it too tightly!
3. Assemble and Heat: Screw the top and bottom chambers together and place the percolator on the stove over medium heat.
4. Watch and Listen: You’ll see the coffee begin to bubble into the top chamber. When the bubbling slows down, your coffee is ready.
5. Enjoy: Remove from heat, pour into your favorite mug, and savor the flavor!
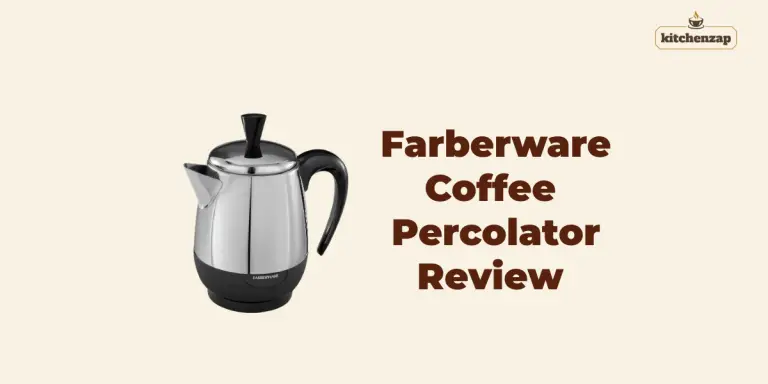
- CLASSIC COFFEE MAKER: Make delicious coffee morning or evening with The Original 12-Cup Farberware Stovetop Percolator
Advantages and Disadvantages of Stovetop Coffee Percolators
Advantages:
– Rich Flavor: Stovetop percolators are known for producing coffee with a full-bodied, rich flavor.
– No Electricity Needed: Perfect for camping trips or power outages.
Disadvantages:
– Easy to Over-Extract: If not watched carefully, the coffee can become bitter.
– Less Control: Temperature and brew time are harder to control compared to electric models.
Tips for Achieving the Perfect Cup with a Stovetop Coffee Percolator
1. Grind Size Matters: Use a coarser grind to prevent over-extraction.
2. Keep an Eye on It: Don’t leave your percolator unattended on the stove. It’s done when the bubbling slows down.
3. Experiment: Play around with different types of coffee beans to find what tastes best to you.
4. Clean Thoroughly: Make sure to clean all parts of the percolator after each use to keep your coffee tasting great.
There you have it! Stovetop coffee percolators are a fantastic way to experience different percolator types and enjoy a traditional brewing method. What’s next on our journey through the world of coffee percolators? Stay tuned!
3, Electric Coffee Percolators: Modern Convenience Meets Classic Brewing
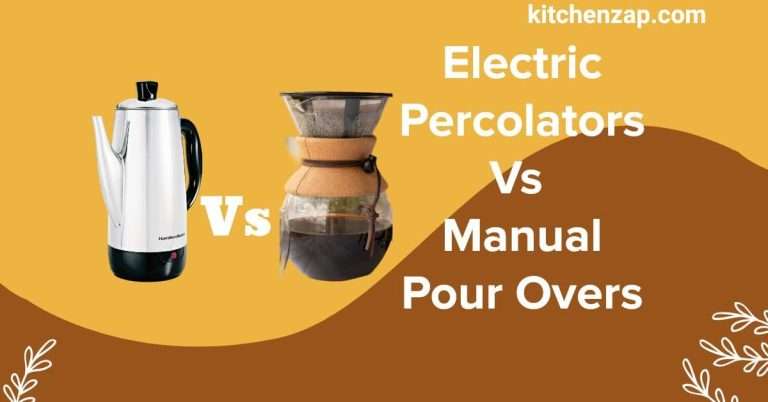
Are you ready to plug in and brew? Electric coffee percolators bring the classic percolating process into the modern age. These types of percolators coffee lovers appreciate for their convenience and consistency.
Similar to stovetop models, electric percolators have a water chamber, a filter basket, and a coffee chamber. The difference? They heat up using electricity, and many have built-in settings for temperature and brew strength.
- Note: 1)Too coarse a grind, too little coffee, or insufficiently tamping the grounds before brewing can all lead to…
How to Operate an Electric Coffee Percolator
Let’s get brewing! Here’s how to operate an electric coffee percolator:
1. Add Water: Fill the water chamber with the desired amount of water.
2. Add Coffee Grounds: Place your coffee grounds in the filter basket. A medium-coarse grind works best.
3. Set It Up: Put the percolator together and plug it in. If your model has settings, choose your preferred temperature and brew strength.
4. Let It Brew: The percolator will cycle the water through the coffee grounds. Most models will stop automatically when done.
5. Pour and Enjoy: Once it’s done, pour yourself a cup and enjoy the fruits of your (minimal) labor!
Pros and Cons of Electric Coffee Percolators
Pros:
– Convenient: Just plug it in and let it do its thing!
– Consistent: Many models have settings that allow for consistent brewing.
– Keeps Coffee Hot: Most electric percolators have a warming feature to keep your coffee hot.
Cons:
– Less Portable: Not as easy to take on the go as stovetop models.
– More Parts: More components can mean more that can go wrong or break over time.
Expert Tips for Maximizing the Potential of Electric Coffee Percolators
1. Quality Coffee: Start with high-quality, fresh coffee beans for the best flavor.
2. Right Grind: Opt for a medium-coarse grind to avoid over-extraction.
3. Water Quality: Use filtered water if possible, as the quality of water affects the taste.
4. Clean Regularly: Regular cleaning is essential to keep your electric percolator running smoothly and your coffee tasting great.
5. Experiment with Settings: If your percolator has different settings, don’t be afraid to experiment to find your perfect cup.
Electric coffee percolators are a fantastic option for those who want the classic taste of percolated coffee with the convenience of modern technology. Now you’re a pro in all types of percolators with pictures in your mind! What’s your favorite way to brew?
4, French Press Coffee Percolators: Unleash the Full Spectrum of Flavors
Let’s get a little fancy with French Press coffee percolators! This is one of the different types of coffee percolators that coffee connoisseurs swear by.
A French Press is a manual coffee maker with a cylindrical glass carafe, a plunger, and a metal or nylon mesh filter. It’s known for making coffee that’s rich and full-bodied, as it allows the coffee oils to mingle with the water.
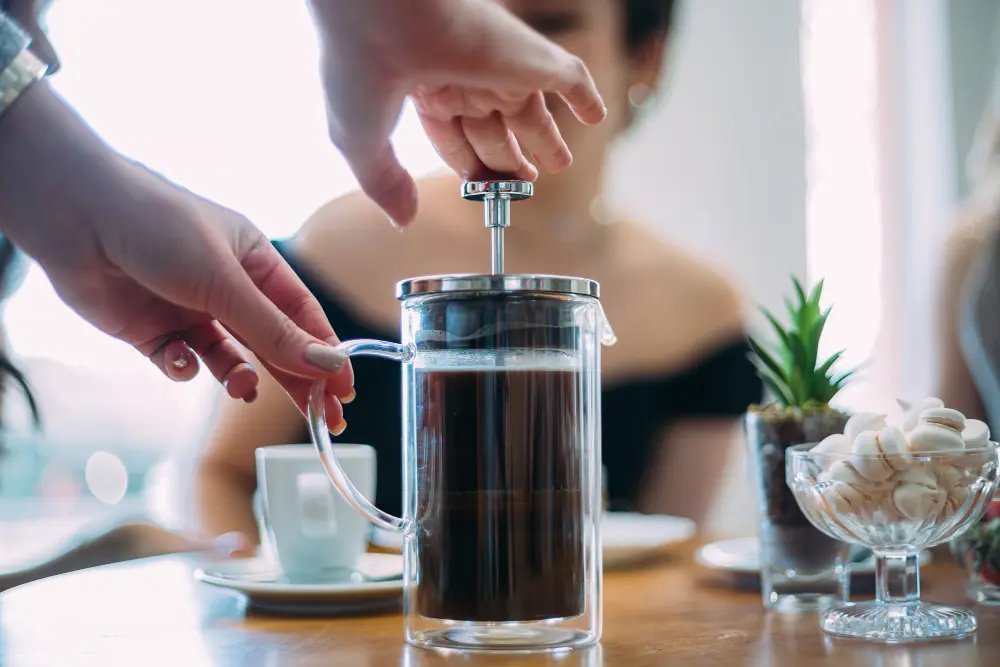
The Process of Using a French Press Coffee Percolator
Ready to press your way to coffee heaven? Here’s how:
1. Boil Water: Start by boiling water, then let it cool for a minute to reach the ideal brewing temperature (around 200°F).
2. Add Coffee: Add coarsely ground coffee to the carafe. A good rule of thumb is 1 tablespoon of coffee for every 4 ounces of water.
3. Pour Water: Slowly pour the hot water over the grounds, making sure they’re all saturated.
4. Steep: Place the plunger on top but don’t press it down yet. Let the coffee steep for about 4 minutes.
5. Press and Pour: Slowly press the plunger down. Pour the coffee into your cup and savor the richness!
Benefits and Limitations of French Press Coffee Percolators
Benefits:
– Rich Flavor: The French Press method extracts more oils, giving the coffee a richer flavor.
– No Filters Needed: This is an eco-friendly option as it doesn’t require paper filters.
– Simple and Portable: It’s easy to use and great for travel.
- ☕SUPER FILTERING – The quality of the coffee press greatly depends on the quality of the filter element. So the…
- Take it Anywhere – Our rust-free french press-stainless steel-is durable for use while camping, at the office, or…
Limitations:
– Cleanup: Cleaning the mesh filter can be a bit tedious.
– Sediment: Some fine coffee grounds may end up in your cup.
Techniques for Brewing Exceptional Coffee with a French Press Percolator
1. Quality Beans: Use high-quality beans and grind them just before brewing.
2. Water Temperature: Make sure the water is just below boiling for the best extraction.
3. Don’t Rush the Plunge: Press the plunger down slowly to avoid agitating the grounds.
4. Drink Immediately: French Press coffee doesn’t stay hot for long, so enjoy it right away for the best flavor.
You’re now a French Press aficionado. Whether you’re using this method or exploring other types of percolators, the key is to experiment and find what tickles your taste buds. Happy brewing!
5, Vacuum Coffee Percolators: A Theatrical Brew That’s Out of This World
Ready for a coffee brewing experience that feels like a science experiment? Enter the vacuum coffee percolator! Also known as a siphon or syphon coffee maker, this apparatus looks like it belongs in a chemistry lab.
It consists of two chambers, usually made of glass, and a heat source. The vacuum created during the brewing process gives this percolator its name and ensures a clean, flavorful, and aromatic cup of coffee.
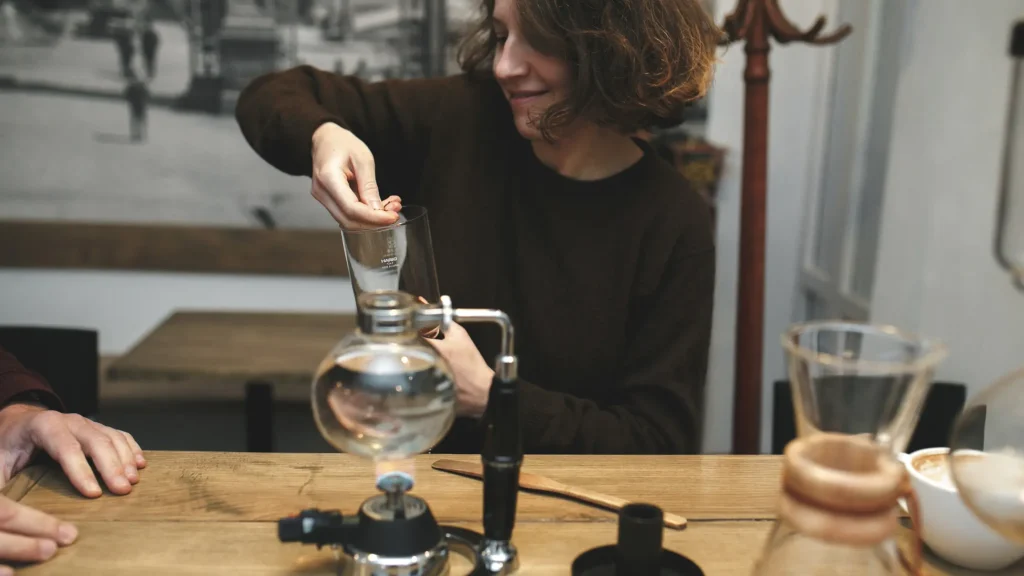
Step-by-Step Guide for Brewing Coffee Using a Vacuum Percolator
Put on your lab coat, and let’s get brewing:
1. Fill the Bottom Chamber: Add water to the bottom chamber of the vacuum percolator.
2. Add Coffee to the Top Chamber: Place a filter in the top chamber and add finely ground coffee.
3. Assemble and Apply Heat: Connect the two chambers and place them over your heat source.
4. Watch the Magic Happen: As the water heats, it will rise into the top chamber and mix with the coffee grounds.
5. Remove from Heat: Once all the water has risen, remove the heat source. The brewed coffee will filter back down into the bottom chamber.
6. Serve and Enjoy: Disconnect the chambers and pour your freshly brewed coffee from the bottom chamber.
Advantages and Disadvantages of Vacuum Coffee Percolators
Advantages:
– Flavorful and Clean: The vacuum process results in a clean cup of coffee with well-extracted flavors.
– Showstopper: It’s a visually impressive method that’s sure to wow guests.
Disadvantages:
– Complexity: It’s more complicated than other brewing methods.
– Fragile: The glass chambers are delicate and can break easily.
Insider Tips for Enhancing the Coffee Brewing Experience with a Vacuum Percolator
1. Fresh is Best: Use freshly roasted beans for the best flavor.
2. Grind Size Matters: A medium-fine grind works well in a vacuum percolator.
3. Watch the Heat: Use a consistent heat source and don’t let the water boil.
4. Clean Carefully: Be gentle when cleaning the glass chambers to avoid breakage.
With a vacuum coffee percolator, not only do you get a delicious cup of coffee, but you also get a theatrical experience. Coffee brewing turned into an art form!
6, Moka Pot Coffee Percolators: A Taste of Italy in Your Kitchen
Ciao, coffee lovers! Let’s take a trip to Italy with Moka Pot coffee percolators. These types of percolators are a staple in Italian households and are known for producing a strong, espresso-like coffee.
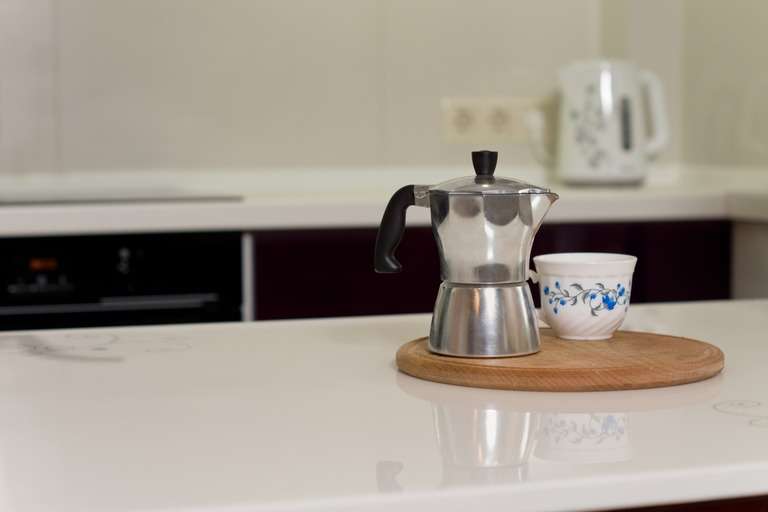
The Moka Pot, often made of aluminum or stainless steel, has three sections: a bottom chamber for water, a middle chamber for coffee grounds, and a top chamber where the brewed coffee collects.
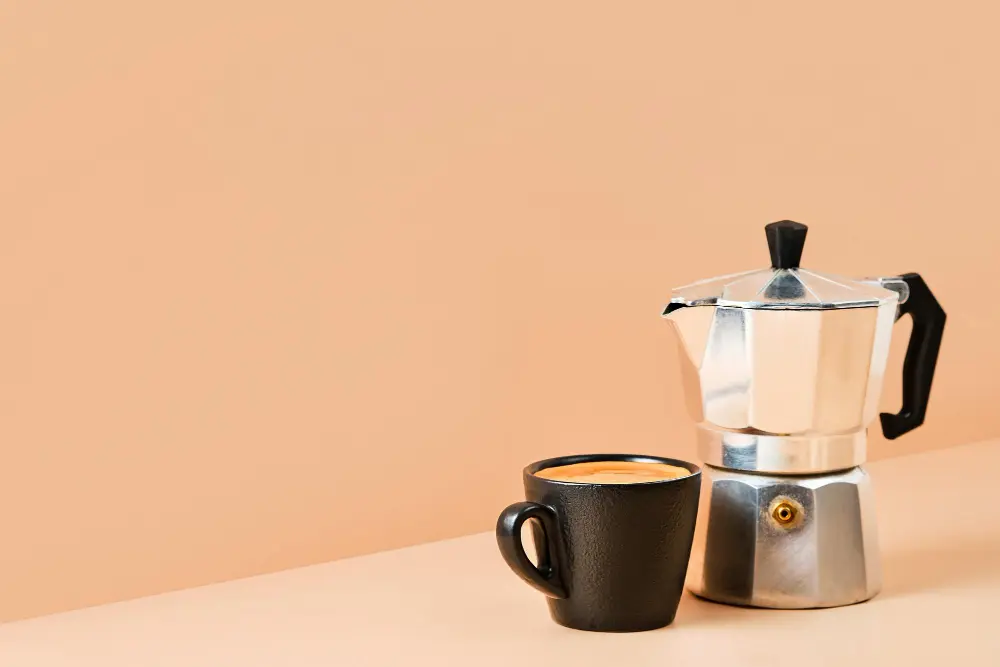
How to Make Coffee with a Moka Pot Percolator
Ready to embrace your inner Italian barista? Here’s how:
1. Fill with Water: Fill the bottom chamber with water up to the safety valve.
2. Add Coffee Grounds: Add finely ground coffee to the middle chamber. Don’t pack it down.
3. Assemble and Heat: Screw the sections together and place the Moka Pot on the stove over low to medium heat.
4. Listen for the Gurgle: When you hear a gurgling sound, it means the coffee is being pushed into the top chamber.
5. Pour and Savor: Once the gurgling stops, your coffee is ready. Pour it into an espresso cup and enjoy!
- The original moka coffee pot: Moka Express is the original stovetop espresso maker, it provides the experience of the…
Pros and Cons of Moka Pot Coffee Percolators
Pros:
– Strong Coffee: Perfect for those who love a robust cup of coffee.
– Compact and Portable: Great for small kitchens and travel.
– Durable: Often made of materials that stand the test of time.
Cons:
– Not True Espresso: While similar, it’s not quite the same as espresso from a machine.
– Learning Curve: It may take a few tries to perfect your technique.
Advanced Techniques for Achieving the Perfect Moka Pot Brew
1. Pre-Heat Water: Use hot water in the bottom chamber to reduce the time the Moka Pot is on the stove, preventing a metallic taste.
2. Low and Slow: Use low heat to avoid over-extraction and bitterness.
3. Cold Lid Technique: When the coffee starts gurgling, close the lid and place a cold cloth or run it under cold water to stop the extraction.
4. Experiment with Grind Size: Find the grind size that gives you the flavor and strength you desire.
7, Cold Brew Coffee Percolators: The Coolest Way to Enjoy Coffee
Let’s chill out with cold brew coffee percolators! Cold brew is all the rage, and for good reason.
It’s smooth, less acidic, and super refreshing. Cold brew coffee percolators are specially designed to steep coffee grounds in cold water for an extended period. Unlike traditional percolators, there’s no heat involved in the brewing process.
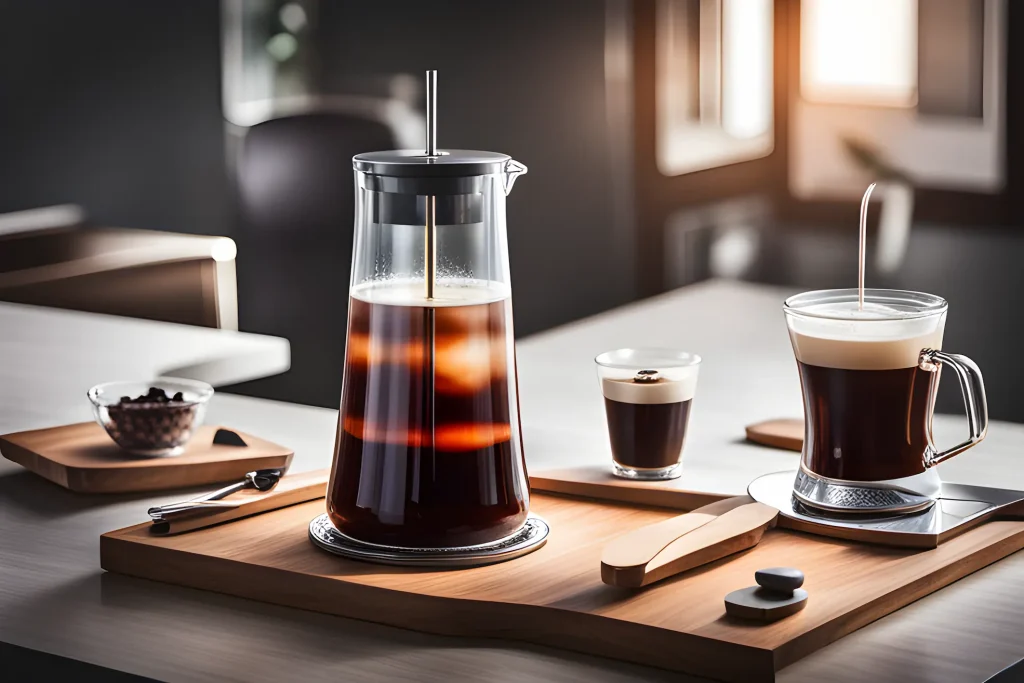
Step-by-Step Instructions for Making Cold Brew with a Coffee Percolator
Ready to get cold and crafty? Here’s how:
1. Coarse Grind: Start with coarsely ground coffee to ensure a smooth flavor.
2. Add Coffee and Water: Add coffee grounds to the percolator’s basket. Next, fill the percolator with cold or room temperature water.
3. Steep: Allow the coffee to steep for about 12-24 hours. The longer it steeps, the stronger the flavor.
4. Filter and Serve: After steeping, filter the coffee into a carafe or jar. Serve over ice and enjoy!
Benefits and Drawbacks of Cold Brew Coffee Percolators
Benefits:
– Smooth Taste: Cold brew is less acidic and smoother than hot brewed coffee.
– Versatile: You can use it as a base for various coffee recipes.
– Refreshing: Perfect for a hot day.
Drawbacks:
– Time-Consuming: It takes a long time to brew.
– More Coffee Needed: You generally need more coffee grounds for cold brewing.
Creative Recipes to Try with a Cold Brew Coffee Percolator
1. Cold Brew Latte: Mix cold brew with an equal part of cold milk. Add a sweetener if desired and serve over ice.
2. Cold Brew Mocktail: Mix cold brew, tonic water, a slice of lemon, and a sprig of mint for a refreshing mocktail.
3. Vanilla Almond Cold Brew: Add a splash of almond milk, a drop of vanilla extract, and a touch of honey to your cold brew for a nutty twist.
4. Cold Brew Smoothie: Blend cold brew, a banana, a spoonful of almond butter, and a dash of cinnamon for a coffee-infused smoothie.
8, Espresso Coffee Percolators: Elevate Your Coffee Game with a Rich Shot
Let’s get intense with Espresso Coffee Percolators! When you’re craving a rich, bold shot of coffee, nothing hits the spot quite like espresso.
Espresso coffee percolators, often referred to as espresso machines, are designed to force hot water through finely-ground coffee under high pressure. This process extracts the coffee’s flavors and oils, resulting in a concentrated shot with a creamy layer on top known as crema.
- 𝐄𝐚𝐬𝐲 𝐎𝐩𝐞𝐫𝐚𝐭𝐢𝐨𝐧-Espresso machine adopts a one-touch management mode and meets the…
How to Use an Espresso Coffee Percolator
Ready to pull the perfect shot? Here’s how:
1. Grind Your Beans: Use a fine grind for espresso. The coffee should be almost powdery.
2. Fill and Tamp: Add the coffee to the portafilter and tamp it down firmly to ensure even extraction.
3. Brew: Attach the portafilter to the machine and start the brewing process. It should take about 25-30 seconds to pull a shot.
4. Savor the Moment: Enjoy your espresso shot as is, or use it as a base for other coffee drinks like lattes and cappuccinos.
Pros and Cons of Espresso Coffee Percolators
Pros:
– Rich and Flavorful: Espresso is concentrated and packed with flavor.
– Versatile: It’s the base for many coffee drinks.
– Efficient: It takes less time to brew compared to other methods.
Cons:
– Expensive: Espresso machines can be costly.
– Learning Curve: It takes practice to pull the perfect shot.
– Maintenance: Regular cleaning and descaling are necessary.
Expert Tips for Brewing Exceptional Espresso with a Coffee Percolator
1. Quality Matters: Use high-quality, freshly roasted beans.
2. Dial in the Grind: Experiment with grind size to find what yields the best shot.
3. Tamping is Key: Apply even pressure when tamping to ensure uniform extraction.
4. Water Quality: Use filtered water for a cleaner taste.
5. Clean Regularly: Keep your machine clean to avoid any off-flavors.
With an espresso coffee percolator, you can bring the coffee shop experience into your home. Whether you enjoy a straight shot of espresso or love to craft lattes and cappuccinos, the possibilities are endless.
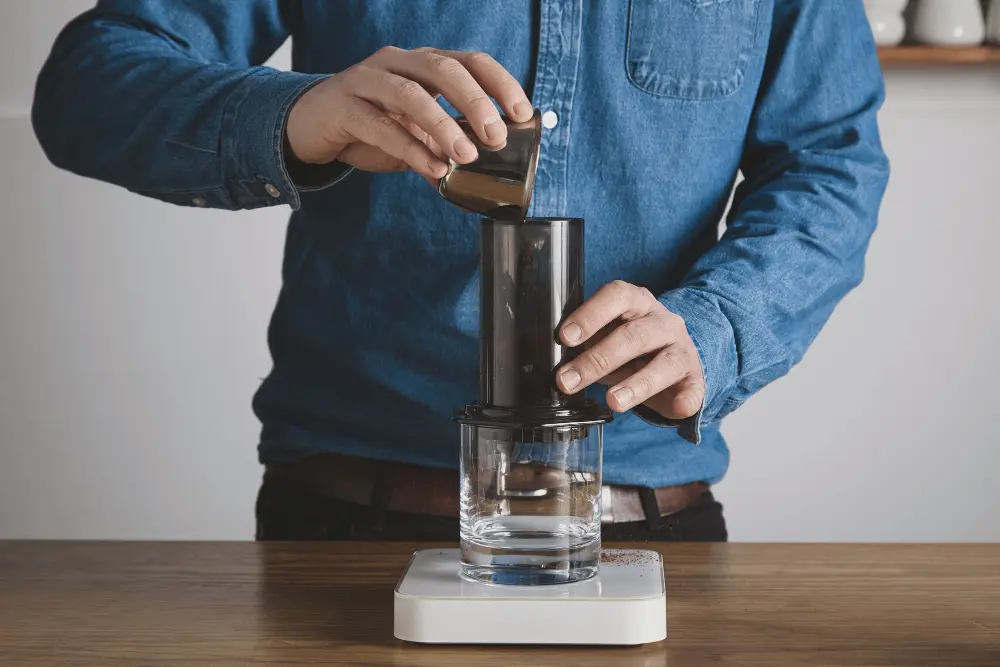
9, AeroPress Coffee Percolators: A Traveler’s Best Friend for a Quick Brew
Let’s get adventurous with AeroPress coffee percolators! The AeroPress is a relatively new kid on the block, but it has quickly gained a cult following among coffee enthusiasts. It’s a lightweight, portable device that looks like a large syringe.
It uses a rapid, immersion brewing process to make a smooth and flavorful cup of coffee without bitterness.
- CRYSTAL CLEAR, SHATTERPROOF TRITAN: Our iconic press, made with the same patented technology, available in crystal…
The Process of Using an AeroPress Coffee Percolator
Ready for a coffee adventure? Here’s how to use an AeroPress:
1. Assemble the AeroPress: Place a filter in the cap and attach it to the brewing chamber.
2. Add Coffee and Water: Add finely ground coffee to the chamber, then pour hot water (not boiling) over the grounds.
3. Stir and Steep: Give it a quick stir and let it steep for about 30 seconds.
4. Press: Place the plunger on top and press down slowly until you hear a hissing sound.
5. Enjoy: Your coffee is now brewed and ready to be enjoyed!
Benefits and Limitations of AeroPress Coffee Percolators
Benefits:
– Quick and Easy: It takes less than a minute to brew coffee.
– Portable: Its lightweight design makes it perfect for travel or camping.
– Smooth Taste: The rapid brewing process results in a smooth cup without bitterness.
Limitations:
– Small Batch: It’s designed to brew a single cup of coffee at a time.
– Learning Curve: It might take a few tries to find your perfect brewing method.
Techniques for Brewing Unique and Flavorful Coffee with an AeroPress Percolator
1. Inverted Method: Flip the AeroPress upside down during brewing for more control over steeping time.
2. Experiment with Grind Size: Try different grind sizes to find the one that yields the best flavor for your taste.
3. Play with Ratios: Adjust the coffee-to-water ratio to make your brew stronger or milder.
4. Temperature Control: Experiment with different water temperatures. Slightly cooler water often works well.
The AeroPress is a versatile and fun way to make an excellent cup of coffee, whether you’re at home or on the go. With a bit of experimentation, you can find your perfect brew.
Conclusion:
Guess what? There are so many cool ways to make coffee! We looked at different types of coffee percolators. Each one has its own special way of making your coffee taste amazing. It’s like having a fun coffee adventure! So, try them out and find the one that makes your favorite cup of coffee. Cheers to yummy coffee!
FAQs
1. Are coffee percolators better than coffee machines?
It depends on personal preference. Percolators are known for making stronger coffee and are often more portable, which is great for camping or traveling. Coffee machines, especially those with multiple features, offer more convenience and consistency, which some people prefer for everyday use.
2. Can I use a coffee percolator to brew tea?
Yes, you can use a percolator to brew tea, especially the stovetop type. Instead of coffee grounds, add loose tea leaves or tea bags to the filter basket. Just be mindful of the steeping time as tea can become bitter if over-steeped.
3. How long does it take to brew coffee with a percolator?
It usually takes between 5 to 10 minutes to brew coffee with a percolator, depending on the type of percolator and the amount of coffee you are making. Cold brew percolators take much longer, usually around 12-24 hours.
4. Do I need to use a specific type of coffee for percolators?
It’s best to use coarsely ground coffee for percolators to avoid over-extraction. However, for espresso and AeroPress percolators, a finer grind is recommended.
5. How do I prevent over-extraction when using a percolator?
To prevent over-extraction, use coarsely ground coffee, monitor the brewing time carefully, and remove the percolator from heat as soon as it’s done. For stovetop percolators, using a lower heat setting can also help.

