8 Helpful Tips For How to Use a Coffee Percolator
Some people take on the start of the day with breakfast, but some only need coffee to go through the day.
Coffee shops are always available during the day but some individuals would prefer homemade coffee.
However, what would some houses require in order to provide you with the coffee you’ve come to expect?
As technology continues to advance, more coffee equipment is being developed.
These would include new equipment, such as automatic drip coffee makers, coffee machines, espresso machines, etc. but most individuals used coffee percolators before they were developed.
However, a lot would ask how to use a coffee percolator. This is still being used today because it indeed provides a better brew than some of the newly developed coffee equipment today.
1, How A Coffee Percolator Works
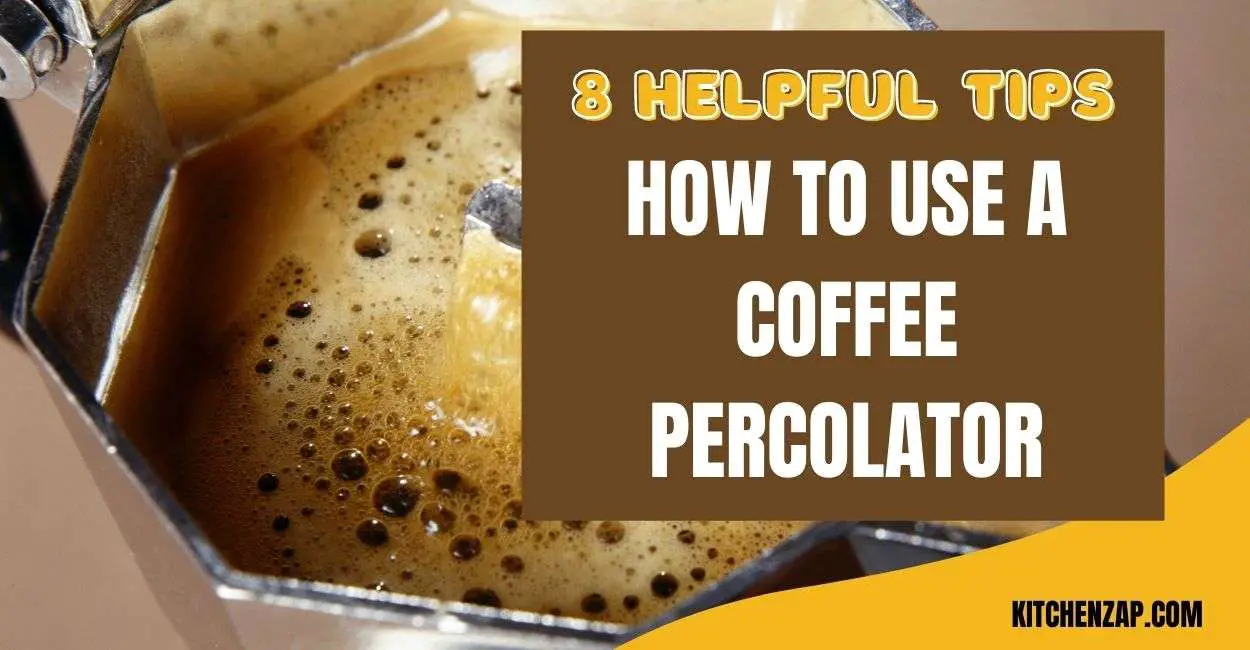
A coffee percolator contains separate parts for the coffee grounds and water. To brew your coffee, you then apply heat to the lower half of the coffee percolator.
There are several varieties of coffee percolators, each of which is distinguished by the way heat is applied to the device.
Some percolators are powered by electricity, while others can be used directly on heat sources such as a stove or a bonfire.
Furthermore, unlike steel percolators, glass percolators have been constructed so that the brewing process can be seen.
- Premium Quality Coffee Percolator: Classic electric percolator brews from 2 to 10 cups of great-tasting coffee, hot,…
The Mechanical Process Of Using A Percolator
Coffee percolators of all varieties work in the same way. The equipment has chambers that separate the percolator coffee grounds from the water.
Moreover, the first chamber on top would include coarsely ground coffee beans while the second chamber below contains the boiling water.
The pressure from the heat is contained within the chamber and causes the pressure to travel to the top chamber where the ground beans are placed.
As more boiling water is poured inside, the coffee is taken out from the ground beans that are mixed with the hot water.
The cycle repeats until the brew has been perfected to the desired brew. A gurgling sound will be heard when the process of brewing the grounds in a percolator is completed.
When it comes to a halt, it merely signifies the end of the procedure.
Read More
2, How To Make Coffee In An Electric Percolator
Since the development of the electrical percolator, problems such as how to use an electric percolator have arisen.
The brewing procedure would be similar, but the only difference between an electric and a mechanical percolator is that an electric percolator will shut off on its own, whereas a mechanical percolator will need to be checked every now and again.
Know How Much Coffee In An Electric Percolator
Coffee equipment utilizes multiple measuring instruments to determine the amount of coffee placed.
When using a percolator, some may ask how much coffee in a percolator should you put.
The coffee to water ratio percolator is one tablespoon of ground beans equal to a cup or 5 ounces of water.
Take note, when learning how to use coffee percolator, coarsely ground beans should be used.
- STAY CAFFEINATED: Coffee? Always! The enamelware percolator makes your caffeine needs attainable for any campsite,…
If the beans are finely ground, your coffee will contain grinds if you’re using a percolator to brew it. Moreover, purchasing paper filters or plastic filters are not required since a percolator holds a steel filter basket.
3, Percolator Coffee Ratio
This is a vital thing to know when learning how to use a coffee percolator.
To determine the amount of coffee to be placed, coffee equipment employs a variety of measuring tools.
Some people may wonder how much coffee to put in a percolator when using one.
To determine how many servings are brewed, you must divide the amount of water you placed on the percolator by 5.
For instance, if someone asks how many servings are made from 15 ounces of water, you must respond with only three.
If someone asks how much coffee for 8 cup percolator, all you have to do is use around 8 tablespoons of ground coffee and 40 ounces of water.
Finally, some people ask how much coffee to put in a 12 cup percolator. You can utilize the 60 ounces of water capacity to create 7 cups of coffee.
4, Coffee Intensity
When dealing with coffee intensity, you should be aware of the following coffee ratios.
You should only use half a conventional coffee measuring cup if you want a light cup of coffee.
For a strong serving of coffee, use three-quarters of a standard coffee measuring cup, while for a medium serving, use the entire standard coffee measuring cup.
A table will be supplied below for a more complete explanation of how much coffee to put in percolator to meet your individual coffee preferences.
You’ll also be able to see how much coffee for percolator is required for the following batches of coffee using this table.
Cups of Coffee and Beans Table

Because they are still used in today’s world, we’ve put together some advice on how to use a coffee percolator, whether it’s electric or not.
This will help you a lot, especially if you’re new to brewing your own cup of coffee. These tips will also provide answers to often asked questions about the various uses of coffee percolators, both indoors and out.
- ☕ ENJOY IRRESISTIBLE TASTE & AROMA – You deserve the best so ditch the rest – our Percolator has been designed to…
5, How to Use A Stove Top Coffee Percolator
If you have bought this type, we will teach you how to use a percolator on a stovetop. Since stovetop coffee percolators are manual, it isn’t harder to operate with less knowledge of coffee equipment.
The only parts it has are a pot, a stem, basket, basket lid, and a glass lid to see the process.
Because the procedure is rather simple, all you have to do now is make sure you don’t make it any more difficult for yourself.
First, figure out how many cups of coarsely ground coffee beans and how many ounces of water you’ll need.
Pour the required water into the percolator’s lower chamber next. Wait for the water to come to a boil, then gradually increase the temperature of the water.
When it is at the perfect temperature, add your ground beans to the filter basket.
As it starts to percolate, slowly reduce the heat of your stove. Let the beans brew for about six to ten minutes before you remove the percolator from the stove.
Also, be attentive to the brewing process as an over brew would result in bitterness. It is recommended that you get a glass stovetop coffee percolator to be able to oversee the process.
6, How To Use A Coffee Percolator While Camping
Some coffee drinkers are also adventurers, bringing coffee with them wherever they go, even if it’s to hike or camp.
Now, as long as you have your coffee percolator with you, we’ll show you how to use a coffee percolator to make your own cup of coffee even if you’re in the middle of nowhere.
To make your own coffee while camping, you can use a campfire, a grill, or a camping stove. Simply follow the same steps as you would indoors, but only use a small amount of heat this time.
You can reduce the heat by shifting the coal around at the same time. Unlike other methods, you must let the coffee steep for ten minutes rather than five.
Since only minimal heat is applied to the coffee percolator, it would need more time in the heat to brew. Just don’t forget to be on guard to take note of the time it has spent being exposed to minimal heat and to adjust the coal every once in a while.
- Please refer to user guide or user manual or user guide (provided below in PDF) before first use
How To Use An Electric Coffee Percolator
Electric coffee percolators are far more user-friendly. Because it is electric, it is able to manage the water and temperature on its own.
All you have to do is coarsely grind your beans, and your question about how to keep grounds out of percolated coffee will be answered.
If you like having your coffee dark and strong, the electric coffee percolator is the right equipment for you. While using this equipment, it is vital that you know how to take care of it the perfect way.
Here are a few steps on how to use an electric percolator effectively:
Before Using The Percolator
You must clean and rinse your electric percolator before using it to get the most out of it. To completely clean the equipment, it is best to use mild dish soap and warm water.
However, submerging the parts in water is not recommended. It has the potential to harm the electric components.
People may wonder how to keep coffee grounds out of percolator, so wipe the insides of the percolator with any clean cloth or a clean sponge. Furthermore, the beans that you should use are finely ground, so coarsely grind your beans.
However, to avoid over-extraction of the beans, do not over-grind them. This will also aid in answering the question of how to keep coffee grounds out of percolated coffee.
Overground coffee will leave a residue in your cup of coffee, and it may also be mixed in.
- ☕ ENJOY IRRESISTIBLE TASTE & AROMA – You deserve the best so ditch the rest – our Percolator has been designed to…
During Percolation
Electric coffee percolators immediately start brewing at the moment you plug them in. It will continue to brew for at least five minutes. Keep an eye on the light or signal that your electric percolators emit.
Many percolators also include the option of reheating your brewed coffee for future coffee serves. Never forget that it’s brewing, and be on the lookout for the end of the cycle.
After Use
When the brewing cycle is over, make sure to unplug it. This will allow the machine to cool down while also allowing you to clean it.
After it has cooled, unscrew all of the parts and clean them with a clean washcloth or sponge to remove any residue or debris.
To avoid malfunctions and electrical problems within the electric percolator, never submerge it in water.
7, How To Make The Perfect Cup Of Coffee With A Coffee Percolator
To make your perfect serving of coffee for the day according to your own preferences in intensity and taste, you must do and remember the following steps:
Know Your Coffee Preferences And Its Ratio
Because each coffee percolator has its own set of measures, we recommend consulting the table in the preceding portion of this article.
It provides the coffee bean to water ratio that you want to match your preferred coffee intensity.
Additionally, you should know how much coffee do you put in a percolator. Depending on how much coffee you like, there are a variety of ways to use a coffee percolator.
Know What Beans To Use
A coffee percolator, once again, is unique. It only uses coarsely ground beans. It will leave residue, over-extraction, and bitterness if it is too fine.
If you mistakenly grind your beans too finely, a coffee percolator will not operate with them. If the beans aren’t coarse, don’t push it. A medium roast is also appropriate for a coffee percolator.
It gives a better taste even if you brew it too light or too dark.
Be Aware Of The Temperature
When using a coffee percolator, keep an eye on the temperature of the boiling water. It has a significant impact on the flavor of a cup of coffee. Thus, it should be given more consideration.
You should have used 195 to 200 degrees Fahrenheit (90 to 93 degrees Celsius) to brew a superb cup of black and rich coffee.
High-End Percolator Brands
If you’re seeking reputable brands that make high-quality coffee percolators, we recommend checking out the brands listed below.
These percolators can be used indoors or outdoors, and there are a variety of alternatives to pick from.
Metro Stainless StoveTop
This coffee percolator is unique in that it may be used at home. Its substance will allow you to use it on stovetops and will complement your home’s minimalism.
It is composed of stainless steel and features phenolic handles. This can tremendously assist you in avoiding excessive heat when handling it.
Faberware
Faberware is a well-known brand that is well-known for its products. They make electric coffee percolators, which are quite useful if you are too busy to watch over the equipment while it is brewing.
It has a handle that stays cool even after being exposed to heat, just like the Metro percolator. It’s made of high-quality materials and is attractive enough to complement your home.
- Please refer to user guide or user manual or user guide (provided below in PDF) before first use
It also has a removable cord and a mechanism that keeps the brew warm, making it easier to serve your coffee. You can also change the brewing time to suit your needs.
To Read Review About Faberware Coffee Percolator Click Here
Presto
The Presto Coffee Percolator is dubbed as one of the best electric coffee percolators.
It also features stainless steel and a very good indicator light when it is finished brewing. It is available on Amazon and in Presto stores.
- Please refer to user guide or user manual or user guide (provided below in PDF) before first use
To Read Review About Presto Coffee Percolator Click Here
Coleman Enamelware
The Coleman Enamelware Coffee Percolator is an excellent choice for camping and at home. Although it is well-liked for its camping capabilities, it is too hot to use at home.
- Camping percolator quickly brews up to 14 cups of coffee on a camping stove or grill
Another type has a large capacity of 14 cups. The majority of the products are made of double-coated enamel and stainless steel to avoid chipping. It is also a produced lightweight product.
Hamilton Beach
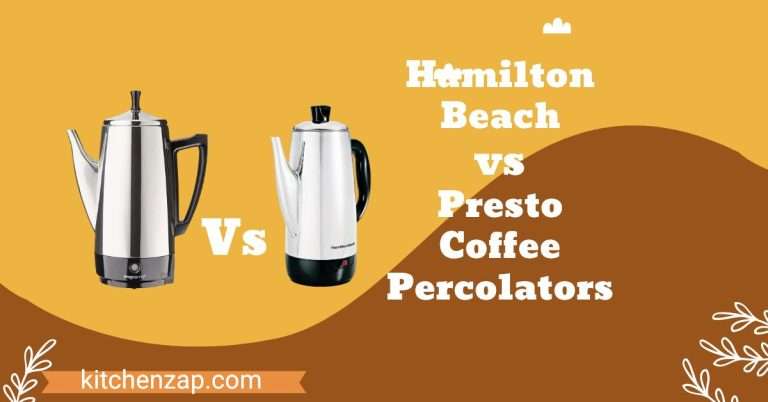
The Hamilton Beach percolator is ideal for those with even a smidgeon of patience. It has a higher capacity than other percolators, allowing it to brew a larger batch of servings (up to 12 cups).
- Note: 1)Too coarse a grind, too little coffee, or insufficiently tamping the grounds before brewing can all lead to…
It’s also made of stainless steel and has a gleaming chrome finish, an indicator light, a “stay warm” setting, and a detachable cable, among other things.
As previously said, it takes less time to make many more cups of coffee, making it suitable for a household with many people or a family.
To Read Review About Hamilton Beach Coffee Percolator Click Here
Affordable Percolator Brands
Because of the high temperature, coffee gourmets often complain that the coffee, which a percolator creates, is excessively bitter.
Some people tend to dismiss this, defending the powers of coffee percolators for the cup of coffee’s deep and rich flavor.
If you’re looking for a more budget-friendly percolator, Amazon or eBay are good places to start. Those websites offer very low-cost percolators, but be sure to choose wisely to get the best ones..
Primula Today
Primula Today’s coffee percolator is the greatest because of its reasonable pricing. It is well-known for its lightweight performance, which allows it to be used both at home and when camping.
It’s also safe, and its creation was meticulously planned. Primula Today is perfect if you want to save money while still getting good quality.
Rapid Brew
This brand is also available on Amazon. It’s well-known for being a little product that ensures you never run out of coffee. Its modest capacity is perfect for coffee lovers who live alone and don’t like to waste any coffee. It’s also reasonably priced.
8, Things To Consider When Using Coffee Percolators
By now, you may have already learned how to use a coffee percolator. However, as coffee percolators pique your attention, here are a few things to keep in mind when using this type of coffee maker.
Grind your Beans Coarsely
Coarsely ground beans, as previously said, are the key to a flawless brew when utilizing coffee percolators.
Don’t bother buying coffee percolators if you don’t have any coarse beans on hand. If you have fine beans on hand, it’s pointless.
Mind Your Water And Temperature
Make sure the number of ounces of water equals the number of cups of ground beans. It would be too bitter or too light otherwise. It could also present a difficulty with the extraction.
The temperature for the boiling procedure should be optimal. Check that the temperature is between 195 and 200 degrees Fahrenheit and 90 and 93 degrees Celsius.
Purchase The Right Type Of Percolator For You
There are several varieties of coffee percolators to choose from, including mechanical and electrical models that can be used indoors or outdoors.
Check the cup capacity as well as the features it has to offer. Don’t forget to look through your wallets and bank accounts to discover the right percolator at a reasonable price.
Make Your Cup Of Coffee With Coffee Percolators
We’ve covered everything from how to operate a coffee percolator to the tiniest of details, such as:
- coffee to water ratio
- percolator coffee measurements
- temperature
- cycle
- before and aftercare
- beans
- coffee intensity
- best brands, and
- coffee percolator reminders
Additionally, coffee percolators can be used both indoors and outside on a camping trip. Simply fill the upper chamber with roughly ground beans and the lower chamber with hot water. After 5 minutes of brewing, it will offer your chosen cup of coffee. Return to this post for the percolator coffee ratio and the cups of coffee and beans table if you forget.
Make sure you do yourself the best coffee through your coffee percolator. Don’t forget to check the temperature before you proceed. Also, take good care of your coffee percolator through thorough cleaning with a washcloth and mild dish soap. Finally, never soak it in water to avoid dysfunctions.
Look for high-end or economical percolator brands at your local stores and internet sites, and make sure they fit your budget. Make the perfect cup of coffee for you and your coffee-loving buddies at school, work, and home. Choose the right coffee percolator for you and have a nice cup of joe!

