How To Choose The Best Kind Of Coffee For A Percolator
Choosing the best kind of coffee for a percolator hinges on recognizing its distinct brewing needs.
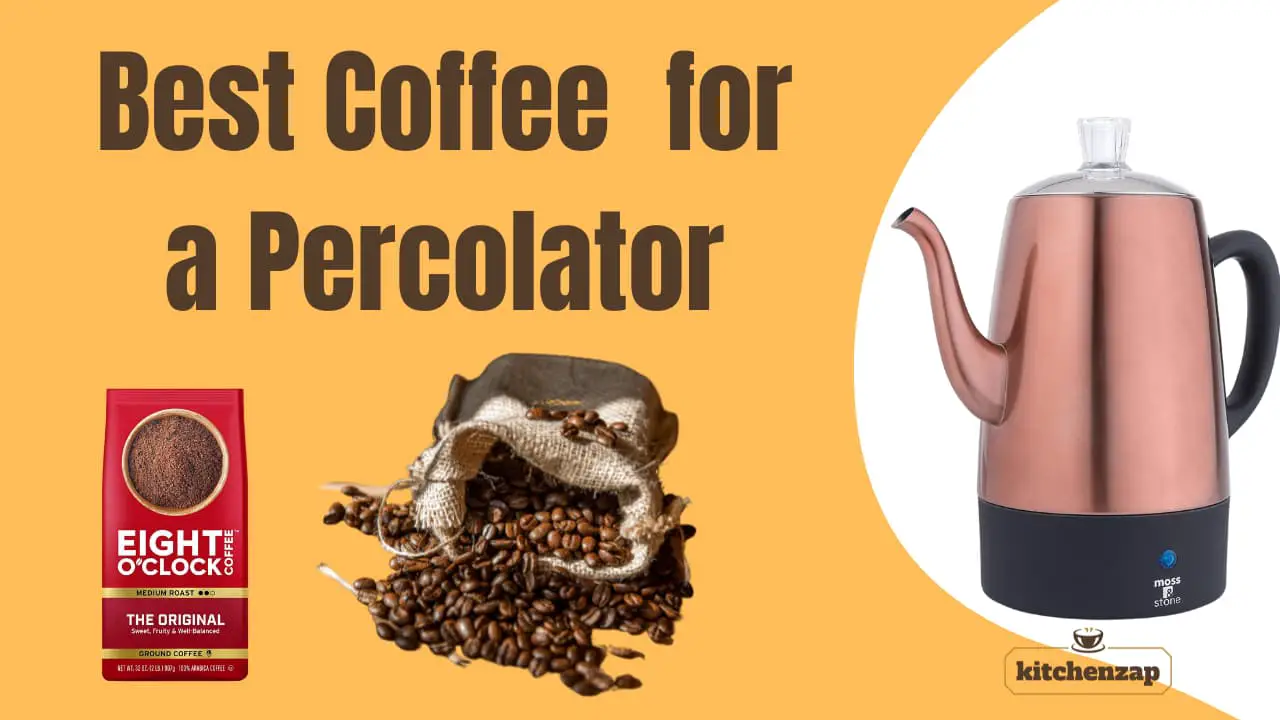
Opt for a coarse grind to avoid bitterness and favor a medium roast for a balanced taste that suits percolation.
High-quality, freshly ground beans are ideal, and selecting the right brand enhances the robust brewing style of both electric and stove top percolators.
Remember, the quality of water and regular maintenance of your percolator are crucial for the perfect cup.
Key Takeaways
- Grind Size: Use a coarse grind to allow for efficient yet flavorful extraction. Finer coffee grounds can over-extract and slip through the percolator’s filter, causing bitterness and muddiness.
- Roast Type: Medium roasts provide balanced flavor that pairs well with percolation. But feel free to experiment with light, medium-dark or dark roasts as your tastes dictate. Just avoid very oily beans.
- Brands to Try: Well-regarded options worth sampling include Tim Hortons, Starbucks, and Kicking Horse coffees. Their flavor profiles complement percolator brewing.
- Tips for Usage: Carefully monitor brew times based on your desired strength. Check the basket filling for an even saturation without dry spots or overflow. And clean thoroughly after each use to maintain a rich flavor in your cups.
- Contains one (1) 20 Ounce Bag of Caribou Coffee Caribou Blend Medium Roast Ground Coffee
- Contains one (1) 18 Ounce Bag of Peet’s Big Bang Ground 100% Arabica Coffee
- GEVALIA BAGGED COFFEE: One 10 oz bag of Gevalia Guatemalan Single Origin Special Reserve Coarse Ground Coffee
Understanding Coffee Percolators
Before diving into the types of coffee suitable for percolators, it’s important to understand what a percolator is and how it brews coffee. This section will provide you with detailed insights into the types of percolators available and the brewing process they use.
Types of Percolators
Percolators can be broadly categorized into two types: stovetop percolators and electric percolators.
- Stovetop Percolators: These are designed to be placed over a heat source like a stove. They are often made from durable materials such as stainless steel or aluminum, making them a popular choice for camping due to their portability and resilience.
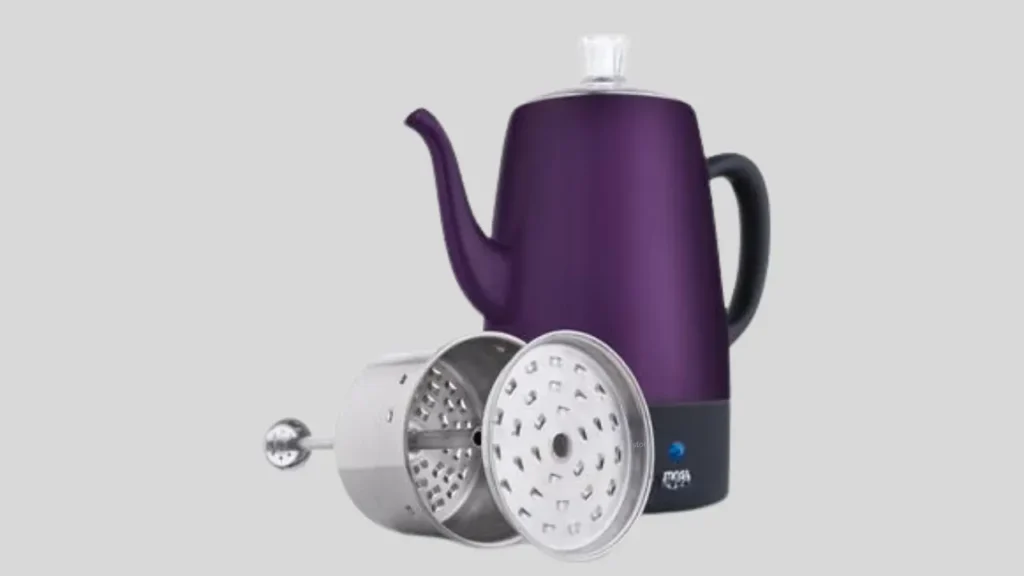
Electric Percolators: These devices have a built-in heating element and typically offer more features, including automatic heat regulation to prevent over-extraction. Electric percolators are convenient for home use, as they can brew without a stove and often have “keep warm” functions.
| Feature | Electric Percolator | Stovetop Percolator |
| Convenience | Automatic brewing with features like “keep warm” | Requires manual attention and heat source management |
| Portability | Less portable, needs power outlet | More portable, ideal for camping or outdoor use |
| Maintenance | Easier to clean with detachable parts | Can be more challenging to clean due to burnt-on residue |
| Brew Consistency | Consistent heat regulation ensures even extraction | Requires monitoring heat source for optimal flavor |
| Safety | Built-in safety features like auto shut-off | Higher risk of overheating if left unattended |
| Price | Generally more expensive | Typically more affordable |
| Durability | Can be less durable due to electrical components | Often sturdy and long-lasting with proper care |
Who should choose an electric percolator?
- Coffee lovers seek convenience and consistent brews.
- Individuals with busy mornings who appreciate “grab-and-go” features.
- Those who favor easy cleanup and minimal monitoring.
Who should choose a stovetop percolator?
- Budget-conscious coffee enthusiasts.
- Outdoor adventurers who value portability and campfire compatibility.
- Individuals who enjoy the traditional brewing process and hands-on control.
- Those comfortable with monitoring heat and brew time.
Remember: Your choice also depends on your lifestyle and priorities. Consider how often you’ll use the percolator, where you’ll use it, and your desired level of control over the brewing process.
How Coffee Percolators Work
The brewing method of percolators is unique compared to other coffee-making techniques. Here’s a simple breakdown of the process:
- Water heats up in the base of the percolator, either by a stove or an electric heating element.
- As the water boils, it is forced upward through a tube.
- The hot water then showers over the coffee grounds, located in a perforated basket.
- This brewed coffee drips back down into the bottom of the percolator, where it mixes with the water and is cycled through again.
Repeat this cycle continues, the strength of the brew increases, giving you robust and boldly flavored coffee. It is essential to monitor the process closely, especially with stovetop percolators, to prevent over-extraction which can lead to bitterness.
Selecting the Right Coffee for Percolators
When choosing the best coffee for your percolator, you’ll want to consider grind size, roast type, and the flavor profile you enjoy. Whether you use a stovetop model or an electric percolator, the right selection will greatly enhance your coffee experience.
Grind Size and Coffee Grounds
The grind size of your coffee is crucial for percolators. A coarse grind works best, as it prevents the coffee grounds from passing through the percolator basket and ensures a clear, sediment-free cup.
Finer grinds can lead to over-extraction during the brewing process and may cause a bitter flavor. When buying ground coffee, look specifically for brands that offer a coarse grind option or grind your own beans to control the coarseness.
- Warm Tips: There is a cooling time of 30mins after continuously working for 90S, to ensure that the burr coffee grinding…
Roast Type Varieties
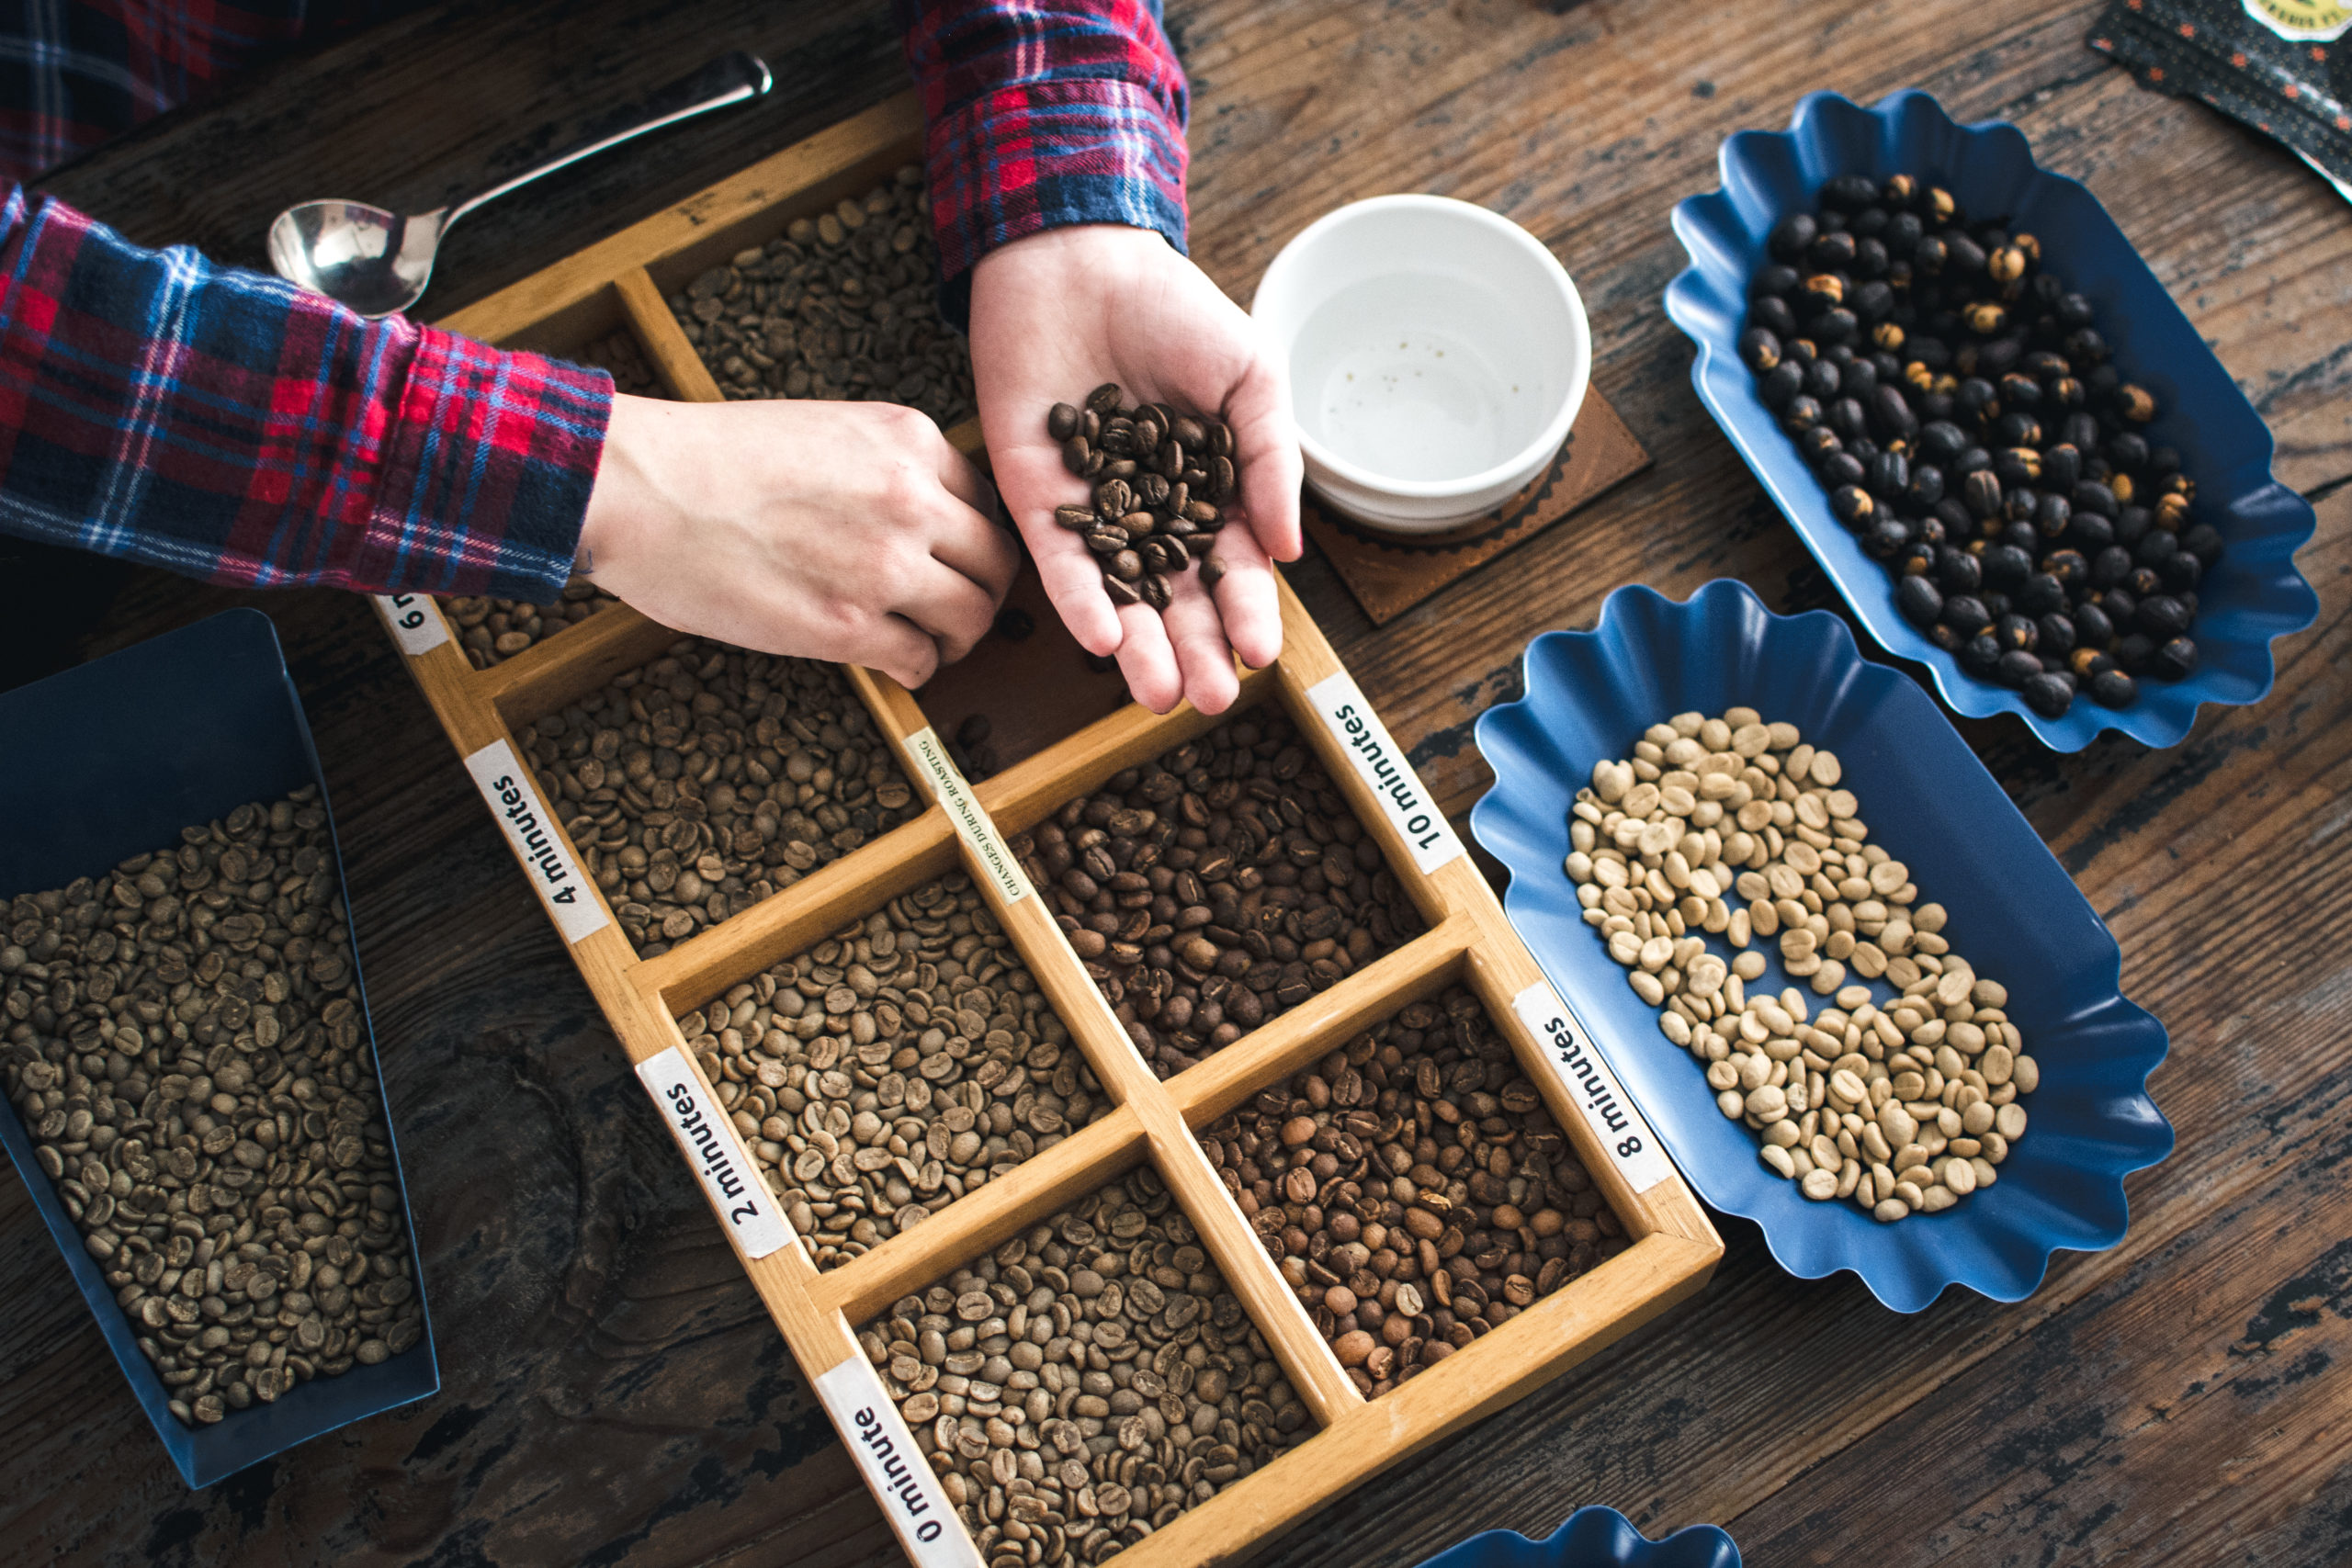
Percolators are versatile in handling various roast types, ranging from light to dark. Light roast beans tend to produce a more aromatic and acidic cup, while medium roasts offer a balance of flavor and body.
Dark roasts are known for their bold and strong profile, often resulting in a full-bodied cup with less acidity and enhanced oils which become pronounced during the percolation process. Experiment with different roast types to find your preferred balance of flavor and strength.
Coffee Strength and Flavor
The strength and flavor of your coffee in a percolator significantly depend on the beans and the duration of the brewing cycle. Flavorful, bold, and rich coffee experiences can be achieved with a longer brew time which allows the water to extract more flavor and oils from the beans.
If you desire a lighter cup, a shorter brewing time with a light roast may be ideal. Remember to adjust these variables according to your taste to craft the perfect cup with your percolator.
Preparation Methods and Tips
Selecting the right coffee and mastering the preparation techniques are essential for making the perfect cup with a percolator.
This section will guide you through the specific steps to fill the basket properly and achieve the desired coffee strength, ensuring a rich and flavorful brew.
Proper Techniques for Filling the Basket
For an optimal percolation process, first ensure that you are using a coarse grind of coffee. A coarse grind is essential because finer grounds can pass through the basket and cloud your coffee, leading to a gritty texture.
Fill the basket with the ground coffee, but avoid overpacking—this allows hot water to properly circulate through the grounds, ensuring even extraction.
It’s generally recommended to use about one tablespoon of coffee per cup of water, but this can be adjusted to suit your taste preference.
Achieving Desired Coffee Strength
The key to achieving your perfect coffee strength lies in the brew time and water temperature. Boiling water is too hot and can over-extract the coffee, causing bitterness. Aim for hot water just below boiling point.
Start with a brew time of about 7 to 10 minutes and adjust according to taste. Remember, the longer you let the coffee percolate, the stronger and more robust the flavor will be.
To maintain freshness and prevent a bitter taste, remove the coffee from the heat source immediately after your desired brew time. Experiment with these variables using a guide for percolating coffee to find your ideal balance of flavor and strength.
Best Coffee Brands for Coffee Percolators
When choosing coffee for your percolator, it’s important to consider brands that are hailed for their flavor and aroma.
The ideal selection offers a balance between affordability and quality, ensuring that each cup captures the robust essence of the beans without any unwanted bitterness.
Top-Rated Brands
- Tim Hortons Coarse Grind Original Blend: Known for its balanced and smooth taste, this medium roast is a Canadian classic that’s 100% Arabica, promising a favored cup full of rich aroma.
- Starbucks Espresso Dark Roast Whole Bean Coffee: If you favor a bolder flavor, this whole bean option from Starbucks exudes a dark profile with notes of chocolate, perfect for percolators.
- Kicking Horse Coffee Three Sisters: Voted as a top choice, Kicking Horse Coffee offers a medium roast that balances smooth, chocolatey notes with hints of fruit, appreciated for its light, well-defined flavor without tending toward any bitterness.
Affordable and Quality Picks
- Hills Bros Original Blend Ground Coffee: This medium roasted Arabica blend is both kosher and richly flavored, offering an excellent balance of quality and value.
- AmazonFresh Colombia Ground Coffee: For a choice that’s made in the USA, consider this ground coffee with a smooth, yet full-bodied flavor profile that doesn’t carry a hefty price tag.
- Grandes Cosechas Gourmet Coffee: Tailored for those who prefer their coffee with less bitterness, this Espresso Roast in whole bean form is an affordable luxury that promises a gourmet experience in every cup.
Selecting from these brands ensures that you’ll enjoy the full potential of your percolator’s brewing capabilities, achieving a pleasurable coffee experience that doesn’t compromise on taste or quality.
Coffee Percolator Care and Maintenance
Ensuring your percolator is clean and properly stored not only prolongs its life but also ensures that every cup of coffee is flavorful and free of unwanted bitterness. Let’s focus on keeping your percolator in top condition.
Cleaning for Longevity
To maintain the quality of your brewing experience, it’s crucial to clean your percolator after each use. Remove the grounds and disassemble the filter basket from the unit. If your percolator is dishwasher safe, you can place the disassembled parts in your dishwasher’s top rack.
For stainless steel or aluminum percolators that aren’t dishwasher friendly, hand wash them with warm, soapy water. Rinse all components thoroughly to avoid any soapy residue that could impact the taste of your coffee.
Use a soft brush or cloth to clean the interior surfaces, as abrasive materials can scratch the material and compromise the integrity or lead to a bitter taste. Ensure that the filter is clear of coffee residue, as this could clog and reduce the efficiency of your brew.
Safety and Storage
Once you’ve cleaned your percolator, make sure it’s completely dry before storing to prevent the growth of mold and bacteria.
When it comes to safety, inspect your percolator for any damage or wear before each use, especially if you own a sturdy aluminum model which can dent. This is important to avoid potential safety hazards during the brewing process.
Store your percolator in a dry place to protect against moisture and dust. It’s best to handle your percolator with care, avoiding drops or impacts that could deform its shape, which can cause leaks or issues in sealing during brewing, impacting the taste of your coffee.
Choosing the Perfect Coffee Percolator
When selecting a percolator, it’s essential to consider the type and size that best fits your coffee brewing needs. Let’s explore the differences between stovetop and electric percolators, and assess size and capacity to ensure you make an informed decision.
Comparing Stovetop and Electric Percolators
Stovetop Percolators: Ideal for those who appreciate tradition and have more time to monitor their brew. You have the versatility to use them on a stove or over a campfire. Their design is generally simplistic, with most models made of durable materials suitable for outdoor use.
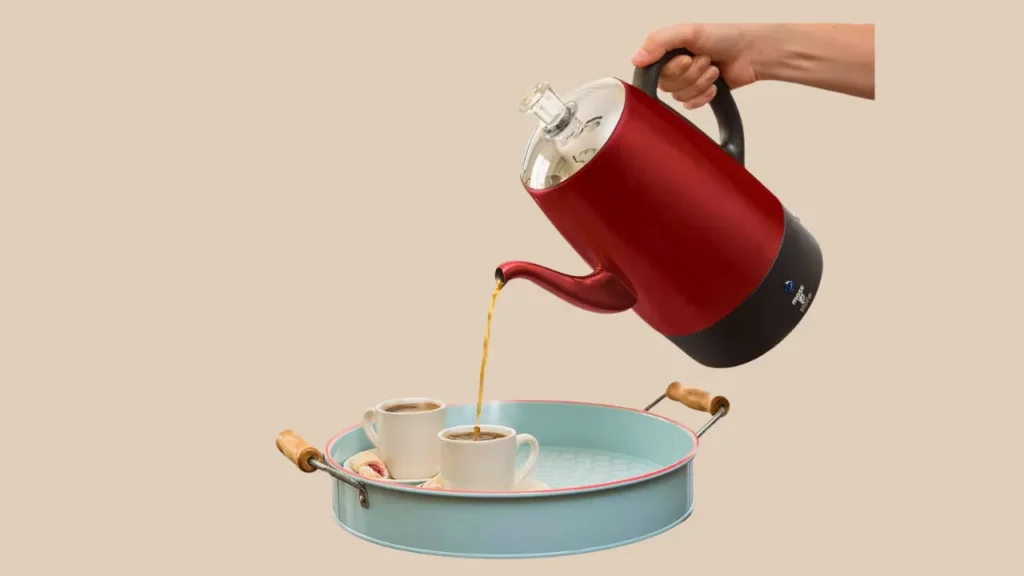
Electric Percolators: More convenient for those seeking efficiency. Electric percolators automate the brewing process and often include features such as ‘keep warm’ settings. They require a power source, making them less portable than stovetop options but excellent for consistent home use.
Assessing Size and Capacity Concerns
Size: Your percolator should fit comfortably within your kitchen or camping gear. Stovetop percolators are usually more compact, perfect for tight spaces or packing in a backpack.
Capacity: Consider how much coffee you’ll need. Capacities range widely, but a 12-cup percolator could serve a family or a group of campers adequately. Remember, the larger the capacity, the bigger the percolator, which might affect where you can store it or how easily you can take it with you.
Selecting the right percolator model involves balancing preferences for convenience, portability, and capacity.
Whether you choose a traditional stovetop or a modern electric percolator, consider how it will suit your lifestyle and coffee demands.
The Role of Water in Percolation
In percolation, water is not just a medium; it is a critical component that directly affects the flavor and quality of your coffee.
Proper water temperature and quality will influence the extraction process, balancing the fine line between a brew that’s overly bitter or unpleasantly sour.
Water Temperature and Quality
When brewing coffee in a percolator, your attention to water temperature and quality is paramount. Here’s what you need to consider:
- Temperature: Aim for hot water between 195°F to 205°F, as it is optimal for extracting the rich flavors of coffee without pulling out the bitterness. Water that’s too hot will over-extract, leading to a bitter taste, while water that’s not hot enough will under-extract, causing a sour flavor.
- Quality: Use fresh and clean water, preferably filtered to remove any impurities or odors that could interfere with the taste of your coffee. Remember, great-tasting coffee starts with great-tasting water.
By honing in on the correct temperature and ensuring the water is of high quality, you set the stage for a percolation process that dedicates itself to crafting a coffee with the right balance of flavor and aroma.
- Balanced, full-bodied medium roast with a smooth finish
- GREAT TASTING Coffee Since 1859 – Winey notes and a rich, elegant aroma with a full-bodied finish. All of roasting is…
- 100 Colombian coffee pods
Specialty Coffee Percolator Features
When selecting a percolator, you’ll appreciate models that have invested in technical upgrades for precision and convenience, enhancing your coffee brewing experience.
Technical Innovations and Enhancements
Modern percolators incorporate technical advancements that can significantly affect the quality and consistency of your coffee.
An electric percolator, for instance, may utilize controlled pressure and temperature to ensure that hot water percolates through the coffee grounds evenly. This precision can result in a more flavorful cup of coffee.
Farberware percolators are often crafted from stainless steel, combining durability with a sleek design, and some models enhance your brewing with features such as an indicator light that signals the end of the brew cycle.
Convenience and User-Friendly Functions
Your percolator should not only brew exceptional coffee but also prioritize ease of use. Look for Farberware percolators with detachable cords for effortless serving and storage.
A lightweight design can add to the overall convenience, making it easier to handle the percolator.
For ongoing enjoyment without the wait, a keep-warm function maintains your coffee at the ideal temperature, ensuring that you can enjoy a steaming cup whenever you want without starting a new brew cycle.
Some percolators may even feature a transparent glass knob or lid, allowing you to monitor the brewing progress without interrupting the cycle.
Percolator-Compatible Coffee Varietals
When it comes to percolators, choosing the right coffee varietal is essential for achieving a rich and satisfying brew. The key is to look for coffee that suits the unique brewing dynamics of a percolator.
Identifying Bean Origin and Quality
Bean Origin: The geography of where your coffee beans originate has a significant impact on the flavor profile. Coffees from different regions offer distinct taste experiences:
- Latin America: Often features nutty, cocoa, or soft spice tones—ideal for those who enjoy a milder, well-balanced cup.
- Africa: Notes of fruit and berries with a hint of floral—perfect for adventurous palates seeking vibrant flavors.
- Asia Pacific: Full-bodied and herbal; recommended for those who savor strong, bold tastes.
Quality: Always opt for high-quality beans, regardless of origin. Look for terms such as specialty grade or single-origin on labeling which often indicate a higher standard in flavor and production.
Deciding Between Whole Bean and Ground Coffee
Whole Bean vs Ground Coffee:
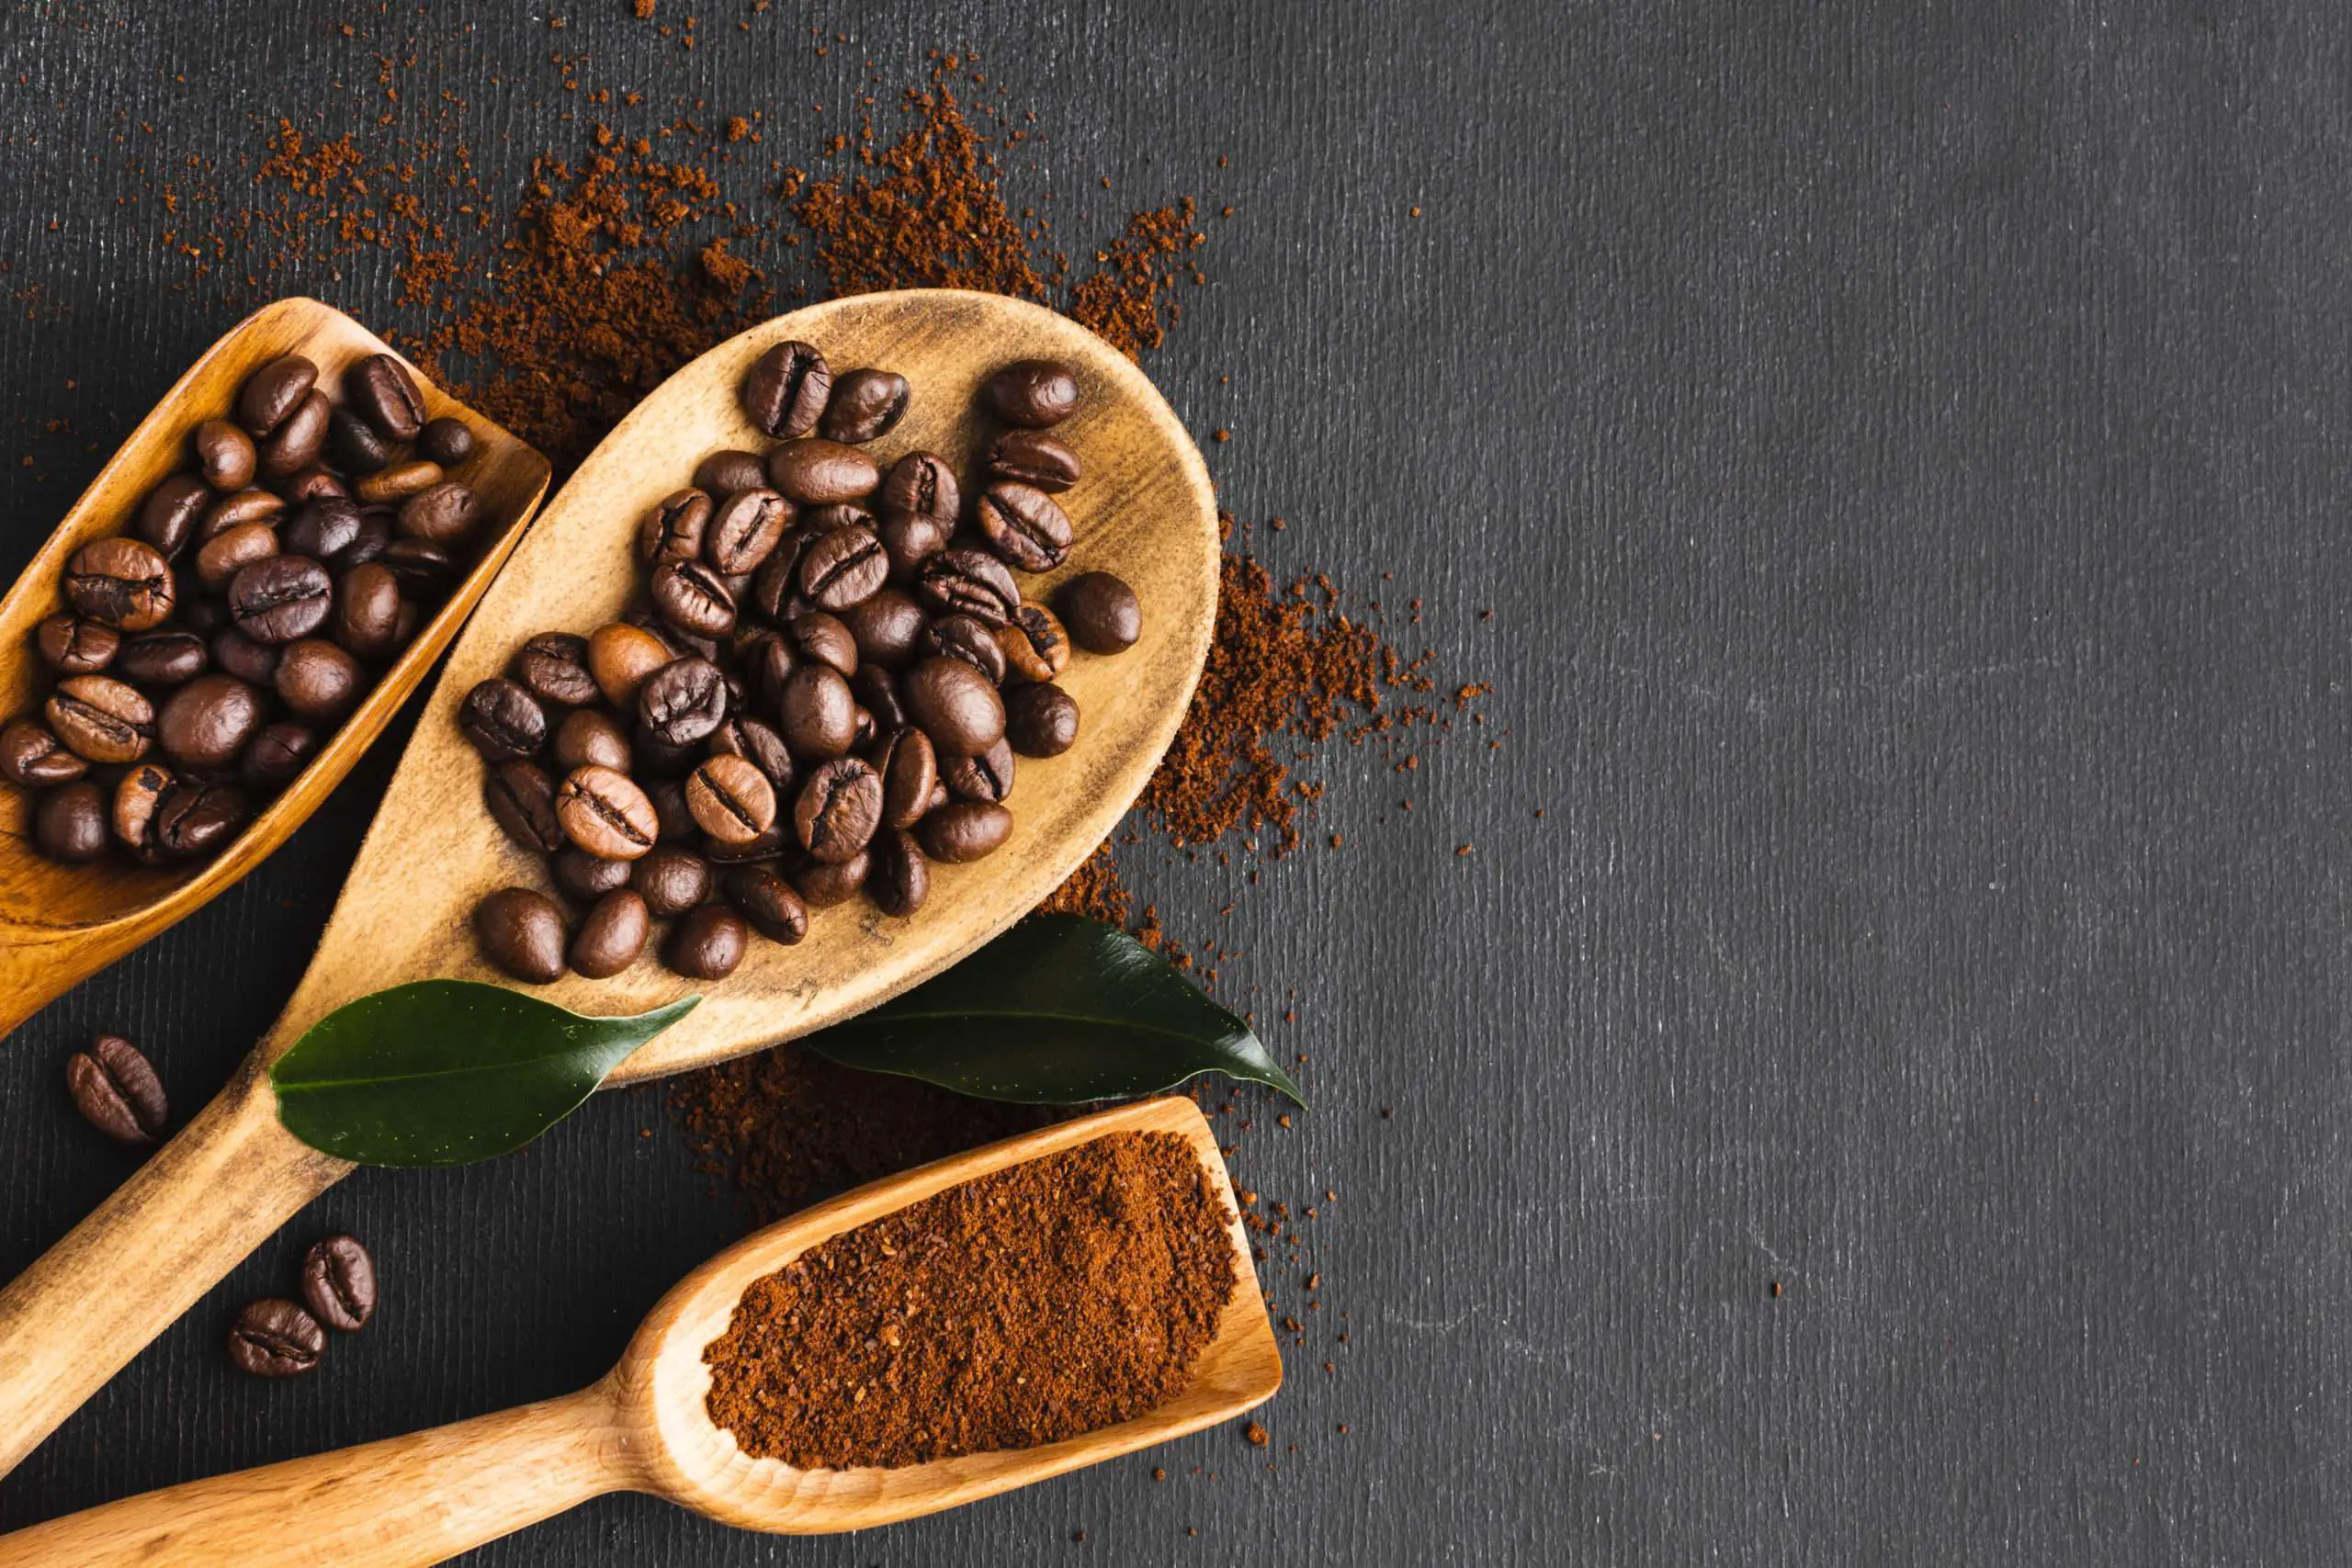
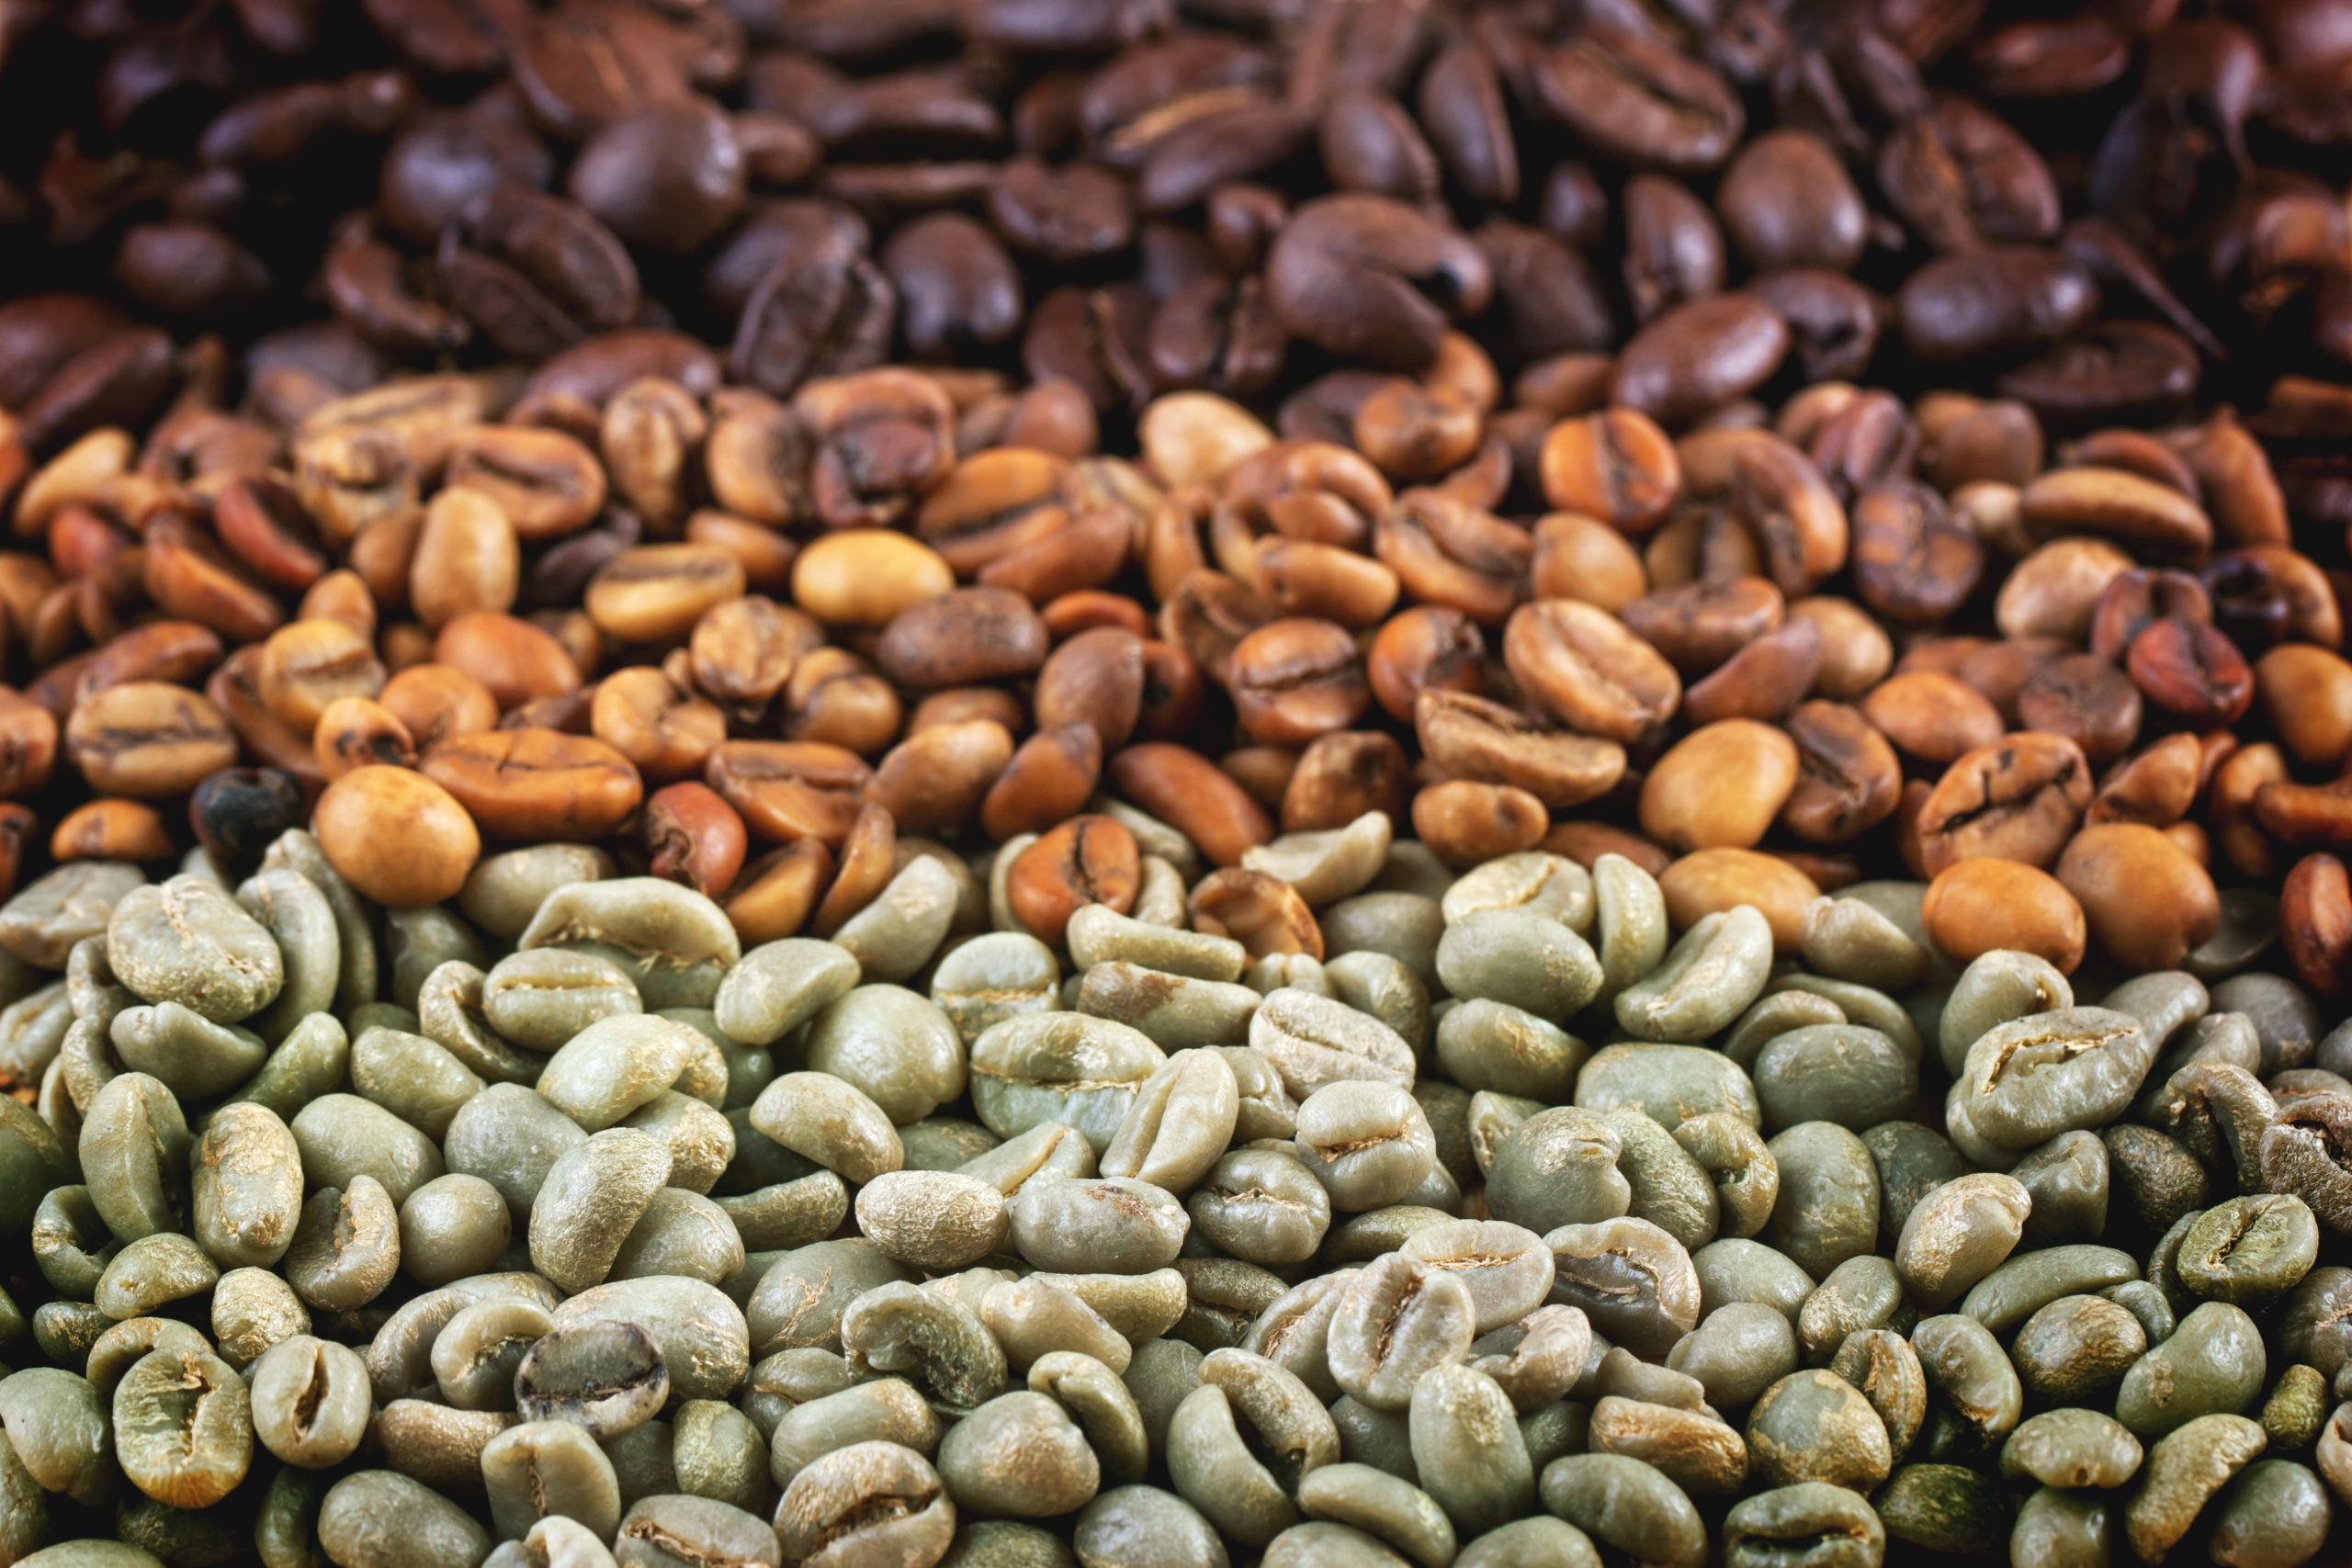
- Whole Bean: For the freshest taste and a customizable grind, whole beans are your best choice. It allows you to grind specifically for your percolator’s needs, typically a coarser grind than most other brewing methods. This process also releases the beans’ natural oils right before brewing, ensuring a fuller flavor.
- Ground Coffee: If convenience is a priority, ground coffee can save time. However, ground coffee loses its flavor more quickly. When selecting pre-ground, look for labels indicating a coarser grind which is more suitable for percolators. Avoid finely ground coffee, as it can slip through the basket and cause over-extraction, leading to a bitter taste.
By attuning to both the origin and quality of beans, and considering whether whole bean or ground coffee best fits your lifestyle, you can enhance your percolator coffee experience significantly.
Remember, the grind’s coarseness and the robustness of the roast will profoundly affect the strength and taste of your brew. Choose wisely for the best percolation.
The Percolation Process
When you brew coffee in a percolator, you’re engaging with a method that can produce a robust and full-flavored cup. It’s a process that requires attention to detail to ensure the coffee’s strength and flavor profile meet your preferences.
Step-by-Step Brewing Guide
- Fill the Reservoir: Start by filling the percolator’s reservoir with cold water to your desired level. The amount of water will dictate the number of cups you can brew.
- Add Coffee Grounds: Place a filter in the basket if your percolator requires one, then add coarse ground coffee. The general recommendation is to use one tablespoon of coffee for every cup of water, but you may adjust depending on how strong you like your coffee.
- Assemble the Percolator: Make sure the basket sits atop the tube and that the lid is securely in place. This will ensure the water cycles through the coffee grounds properly during the brewing process.
- Heat the Water: If you’re using an electric percolator, plug it in and turn it on. For stovetop versions, apply medium heat. Water will naturally cycle upward through the tube due to pressure differences as the temperature rises.
- Percolation: Once the water heats up, it will percolate from the bottom of the pot up through the tube and over the coffee grounds. This cycle repeats, drawing the brewed coffee back down to the bottom where it mixes with the water.
- Monitor the Brew: The key to a good percolation is to monitor the process. Most percolators have a clear knob on the lid for you to observe the percolation. Once you see a steady stream of bubbles, allow it to percolate for approximately 7 to 10 minutes.
- End the Cycle: Remove the heat source from a stovetop percolator or turn off an electric model once the desired brewing time is reached. Let it rest to avoid over-extraction, which can make your coffee bitter.
- Serve: Carefully remove the basket containing the used grounds, pour the coffee, and enjoy.
By following this step-by-step guide and paying attention to grind size, coffee to water ratio, and percolation timing, you’ll harness the full potential of your percolator.
FAQs
What type of coffee for percolators?
Arabica and Robusta are the most preferred types of coffee for percolators. They are a full-bodied, rich variety with flavors and can be medium roasted to produce the best cup.
What kind of coffee grounds for electric percolators?
When you brew with a full-bodied variety of coffee yields the best results for an electric percolator, this variety is rich in flavor. The percolation process makes it taste better.
What kind of coffee is best for percolator?
Percolators filter comes with larger holes compared to drip coffee makers. You ought to use coarsely ground coffee beans that will not sink to the pot’s bottom and cause residue.
What kind of coffee grounds for percolator?
Percolators can work with either full-bodied variety or the medium-bodied variety of coffee grounds. Avoid light-bodied beans as they won’t yield the required results.
Can you use whole coffee beans in a percolator?
Yes, you can use whole coffee beans in a percolator. To do this, you will need to measure out the right amount of coffee beans for the amount of water you are using in your percolator. You can then grind the beans to the desired level of coarseness.
After grinding, place the ground coffee in the filter basket at the top of the percolator. Fill the percolator with the desired amount of water, and then replace the lid.
Turn on the heat and allow the water to boil. As the water boils, it will travel up through the tube and into the filter basket. The hot water will then drip back down through the filter basket, absorbing the flavor and aroma of the ground coffee. When the desired strength has been reached, turn off the heat and enjoy your freshly brewed coffee!
Can I use regular ground coffee in a percolator?
Yes, you can use regular ground coffee in a percolator. However, it is important to note that the grind size should be coarser than what you would use for a drip or French press machine.
This is because water and coffee pass through the same chamber multiple times and finer grinds will result in over-extraction of the coffee beans, leading to unpleasant flavors and bitter coffee.
Generally, it is best to use medium-coarse grinds for a percolator. Additionally, it is important to use the right amount of coffee when using a percolator.
Too much coffee can lead to an overly strong brew, while too little can result in a weak, flavorless cup. As a general guide, you should use 2 tablespoons of regular ground coffee per 6 ounces of water.

